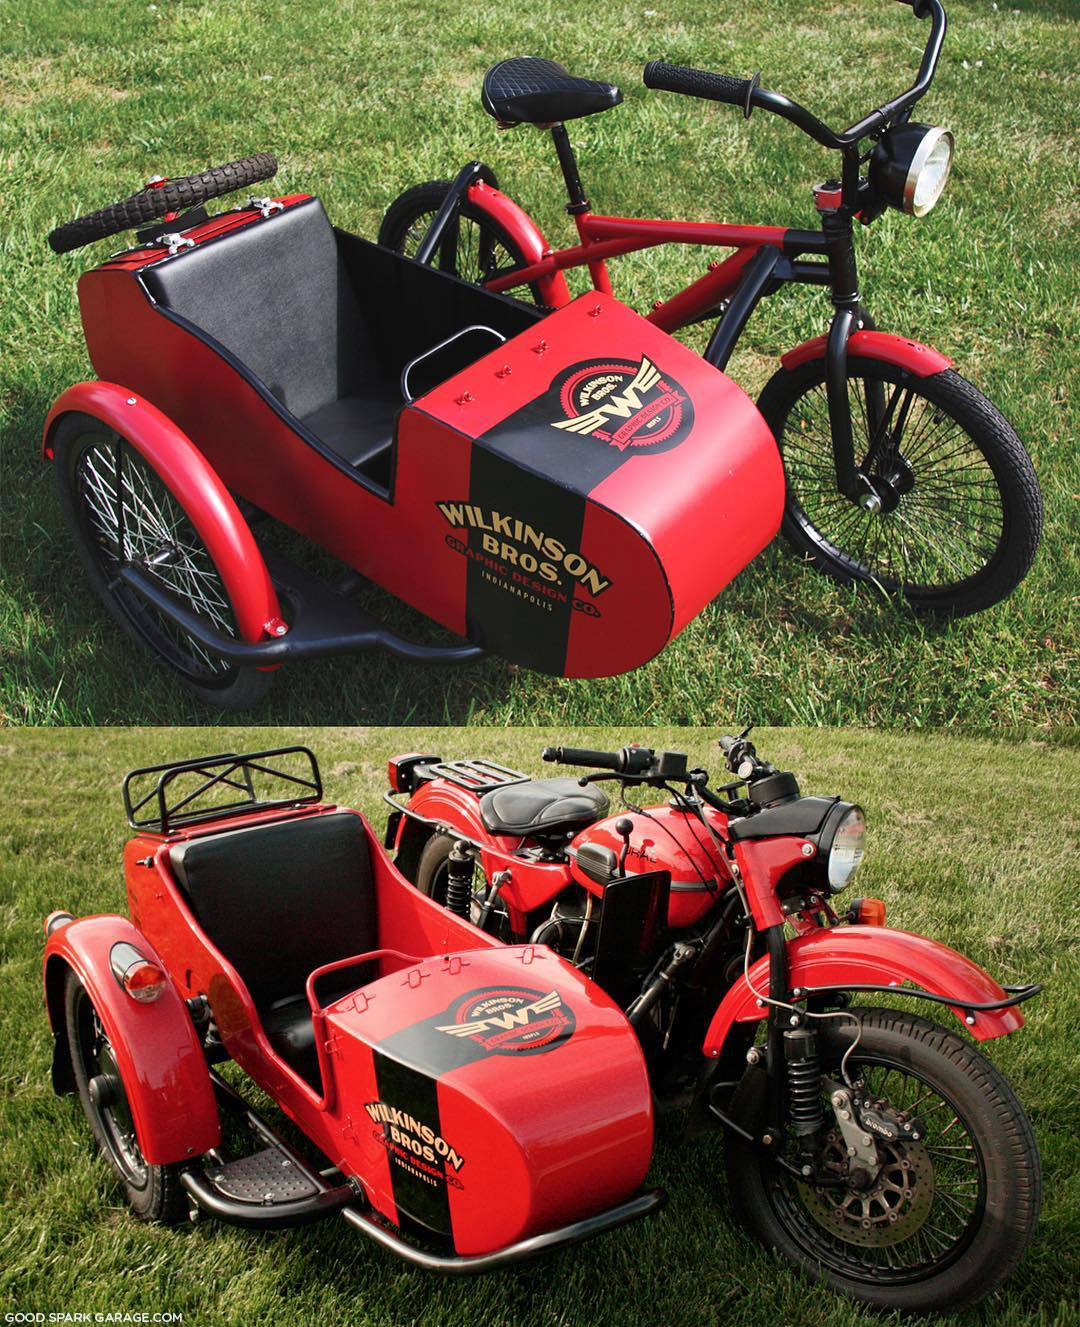
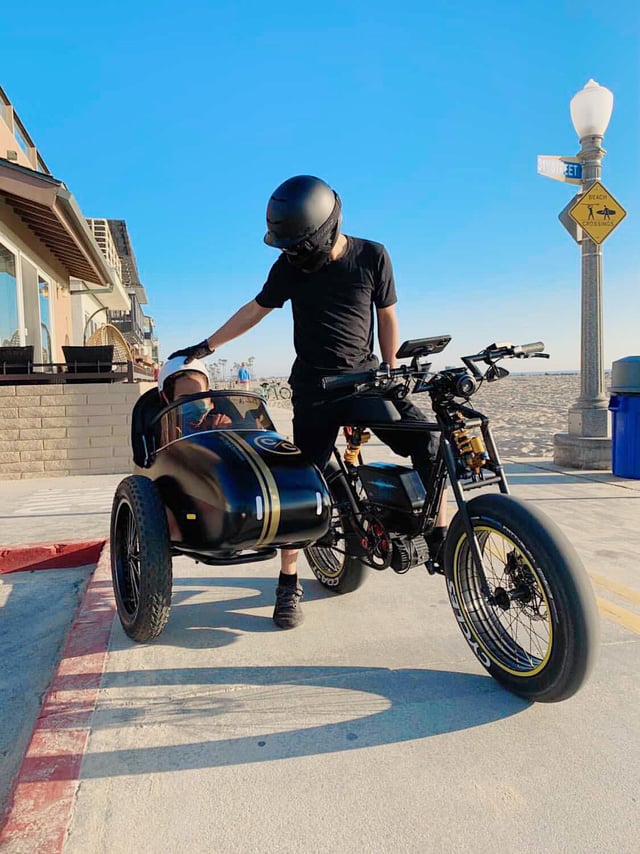
My Little Sidecar Project Adventure
So, I got this itch a while back. Always liked the look of those old sidecar motorcycles, you know? But buying one? Pretty steep. Then I thought, why not just build one? Seemed like a fun project, something to keep my hands busy in the garage.

First thing, I had to figure out how these things actually attach and work. Spent some time just looking at pictures, trying to understand the frame and connection points. Didn’t want anything too fancy, just something basic and strong enough to hold together. Decided on a simple tube frame design.
Gathering the Bits and Pieces
Alright, planning done, time for the fun part: finding materials.
- Needed steel tubing for the frame. Found a local supplier, got some square and round stock.
- A wheel, obviously. Scrounged one from a small trailer project I saw abandoned somewhere. Had to get a tire for it.
- Sheet metal for the body, or ‘tub’ as they call it. Picked up some thin gauge stuff.
- Bolts, nuts, washers – loads of ’em.
- Mounting hardware – this was tricky. Had to figure out how to clamp onto my bike’s frame without messing it up. Ended up getting some heavy-duty U-bolts and fabricating some plates.
Tools wise, I already had most of what I needed: welder, angle grinder, drill, basic hand tools. Good enough to get started.
Making the Frame
This was where the real work began. I measured out the tubing based on my rough sketches. Lots of cutting with the grinder. Sparks everywhere, standard garage stuff. Then came the welding. Now, I’m not a pro welder, let’s be clear. My welds aren’t the prettiest, but they hold. Tack-welded everything first to make sure it lined up reasonably okay. Checked the angles, made sure the wheel mount was straight-ish. Then laid down the main welds. Ground down the worst looking ones a bit.
Getting the mounts right to connect to the bike took some trial and error. Made some brackets, bolted them to the bike frame, then figured out how the sidecar frame would connect to those. Lots of measuring, holding things up, stepping back, measuring again. Used those U-bolts and custom plates I made.

Building the Tub
With the frame basically done and attached (loosely at first), I started on the body. This sheet metal stuff… well, it tests your patience. I wanted a simple boxy shape, nothing too curved. Cut the pieces, bent them using a makeshift brake (just a piece of angle iron and clamps, really). Riveted the panels together mostly. It looked a bit rough, kind of industrial, but it felt sturdy enough. Added a simple floor using some thicker plywood I had lying around.
Putting It All Together
Mounted the wheel onto the sidecar frame axle. Bolted the tub onto the frame. Tightened all the connection points between the sidecar and the motorcycle. This part is important – getting the alignment right. You need some ‘lean out’ on the bike and some ‘toe-in’ on the sidecar wheel. Took a few tries, adjusting the mounting arms, measuring again. It’s more art than science sometimes, especially doing it low-tech like I was.
I didn’t bother with fancy paint yet. Just gave the frame a quick coat of black spray paint to stop it rusting immediately. The tub stayed raw metal for now. No electrics, no suspension on the sidecar wheel either – keeping it super simple.
The First Ride (and Adjustments)
Okay, moment of truth. Fired up the bike. The first ride around the block was… weird. Steering felt heavy, pulling to one side. Definitely needed more adjustments. Went back to the garage, tweaked the toe-in, checked the lean-out again. Went for another spin. Better, but still not perfect. It takes some getting used to, riding a rig. You steer differently, you don’t lean the bike into turns the same way.
After a few more rides and tiny adjustments, I got it handling reasonably well. It’s not a sportbike, that’s for sure, but it rolls down the road. The whole thing looks very… homemade. But hey, it works! I built a sidecar. It wasn’t easy, lots of fiddling around, but it was a satisfying project. Now I just need to figure out what to carry in it.

