Alright, buckle up, because I’m about to spill the beans on my 1999 McLaren build. This wasn’t a walk in the park, more like a stumble through a minefield of tiny plastic parts. But hey, the results speak for themselves, right?

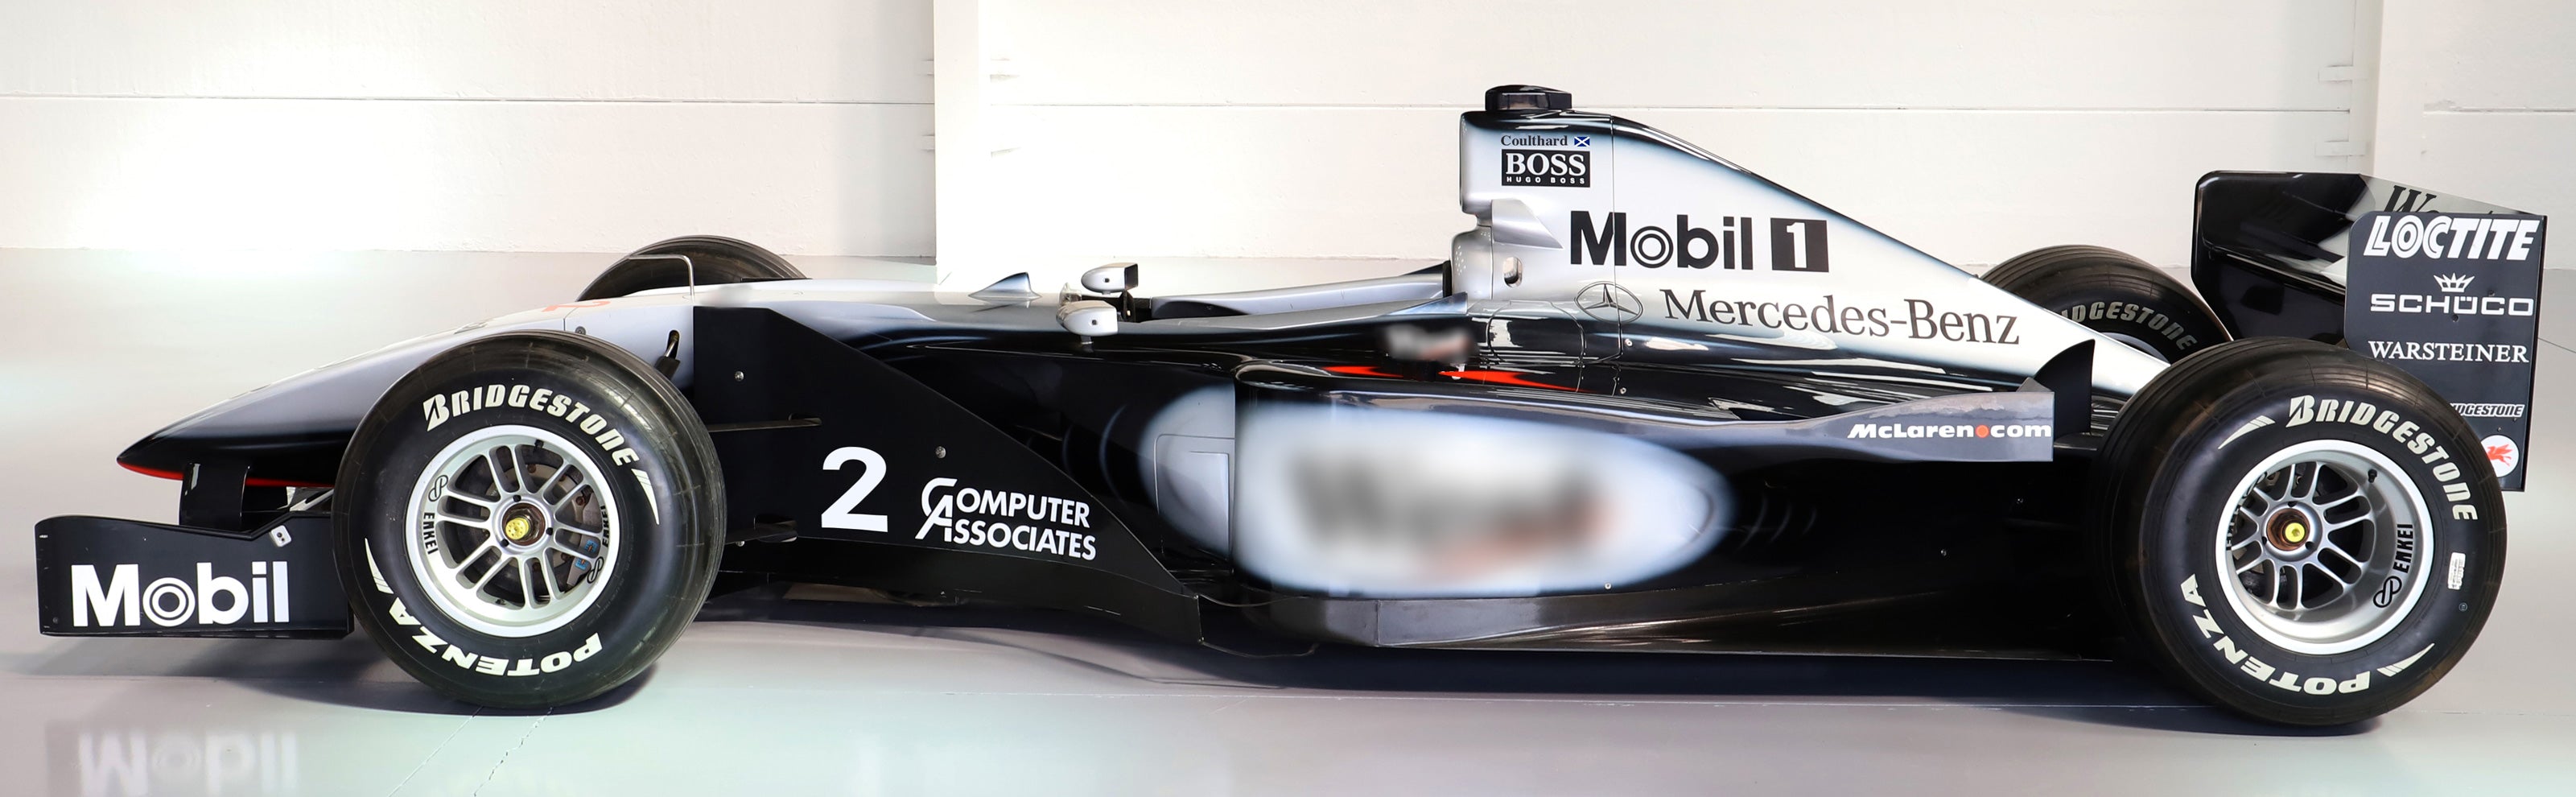
So, it all started when I stumbled across this Tamiya kit. Been eyeing it for ages, and finally pulled the trigger. The box art alone was enough to get me hyped – that sleek silver bullet just screamed speed.
First things first: popping open the box and taking stock. Instructions looked intimidating, decals even more so. Sprue after sprue of plastic staring back at me. Time to dive in!
- The chassis: This was my starting point. Cleaned up all the parts, glued the major sections together. I remember spending a good hour just sanding down those mold lines. No one wants a bumpy McLaren.
- The engine: Oh boy, the engine. So many tiny pieces. The instructions were my bible here. Gluing, painting, detailing – it was a meticulous process. I even tried some weathering to make it look a little more realistic. Came out pretty decent, if I do say so myself.
- The body: This was where the real challenge began. The body needed to be perfect. Multiple coats of primer, sanding in between, then the silver paint. I used Tamiya spray cans for this. The key is thin, even coats. I think I did about four or five coats in total.
The decals. Ugh. These were a pain. They’re super thin and delicate. Getting them lined up correctly was stressful. I used Micro Set and Micro Sol to help them conform to the curves of the body. Still, I ended up with a few wrinkles and bubbles. Nothing’s perfect, right?
Assembly time! Putting everything together was like a 3D puzzle. The engine went in, then the suspension, the wheels, the interior. It took patience, for sure. I snapped a few parts, but nothing a little super glue couldn’t fix.
I also spent a little extra time on the interior. Painted the seats, added some flocking to the floor to give it a carpet-like texture. Little details can make a big difference.
The finishing touches: After everything was assembled, I added the final details: the mirrors, the rear wing, the exhaust pipes. Then a final coat of clear coat to protect the paint and decals. Let it dry for a couple of days.
And that’s it! The 1999 McLaren was complete. It took weeks, a lot of patience, and a few near-rage moments, but it was worth it. It sits proudly on my shelf, a testament to the fact that even I can build something cool if I put my mind to it. It’s not perfect, but it’s mine, and I’m pretty damn proud of it.