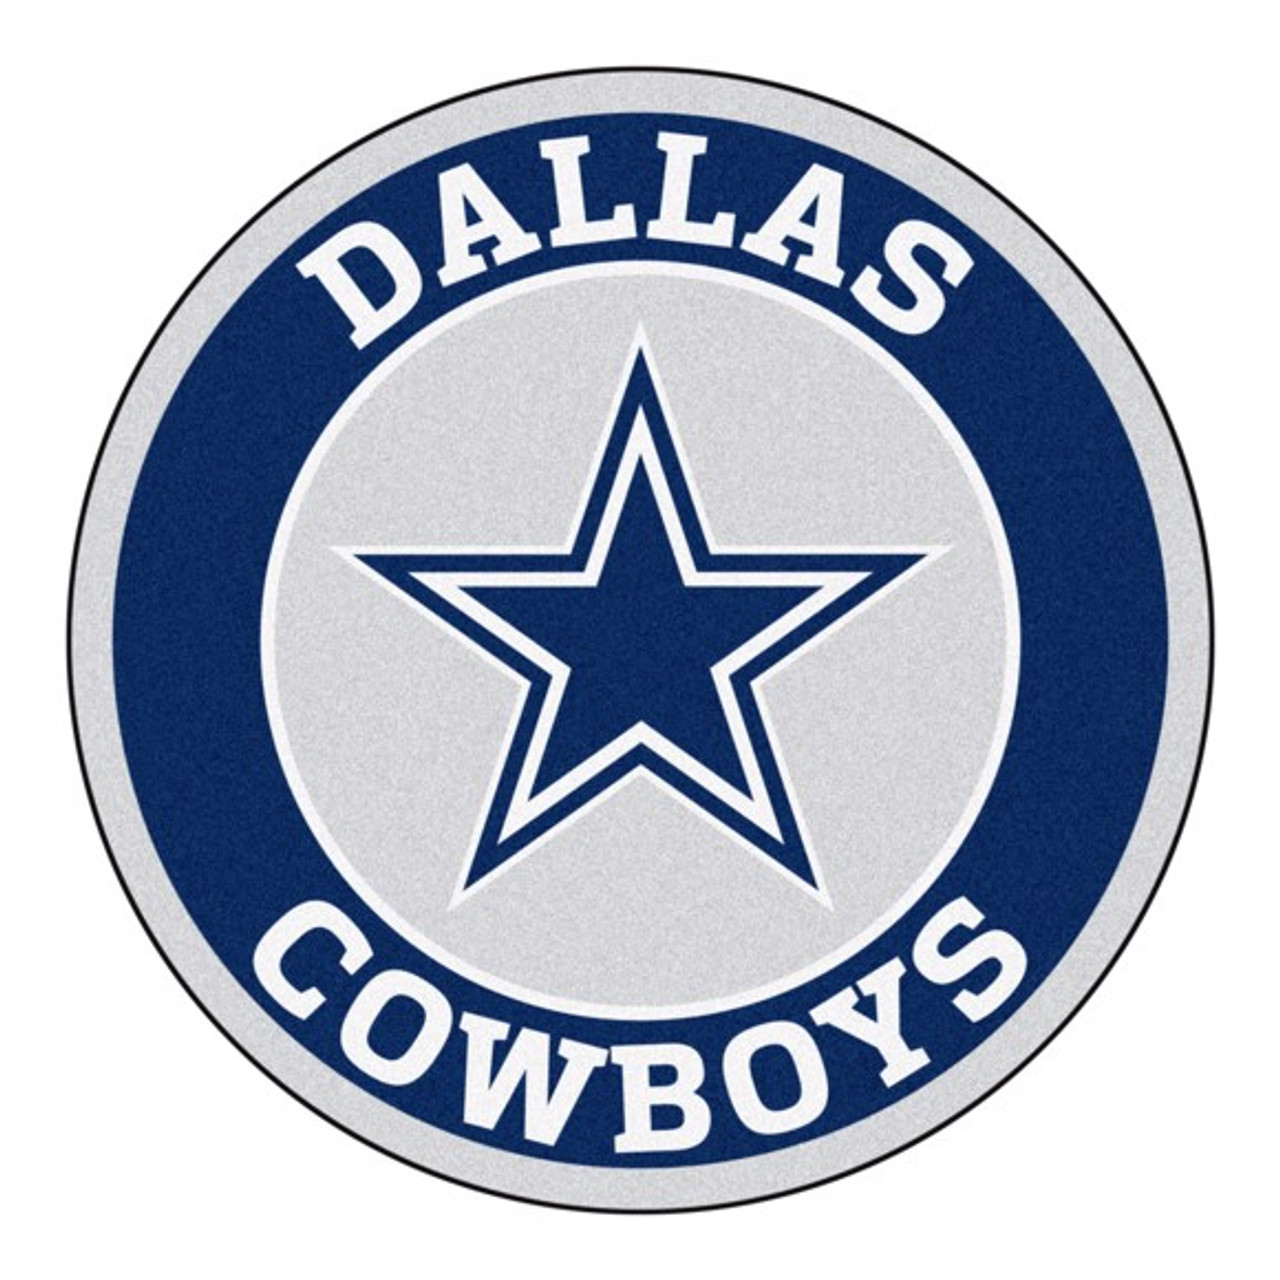
Alright, so I wanted to make a Dallas Cowboys logo. First, I found a bunch of pictures of the logo online to get a good look at it. You know, just to see what it really looks like up close.
Next, I grabbed some cardboard and sketched out the star. It’s a pretty simple shape, but I wanted to make sure I got the proportions right. I used a ruler and measured everything out carefully. After drawing it, I cut out the star shape with a utility knife. I went slowly around the edges to keep them nice and clean.
Then, I got some blue and white paint. The Cowboys’ colors are pretty straightforward, so no fancy color mixing was needed here. I painted the whole star blue first. I put on a couple of coats to make sure it was a nice, solid blue. Waited for it to dry completely, which took a while.
After the blue paint was dry, I used some painter’s tape to mask off the inner part of the star, leaving just the border exposed. Then I painted the border white. This part was a little tricky because I had to make sure the tape was really stuck down so the white paint wouldn’t bleed under it.
- First coat: Blue paint for the entire star.
- Second coat: Another layer of blue to make it solid.
- Drying time: Gave it plenty of time to dry completely.
- Masking: Used painter’s tape to cover the inner part of the star.
- White border: Painted the border white, making sure the tape was secure.
Once the white paint was dry, I carefully peeled off the tape. And there it was, a pretty decent-looking Dallas Cowboys logo! It wasn’t perfect, but I was happy with how it turned out. It was a fun little project, and now I have a cool piece of handmade fan art.
My Thoughts
This was a pretty simple and fun project. The hardest part was probably just being patient while the paint dried. I learned that painter’s tape is super useful for getting clean lines. Overall, I think it turned out pretty good for a first try. If you’re a Cowboys fan or just like making stuff, give it a shot!