Okay, so today I wanted to do a quick replacement of the cabin air filter in my 2014 car. It’s supposed to be super easy, but you know how these things go – sometimes “easy” turns into a whole afternoon project. Anyway, I figured I’d document it as I went, just in case anyone else is tackling this for the first time.
Locating the Filter Housing
First things first, I needed to find where the heck this filter even lived. I popped open the glove compartment, and of course, it was packed full of junk. So, step one: empty the glove box. I swear, half the stuff in there I haven’t seen in years!
With the glove box cleared out, I could see better. I had a rough idea it should be somewhere behind it, and bingo! There were some clips/plastic tabs, usually two, one on each side, that I needed to press inward. That allowed the glove box to drop down further, and the whole assembly to get out of my way.
Getting to the Filter
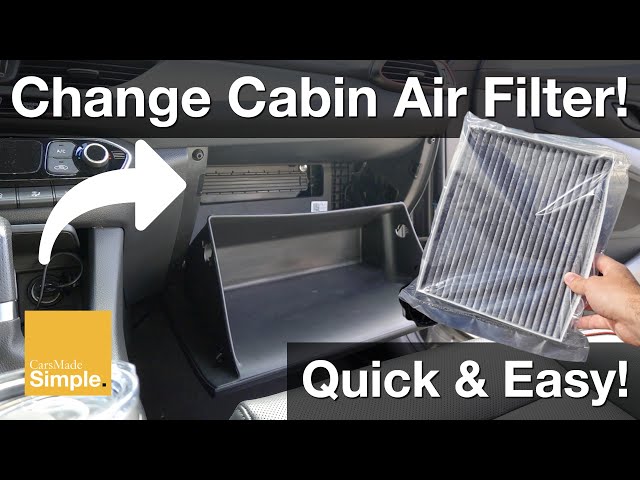
Behind the glove box, I saw a rectangular plastic cover. This is it – the housing for the cabin air filter. There’s a little tab or clip on this cover. I just carefully unclipped it and the cover swung open or slid off – it depends on your specific car model, mine just had a simple hinge design.
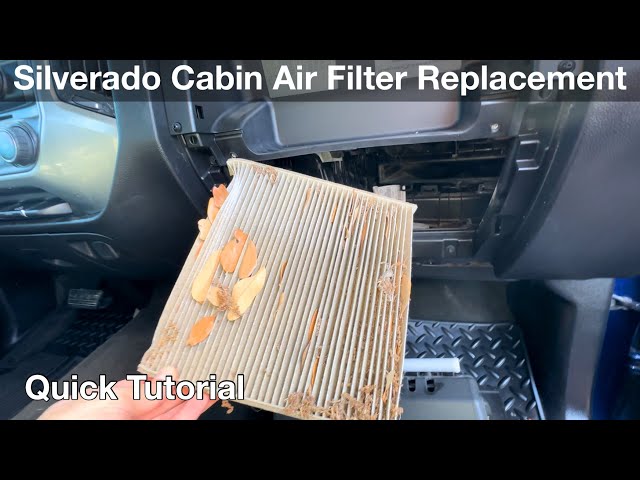
And there it was! The old, dirty cabin air filter. It was pretty gross, definitely time for a change.
Replacing the Filter
I grabbed the old filter and just pulled it straight out. Important: I made a mental note of which way the filter was facing. There’s usually an arrow indicating airflow direction, and you want to make sure the new filter goes in the same way.
I had the new filter ready, and I lined it up, making sure the airflow arrow matched the old one. Then, I slid the fresh filter into the housing, nice and snug.
Putting It All Back Together
Once the new filter was in, it was all about reversing the process. I put the cover back onto the filter housing, making sure it clicked securely.
And then, with the filter housing cover back, I swung the glove compartment back up and pressed on the clips/tabs from the inside until they “clicked”. This makes sure that the glove box will open and close normally.
Finally, with the filter changed and all back together, I gave a satisfying tap on the dashboard. Done! One car maintenance task checked off the list, and the air inside the car would be that much nicer. I put all the stuff back in the glove box.