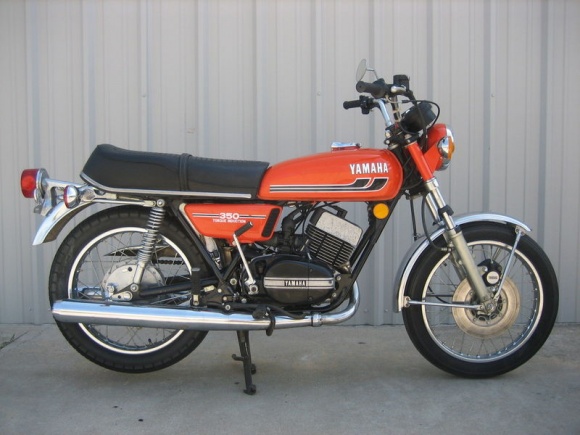
Okay, so I finally got my hands on a 1975 Yamaha 350. It’s been a dream of mine to restore one of these classic bikes, and I was stoked to get started.
The Beginning
First things first, I gave it a good look over. I mean, really crawled all over it. I checked out the frame, the engine, the wheels, everything. It was in pretty rough shape, as expected, with rust, dents, and a whole bunch of parts that were either missing or completely shot.
Taking it Apart
Next, I started tearing it down. I mean, I completely disassembled the thing. I took off the wheels, the forks, the tank, the seat – everything. I labeled every single part and bolt and put them in separate bags. I learned that trick the hard way after losing a few crucial pieces during my last project.
- Removed wheels and forks.
- Detached tank and seat.
- Unbolted the engine.
- Carefully cataloged every part.
Cleaning and Fixing
Then came the fun part – the cleaning! I scrubbed every single piece, removing years of grime, rust, and who-knows-what-else. I used a wire brush, degreaser, and even some good old-fashioned elbow grease. For the rusty parts, I soaked them in a rust remover solution. The frame had a few dents, so I hammered those out as best as I could.
I ordered the new part I needed online.
Putting it Back Together
Once everything was clean and repaired, I started reassembling the bike. I followed the service manual, which was a lifesaver. It was like putting together a giant, oily puzzle. Slowly but surely, the bike started to take shape again. It’s a fantastic experience!
The Result
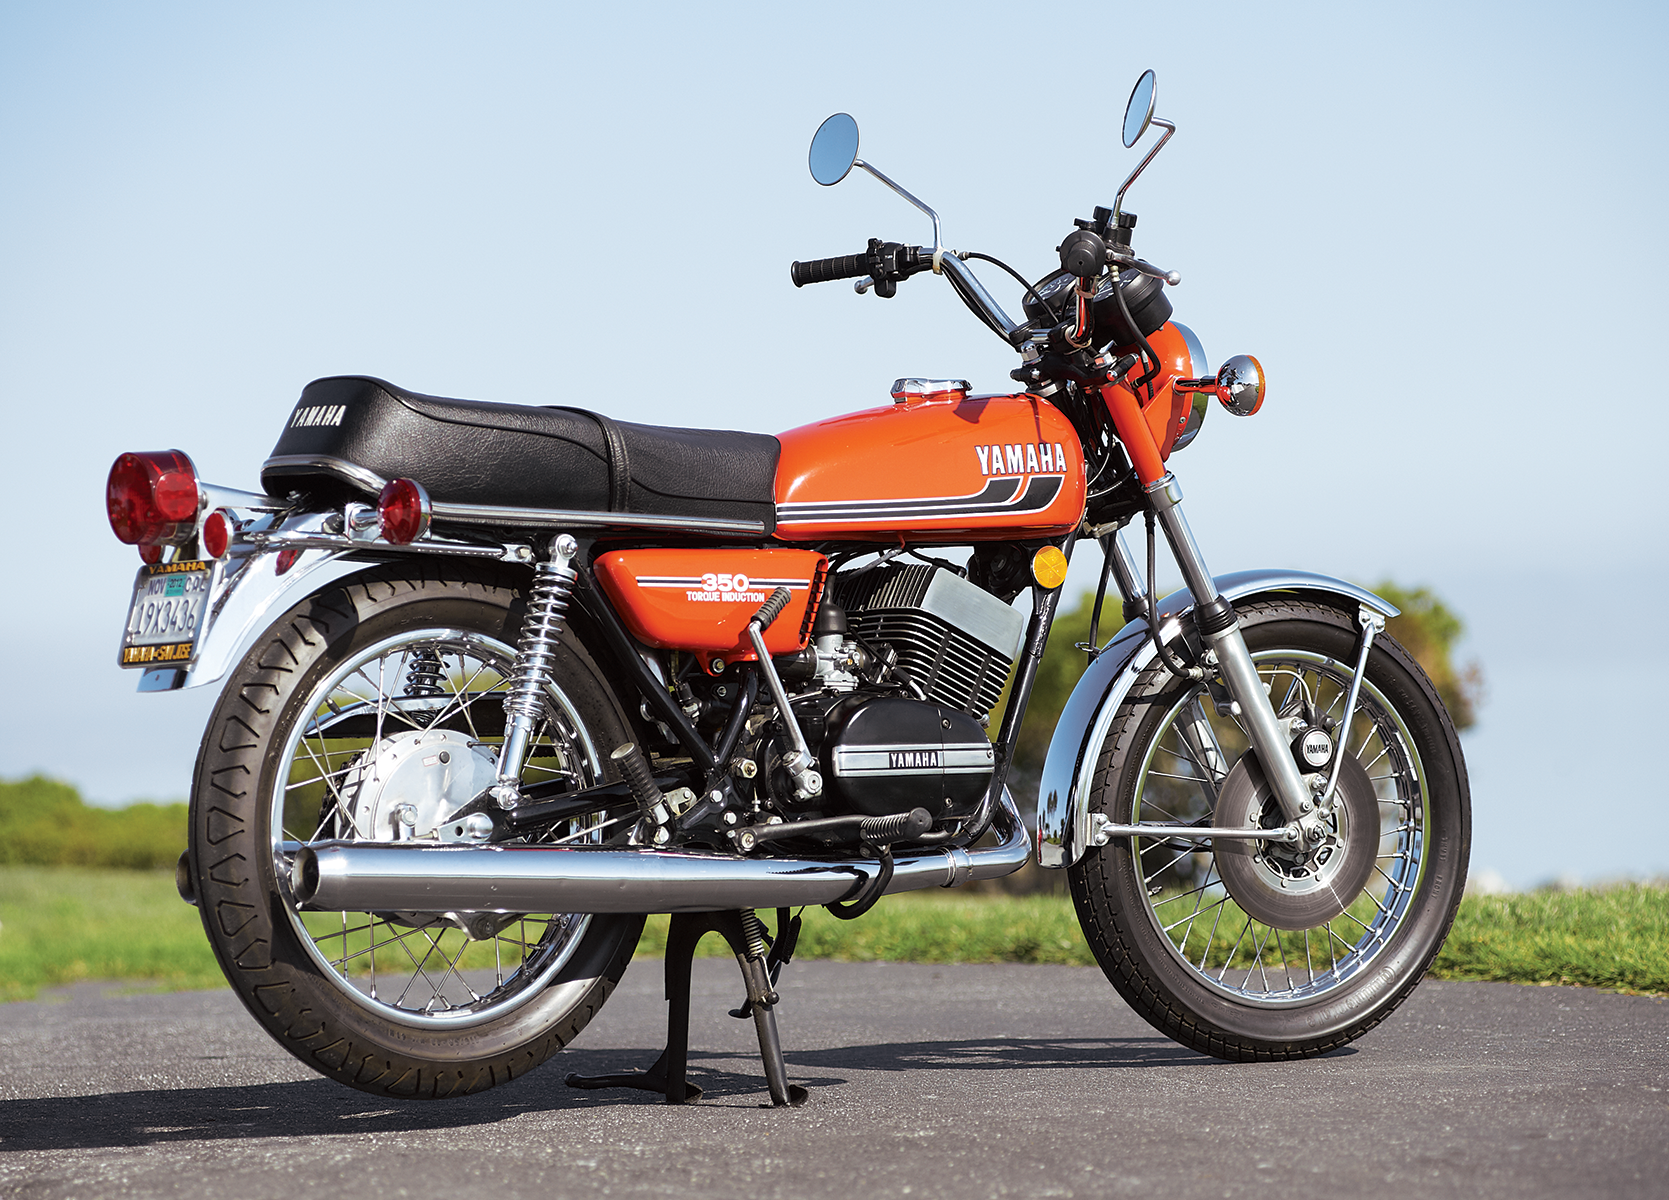
And finally, after weeks of hard work, it was done! The 1975 Yamaha 350 was back to its former glory. Well, almost. It’s not perfect, but it’s mine, and I built it with my own two hands.
I took it to my friend, and he helped me to finish it. I replaced new tires and adjusted details.
Seeing it all shiny and running is a feeling I can’t quite describe. Now, time to take it for a spin!