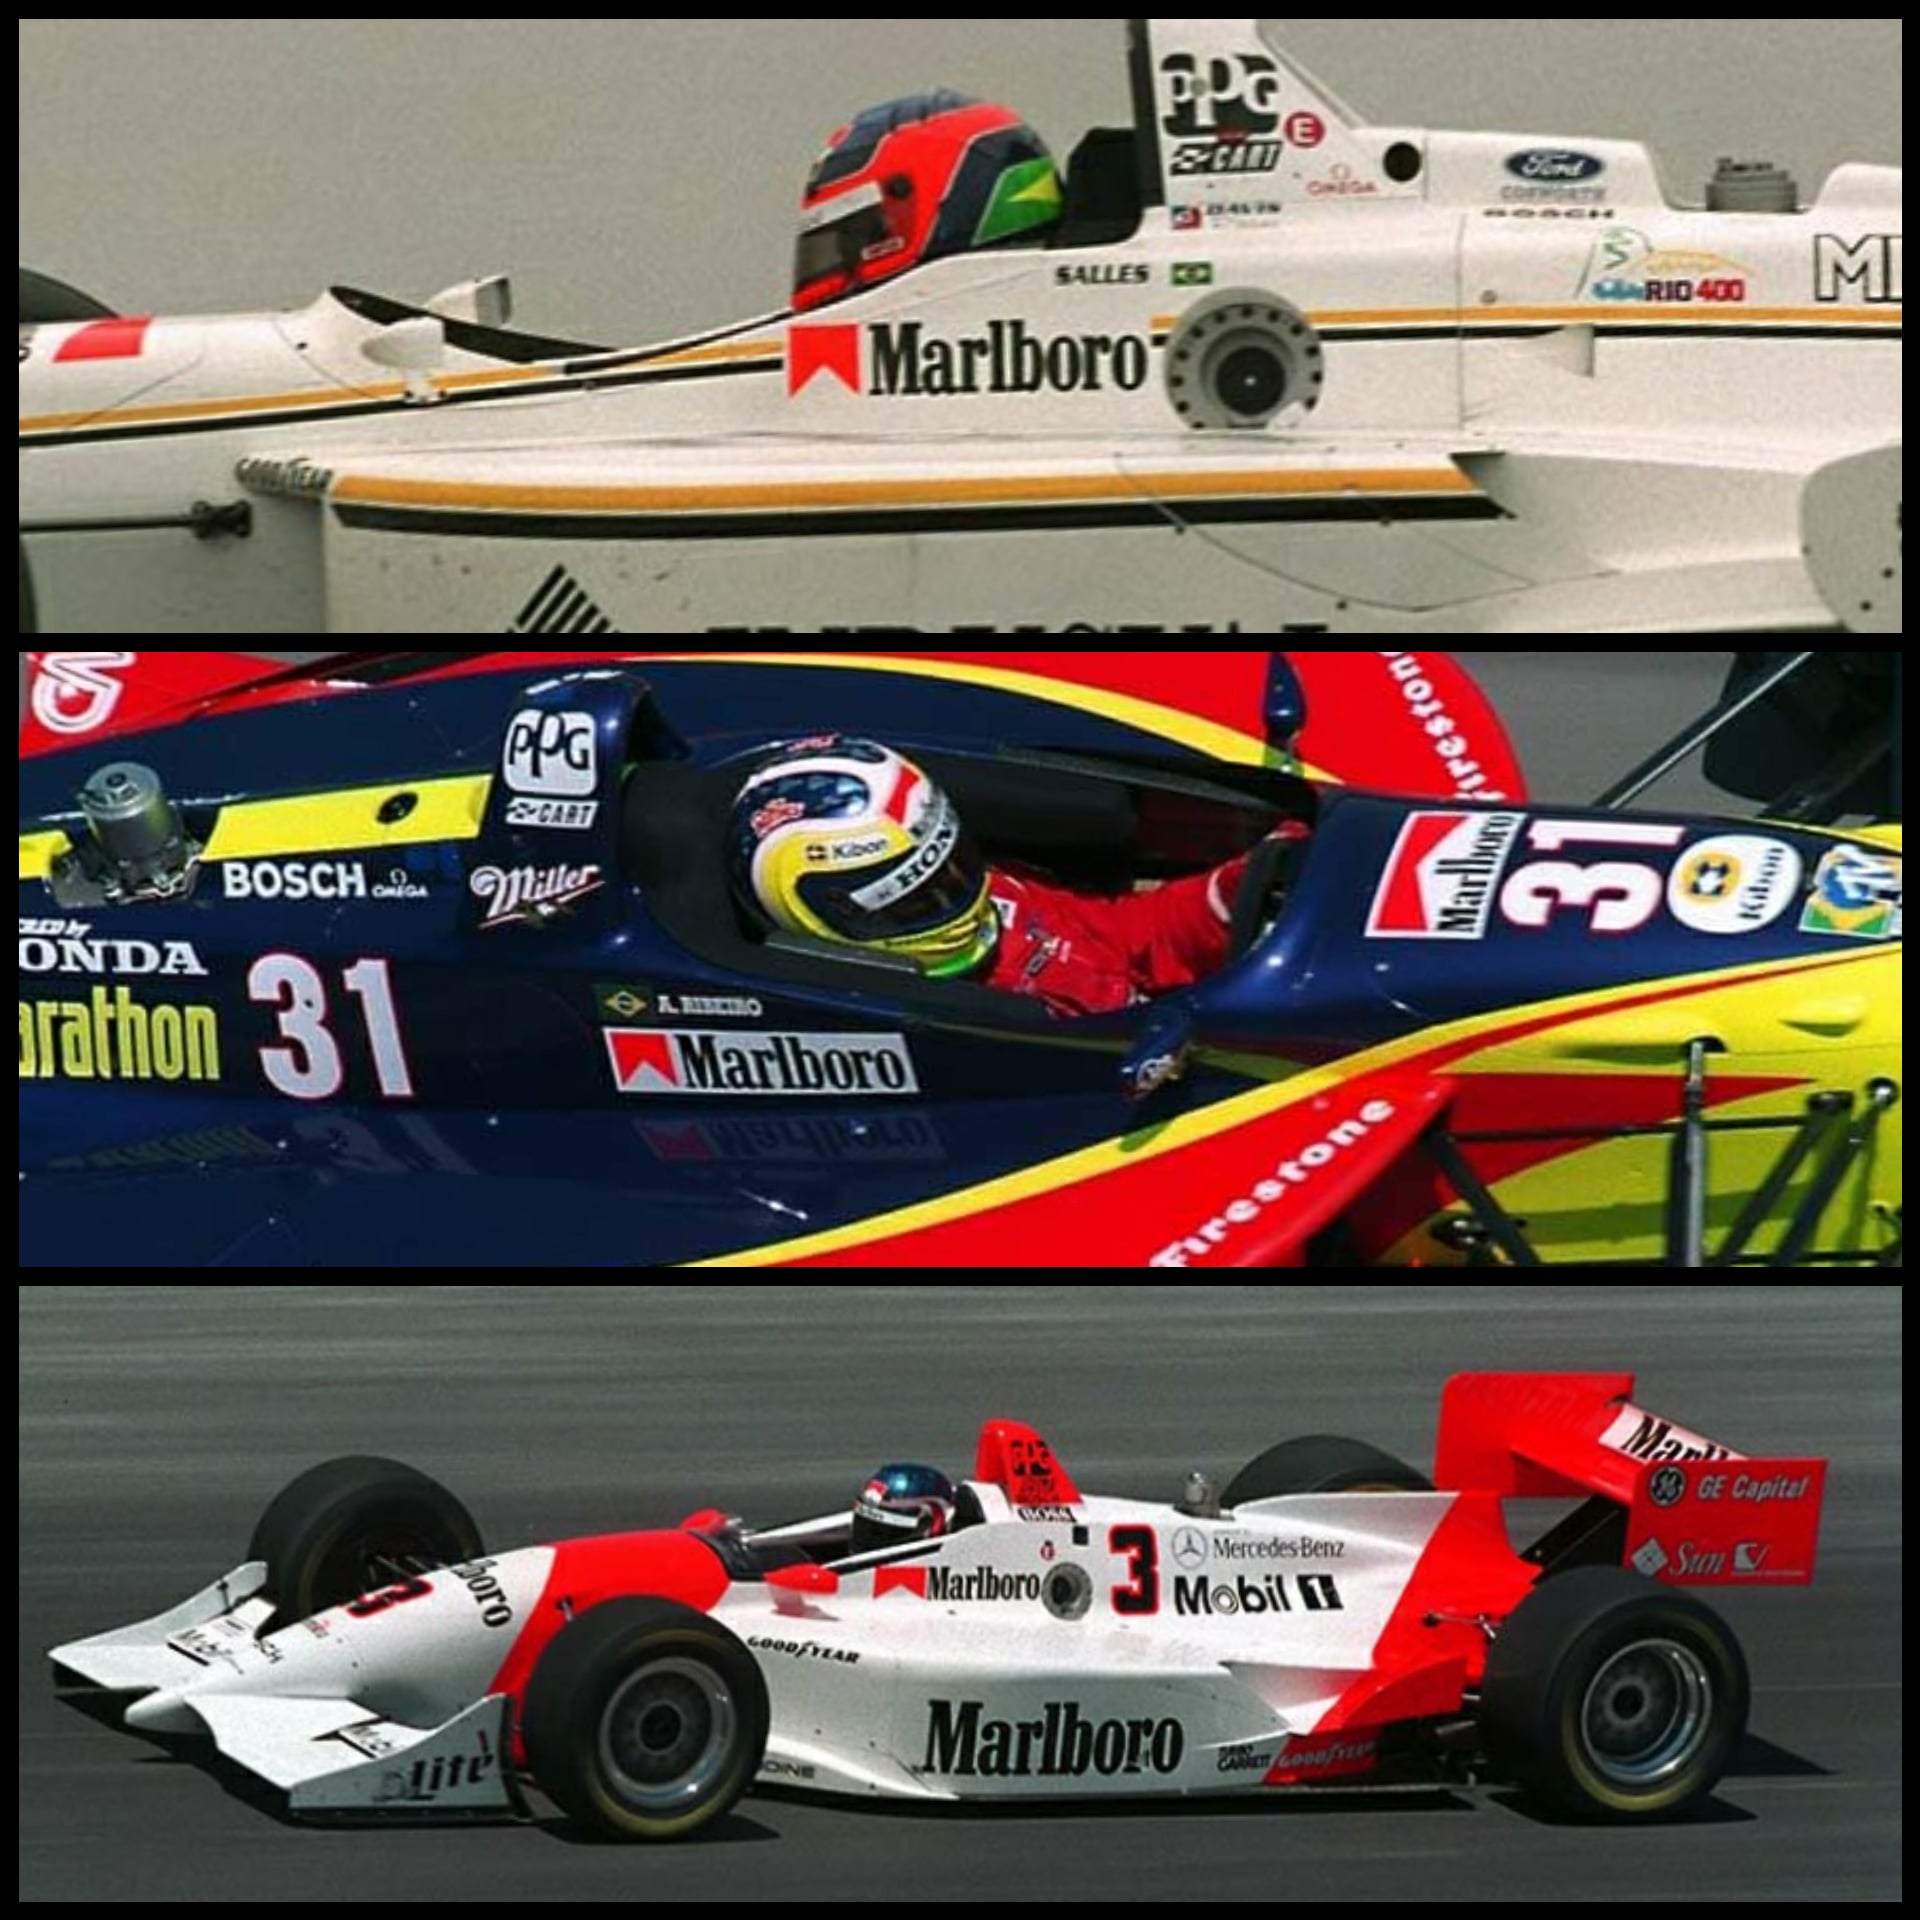
Okay, so I’ve been wanting to tackle a little project for a while, something related to that iconic racing look, you know, the Team Penske Marlboro cars. Just love that red and white design.
Getting Started
First off, I needed a base. I dug around my stash and found an old IndyCar model kit that was pretty close to the Penske chassis from that era. It wasn’t perfect, but good enough to start with. Had to dust it off quite a bit, been sitting there for ages.
The real challenge, I knew, would be the decals. You can’t just buy kits with tobacco logos anymore, right? So, I started searching around, mostly checking out specialized aftermarket decal makers. Took a bit of digging, but I eventually found a set online that had the right markings for the specific year I was aiming for. Ordered those and waited.
Prep and Paint
While waiting for the decals, I got to work on the car body itself. This is the part I sometimes rush, but I told myself to take it slow this time.
- Sanding: Got rid of the mold lines on the plastic. Used some fine-grit sandpaper. Tedious stuff, but makes a difference.
- Washing: Cleaned all the parts with soap and water to get rid of any dust or oils. Let it air dry completely.
- Priming: Sprayed a light coat of white primer. Helps the paint stick and shows up any flaws I missed in sanding. Had to do a tiny bit more sanding after priming, always happens.
Then came the main paint job. That bright white base coat went on first. Several thin coats are better than one thick one, I always tell myself. Let that cure properly for a day or two. The trickiest part was masking for that red chevron shape. Used a bunch of Tamiya masking tape, trying to get the angles just right based on reference photos I’d gathered. Sprayed the red, pulled the tape off carefully… phew, mostly clean lines! A tiny bit of bleed-through here and there, but I could touch that up later with a fine brush.
Decals and Finishing
Decals finally arrived! This is always the nerve-wracking part for me. Those things are thin and fragile.
Applying Decals: I cut out each decal carefully, soaked it in water, and slid it onto the model. Used some Micro Set and Micro Sol solution to help them conform to the curves of the car body and snuggle down. The big Marlboro chevrons needed extra care over the engine cover vents. Almost tore one, but managed to save it. Patience is key here, seriously. Added the smaller sponsor logos – Bosch, Mobil 1, Goodyear, all the little details that make it look authentic.
Final Touches: After letting the decals dry thoroughly for another day, I gave the whole body a couple of light coats of clear gloss spray. This seals the decals in, protects the paint, and gives it that nice shiny finish like a real race car. Assembled the rest of the car – wheels, wings, suspension bits.
The Result
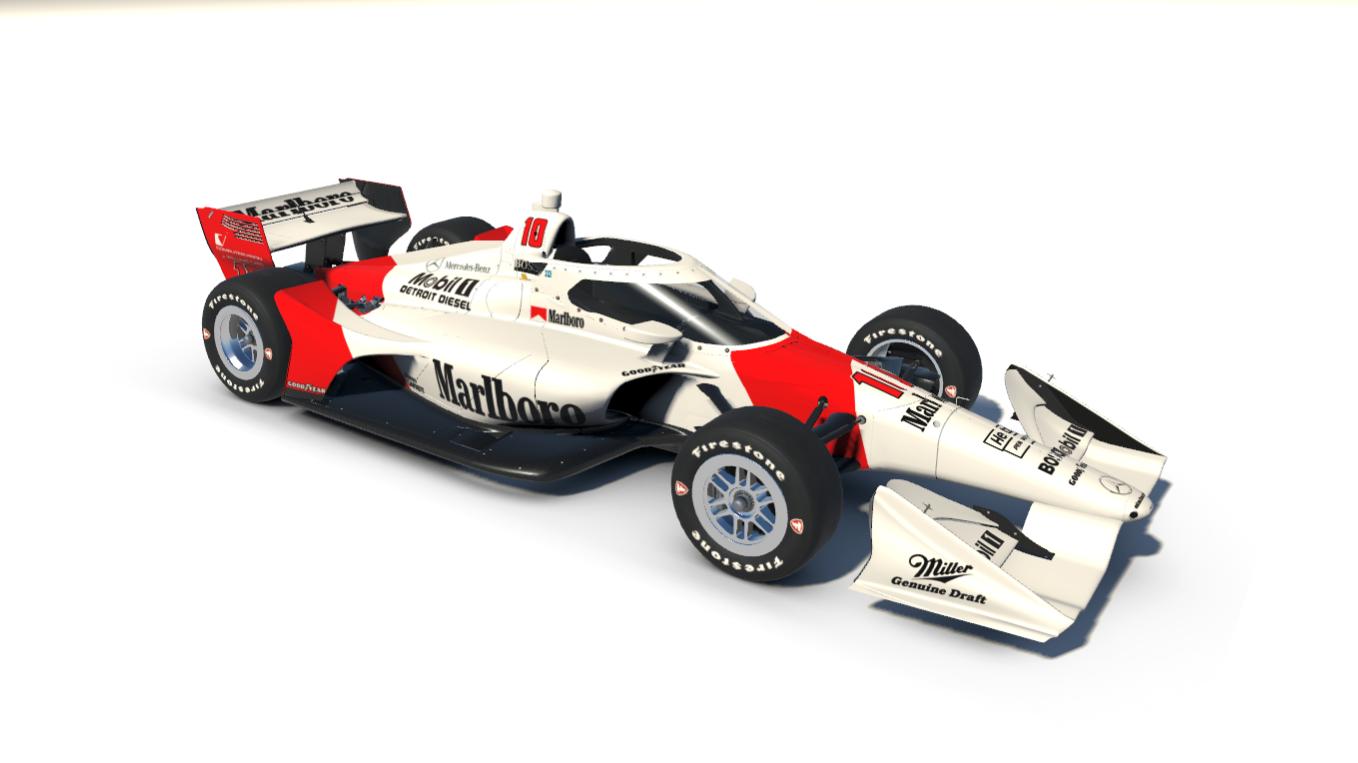
So, there it is. Stood back and took a look. It’s not a concours-winning model by any means, couple of rough spots if you look really close. But, sitting on the shelf, it really captures that classic Team Penske Marlboro vibe I was going for. Pretty happy with how this little practice session turned out. It was fun going through the process again, step by step.