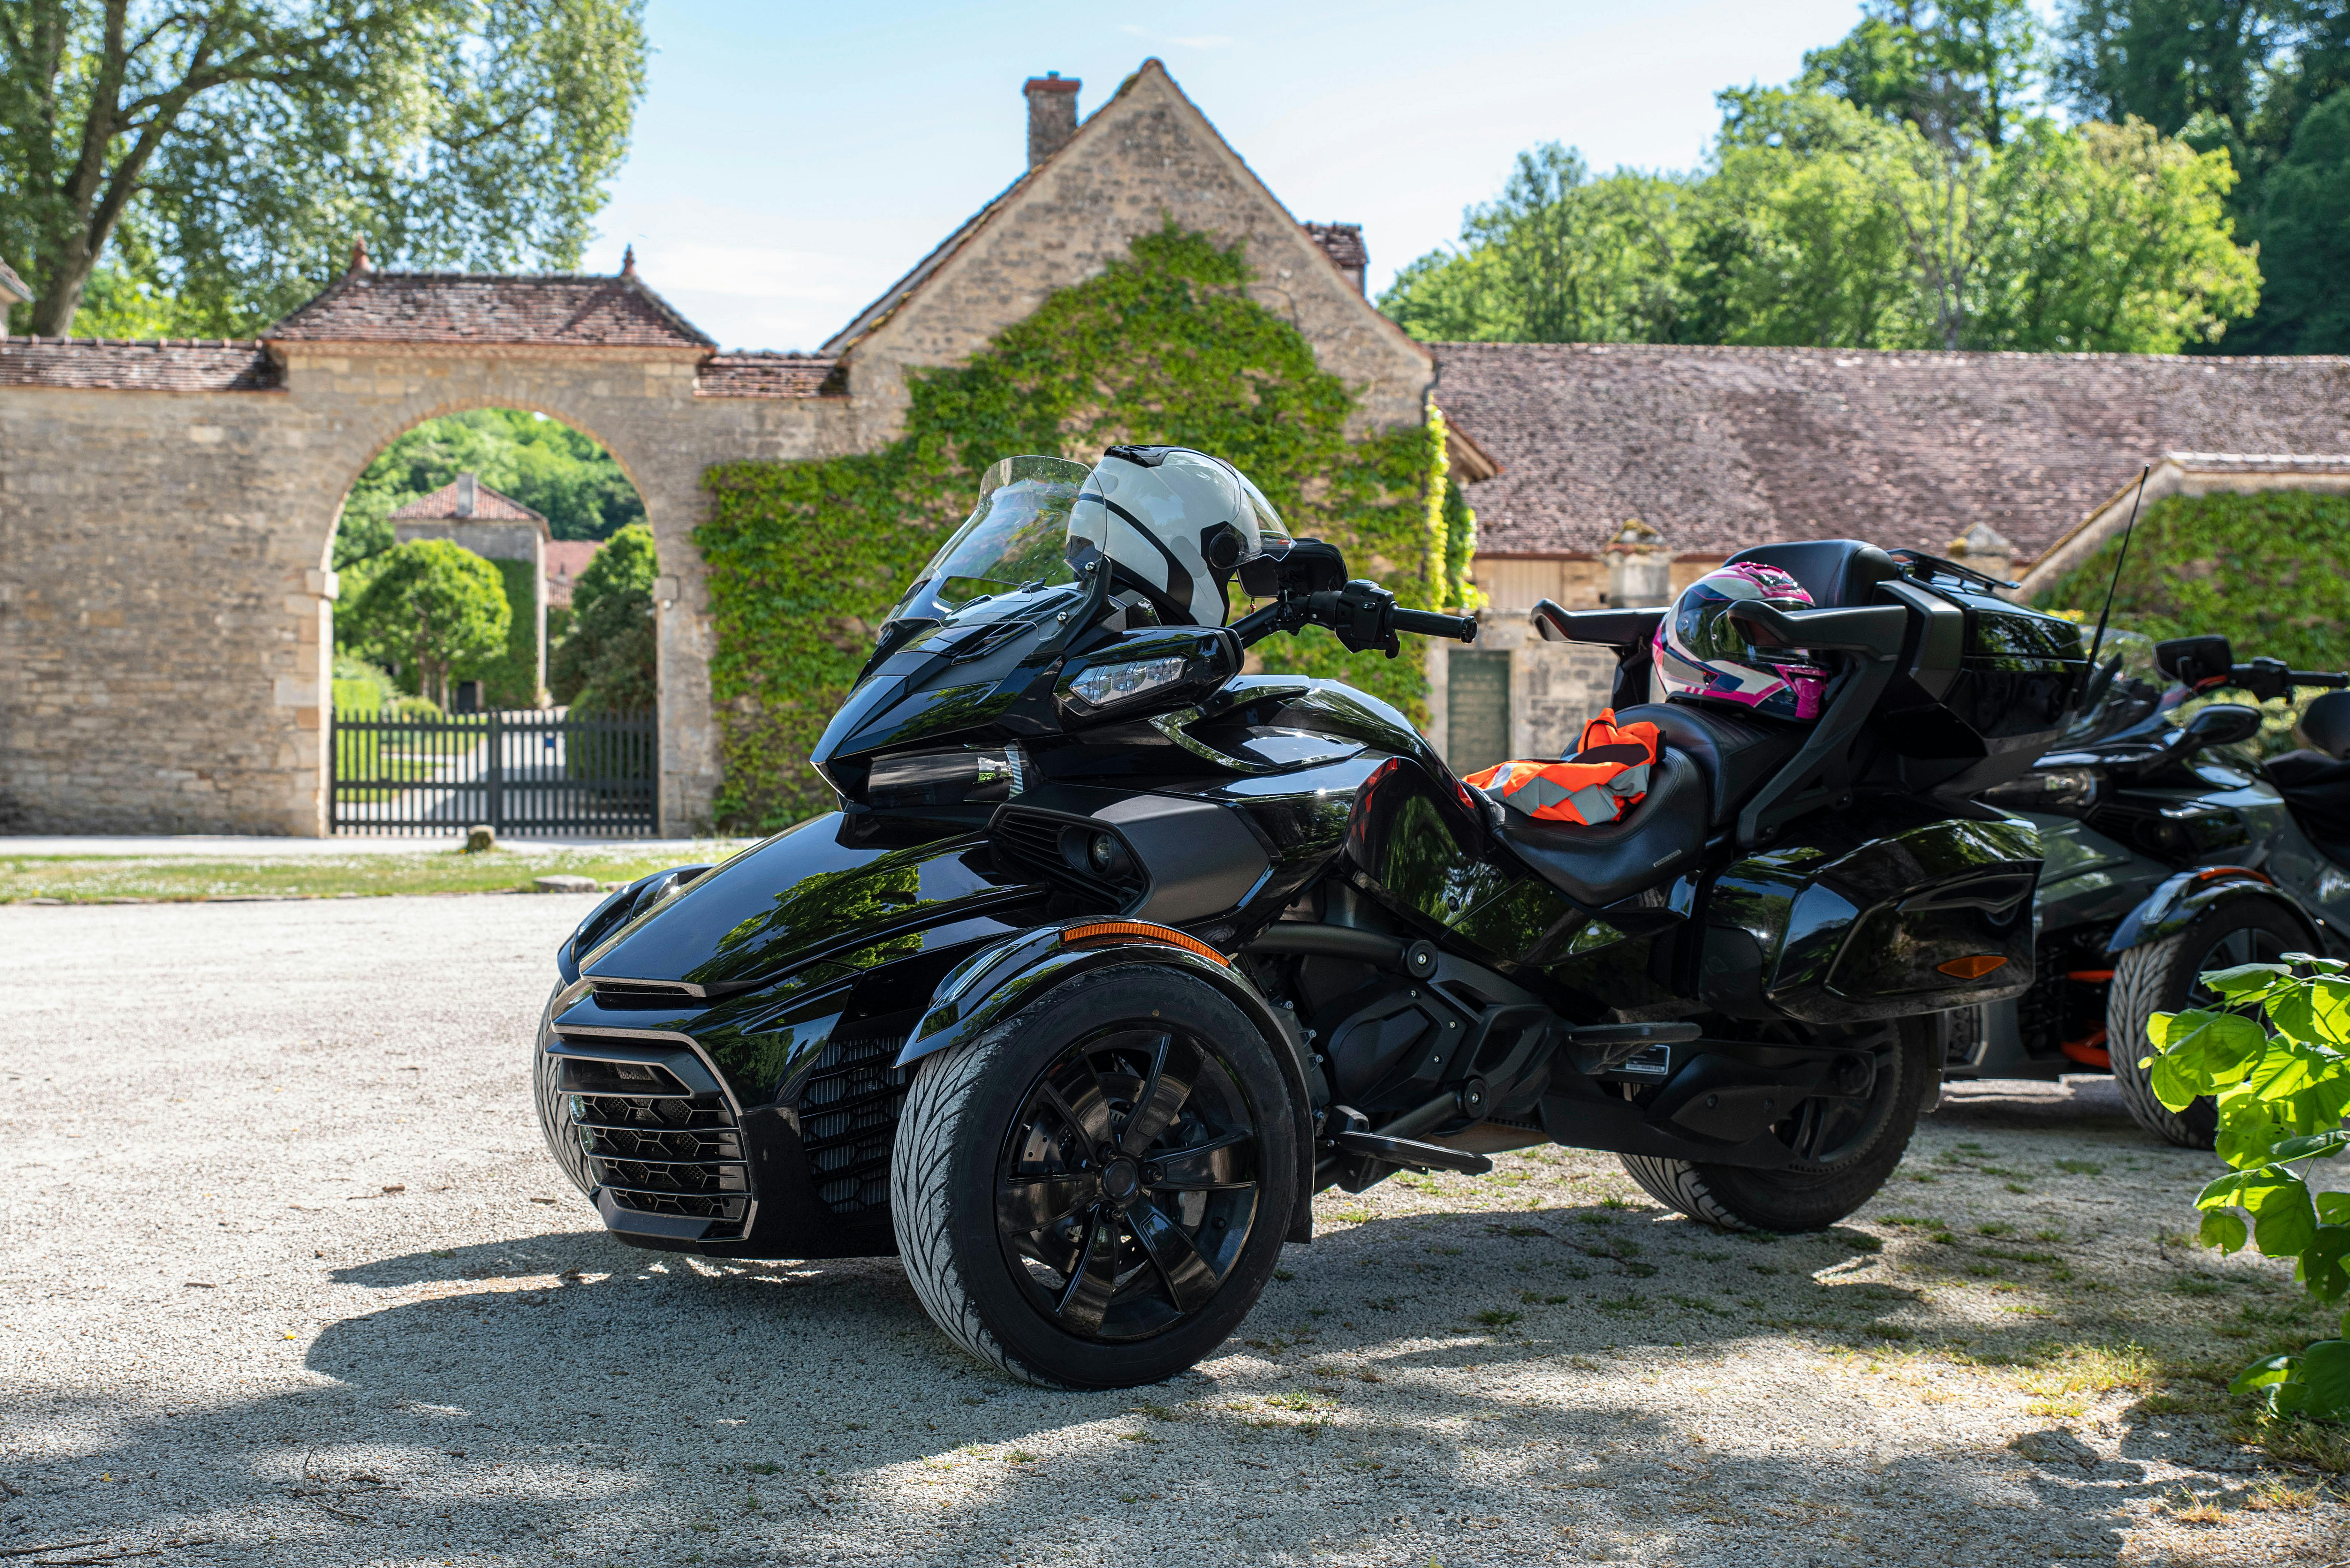
I’ve always been intrigued by three-wheeled motorcycles, or trikes. They look so cool and unique, so I decided to build one myself. Here’s how I went about it.

First, I started to find some information about trikes. I searched a lot on the internet. I knew that these things are generally easier to ride than regular bikes because they’re more stable. You don’t have to worry about balancing as much, especially when you’re going slow or stopped. I felt more comfortable to try it.
Then, I started to make a plan. I gathered all the parts I needed. I got some wheels, a frame, and a motor. I found a lot of used parts online and in junkyards to keep the cost down. I already have a lot of tools.
After getting everything, I started putting the trike together. I assembled the frame first. This was pretty straightforward. I bolted the pieces together, following some basic diagrams I found. It was like a big puzzle. I spent a whole weekend just on this part, making sure everything was solid and secure.
Next, I attached the wheels. I put two wheels in the front and one in the back. This was a bit tricky. I had to make sure the wheels were aligned properly so the trike would drive straight. I used a level and some string to check the alignment. I double-checked, triple-checked, and did it a few more times just to be sure.
With the wheels on, I installed the motor. I chose a simple electric motor. I mounted it securely to the frame and connected it to the back wheel with a chain. I made sure all the connections were tight and the chain had the right tension.
After that, I added a seat and handlebars. I used an old seat from a bicycle. I welded it to the frame. The handlebars were also from an old bike. I bolted them on and made sure they were comfortable to reach. I adjusted them a few times until they felt just right.
Finally, I wired up the motor to a battery and a throttle. I connected all the wires carefully, making sure there were no loose connections. I tested the throttle a few times to make sure the motor responded correctly. It was exciting to see the wheel spin when I twisted the throttle.
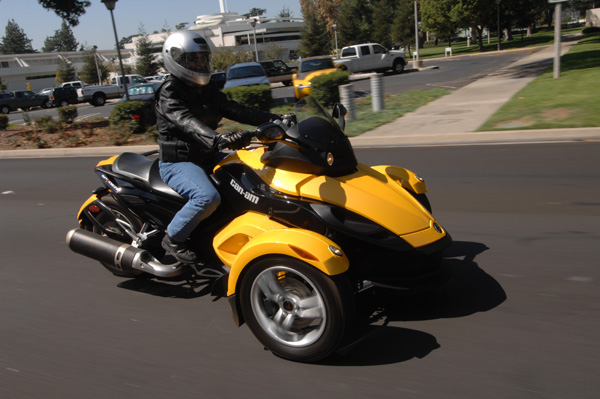
After everything was assembled, I took the trike for a test drive. I started slowly in my backyard, getting a feel for how it handled. It was a bit wobbly at first, but I quickly got the hang of it. It was so much fun to ride! I felt like a kid again.
The best part was riding it around the neighborhood. People gave me some curious looks, and some even stopped to ask about it. I proudly told them I built it myself. It was a great conversation starter.
Here’s a summary of what I did:
- Gathered parts: Wheels, frame, motor, seat, handlebars.
- Assembled the frame: Bolted all the pieces together.
- Attached the wheels: Two in front, one in back, aligned carefully.
- Installed the motor: Mounted it to the frame, connected to the back wheel.
- Added seat and handlebars: Welded the seat, bolted on the handlebars.
- Wired everything up: Connected the motor, battery, and throttle.
- Test drive: Rode it around, got used to the handling.
Building this trike was a fun and rewarding project. It was challenging at times, but I learned a lot along the way. Plus, now I have a cool, unique ride that I built with my own hands. If you’re thinking about building one, I say go for it! Just be prepared to get your hands dirty and have some fun.