Okay, so today I wanted to set up some string line stakes in my garden. I’ve got this area where I want to plant some new veggies, and I need straight lines to keep everything neat and tidy.
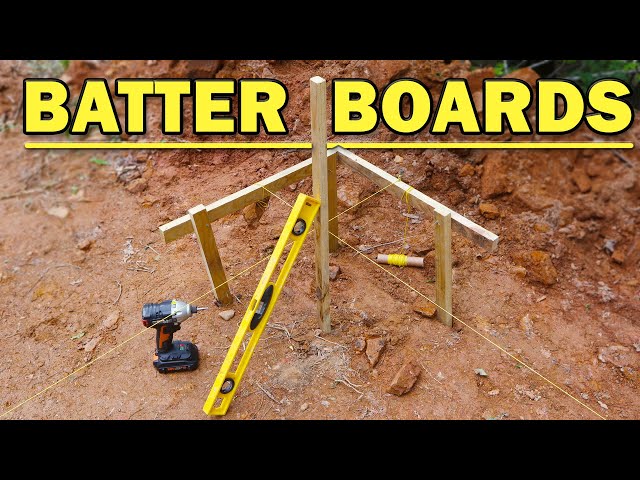
First, I gathered my materials. I already had a big roll of string – the bright pink kind, so I can actually see it. Then I grabbed some wooden stakes from the shed. They’re just simple wooden stakes, nothing fancy, about a foot long each.
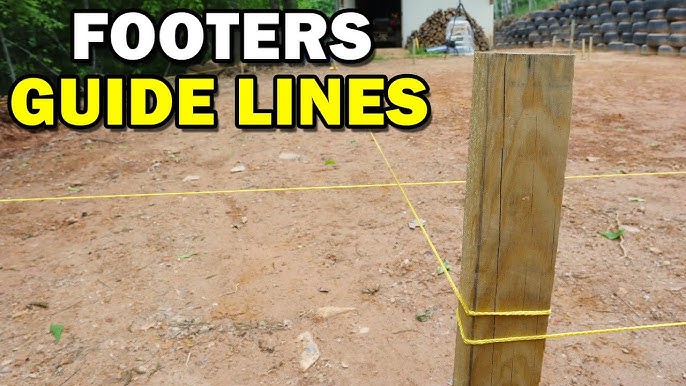
Next, I headed out to the garden. I figured out where I wanted my rows to be. It’s a sunny spot, gets good drainage, so it seemed like a good place. I started at one end of the garden bed and pushed one of the stakes into the ground. I made sure it was good and sturdy, you know, really wiggled it in there.
Then, I unrolled some of the string. I tied it to the stake I just put in. Made a good knot, didn’t want it coming loose. After that, I walked to the other end of where I wanted the row to be, pulling the string tight. It was a little tricky keeping it straight while I walked, but I got there.
I pushed another stake into the ground at that end. Again, nice and firm. Then I wrapped the string around that stake a few times and tied it off. I made sure the string was really taut between the two stakes. That’s the key – gotta have it tight so you get a straight line.
- First stake in: Check.
- String tied: Check.
- String pulled tight: Check.
- Second stake in: Check.
- String secured: Double-check!
I repeated that process for the other rows I wanted. It took a little bit of time, especially making sure all the rows were parallel. I just eyeballed it, stepping back every now and then to check the spacing.
The result
Once I had all the stakes in and the string lines set up, I was pretty happy with how it looked. Nice, straight lines, ready for planting! It’s a simple thing, but it makes a big difference in how organized the garden looks. And it’ll make it easier to plant everything in neat rows. Success!