Okay, let’s talk about this Yamaha engine project I tackled recently.
Getting Started with the Beast
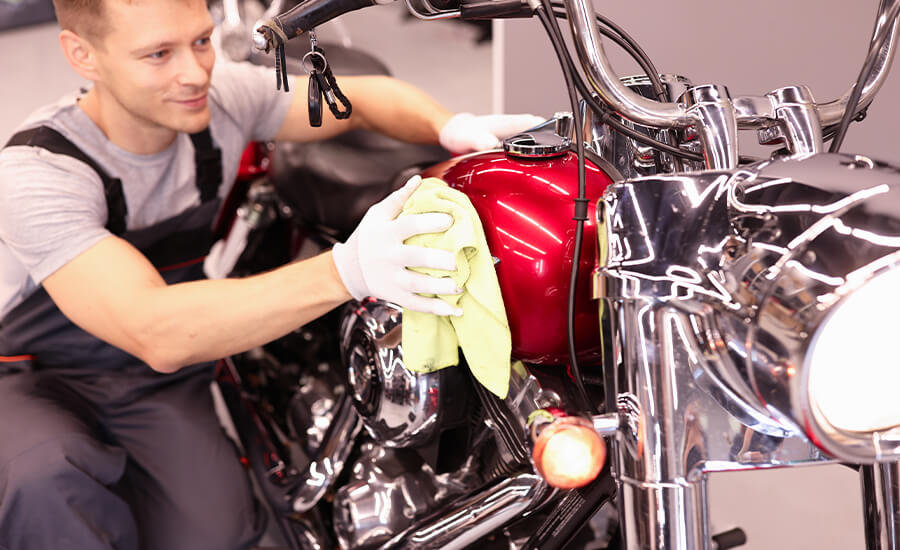
So, my old Yamaha bike, she wasn’t feeling too happy. Started rough, coughed a bit when I gave it gas, just generally grumpy. I figured, after sitting for a bit and knowing how fussy fuel can get, it was probably time to look at the carbs. Yeah, I know, everyone groans about carbs, but sometimes you just gotta do it.
First step, obviously, was getting access. That meant pulling the seat off, then the fuel tank. Always remember to turn off the petcock and disconnect the fuel line before you start yanking the tank, learned that the messy way once. Had to drain some gas out too, just to make it lighter and less sloshy.
Diving In
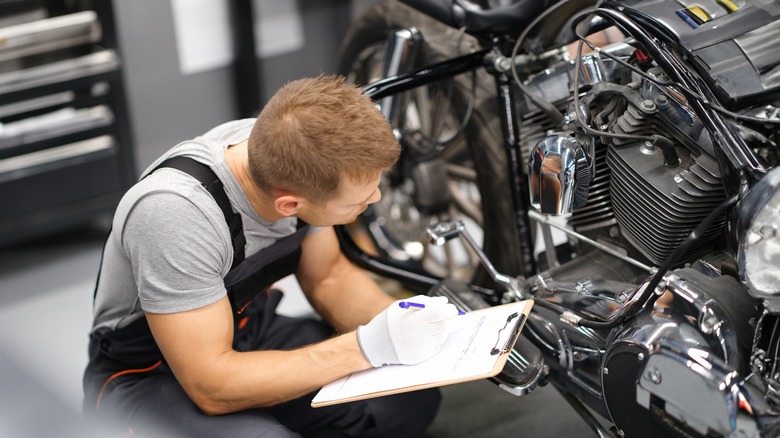
With the tank out of the way, I could finally see the top of the engine and the bank of carburetors nestled in there. Next came the airbox. Always a bit of a puzzle, getting those things out. Lots of hoses, clamps, sometimes a hidden screw or two. Took some wiggling and gentle persuasion, but it popped free.
Then came the main event: loosening the clamps holding the carbs to the engine intake boots and the airbox boots (which were already loose since the airbox was out). Had to disconnect the throttle cables too. This part requires a bit of patience, making sure you don’t kink anything. Finally, I could carefully pull the whole carb assembly out. It’s heavier than you’d think.
The Actual Work Bit
I set the carb bank up on my workbench. Took lots of pictures first, especially of where all the little hoses went. Trust me, you think you’ll remember, but you won’t.
- Disassembly: I decided to tackle them one at a time. Took the float bowl off the first one. Pretty grungy inside, some varnish and sediment. Typical.
- Cleaning: Pulled out the jets – the main jet, the pilot jet. Sprayed carb cleaner through every little passage I could find. Used a soft wire strand, carefully, to poke through the jets just to be sure they were clear. You gotta be gentle here, brass is soft.
- Floats: Checked the float height and made sure the float needle valve was sealing okay. Didn’t seem too bad on this one.
- Repeat: Did the same thing for the other carbs. It’s repetitive work, but you gotta be thorough. Found one pilot jet that was definitely clogged solid. Aha! Probably the main culprit for the rough idle.
Cleaned everything up, all the bowls, sprayed down the carb bodies. Let it all dry out properly.
Putting It Back Together
Reassembly is basically the reverse. Carefully put the jets back in, float bowls back on. Getting the carb bank back into the rubber boots on the engine side takes some pushing and careful alignment. Made sure they seated all the way in. Reconnected the throttle cables, made sure the throttle snapped back properly. Put the airbox back on, connected all those hoses (thank goodness for the photos). Then the fuel line and the tank, finally the seat.
Moment of Truth…
Turned the fuel on, gave it a few seconds. Hit the starter. It cranked a bit, then fired up! And yeah, it sounded much smoother right away. Let it warm up, played with the idle adjustment screw a bit to get it settled. The throttle response felt way crisper too, no more hesitation.
Took it for a quick spin around the block. Huge difference. Pulled clean, idled steady. Felt like a proper Yamaha again. It’s satisfying, you know? Took an afternoon, got my hands dirty, but fixed the problem myself. That’s the good stuff.