So, I wanted to mess around with this whole “gear driven” thing. I’d seen some cool projects online, and figured, why not give it a shot? I mean, how hard could it be, right?
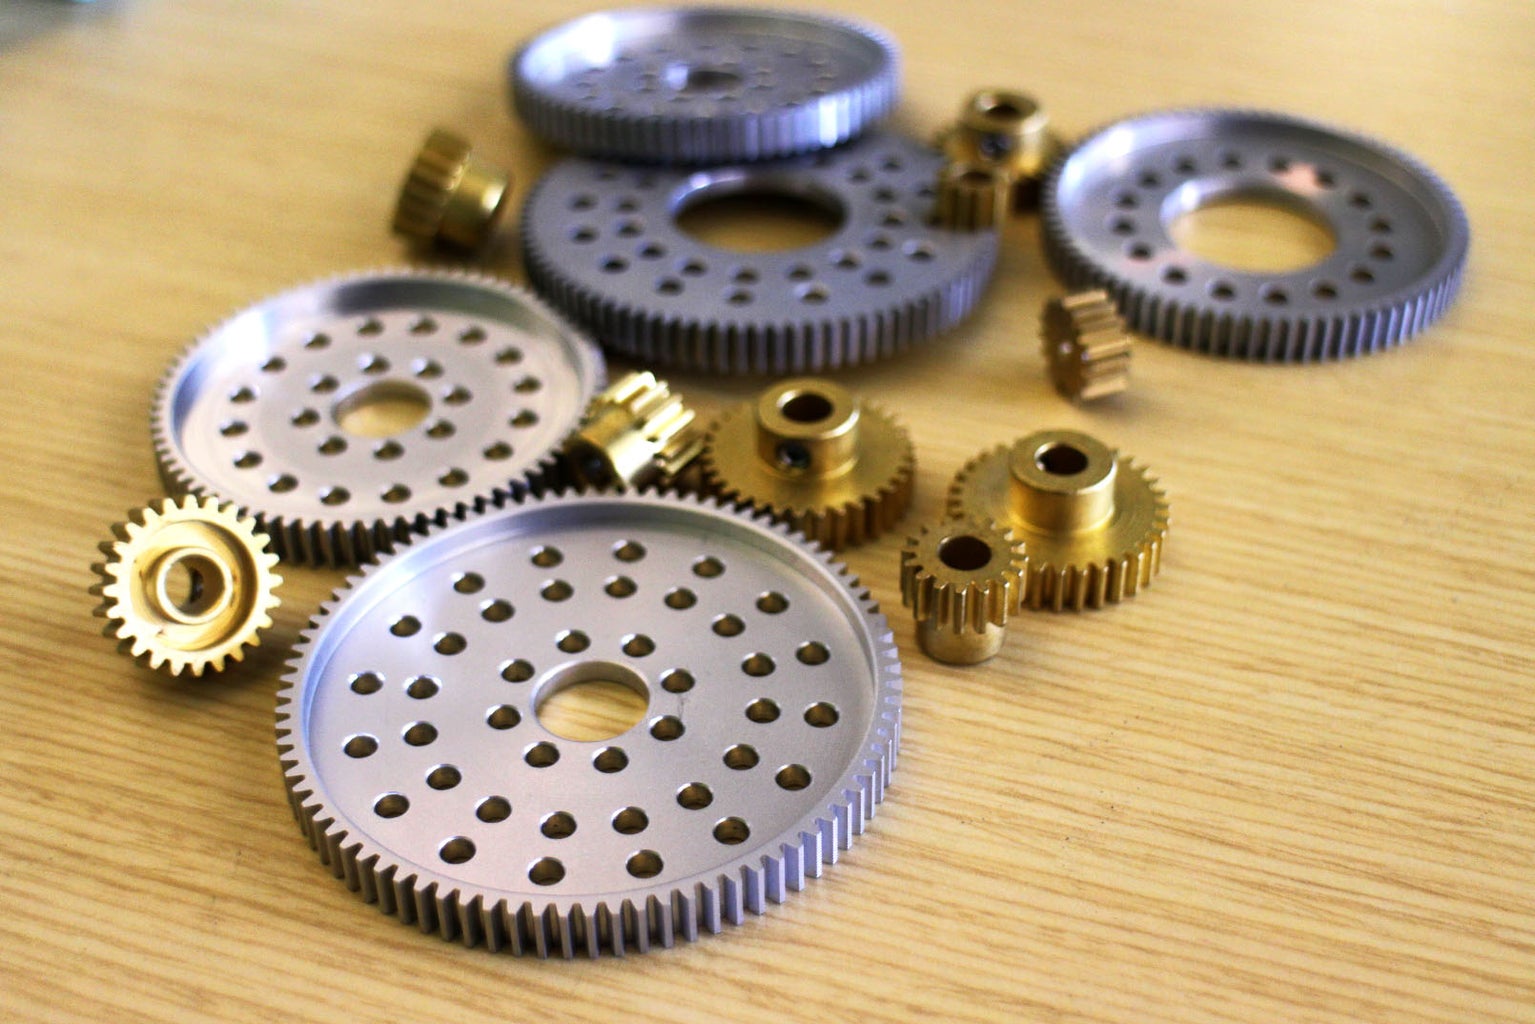
First, I gathered my materials. I’m a big fan of keeping things simple, I grabbed some cardboard, scissors, a ruler, and a pencil. Fancy? Nope. But it gets the job done.
Cutting Out the Gears
I started by sketching out some circles on the cardboard. No fancy compass here, I just traced around some jar lids and bowls I found in the kitchen. Different sizes, of course, because what’s a gear system without some variation?
Then came the tricky part. Cutting out those circles. My scissors aren’t exactly precision instruments, so let’s just say the edges were… a little rough. I tried to smooth them out as best I could, but perfection wasn’t really the goal here.
After I cut out all circles,I draw the teeth on each gear. I just eyeballed it, drawing little triangles around the edges. Again, nothing precise, just making sure they were roughly evenly spaced.
Now, that step take me so long time, and I finally finished it!.
Making it Work
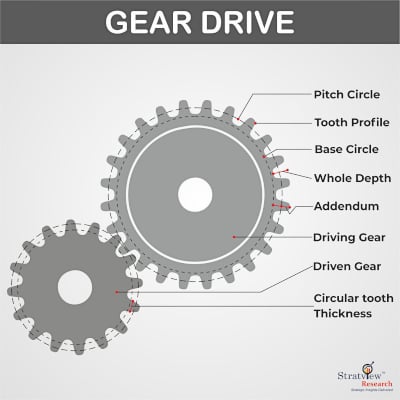
I poked a hole in the center of each gear, and then I pushed the stick to fix each cardboard gear on a bigger cardboard. I made sure they were spaced out so the teeth could mesh together.
And… it worked! Sort of. It wasn’t exactly smooth, and sometimes the teeth would slip, but when I turned one gear, the others moved too. It was pretty satisfying to see it all come together, even if it was a bit janky.
This whole project was a good reminder that you don’t need fancy tools or perfect skills to build something cool. It’s all about experimenting and having fun with the process. And hey, even if it doesn’t turn out exactly like you planned, you still learn something along the way.