Okay, let’s talk about the time I decided to dig into my Harley’s 88 cubic inch engine. It wasn’t exactly acting up, but you know how it is, you get that itch to tinker, maybe squeeze a little more life out of it, or just understand it better.
Getting Started
So, first thing, I rolled the bike into the garage. Cleared out some space, ’cause you always need more room than you think. Pulled out my trusty tool chest. You know, the usual suspects: socket set, wrenches, torque wrench – gotta have that – screwdrivers, pliers, the whole nine yards. Laid out some old towels too, helps keep track of bolts and stops stuff from rolling away.
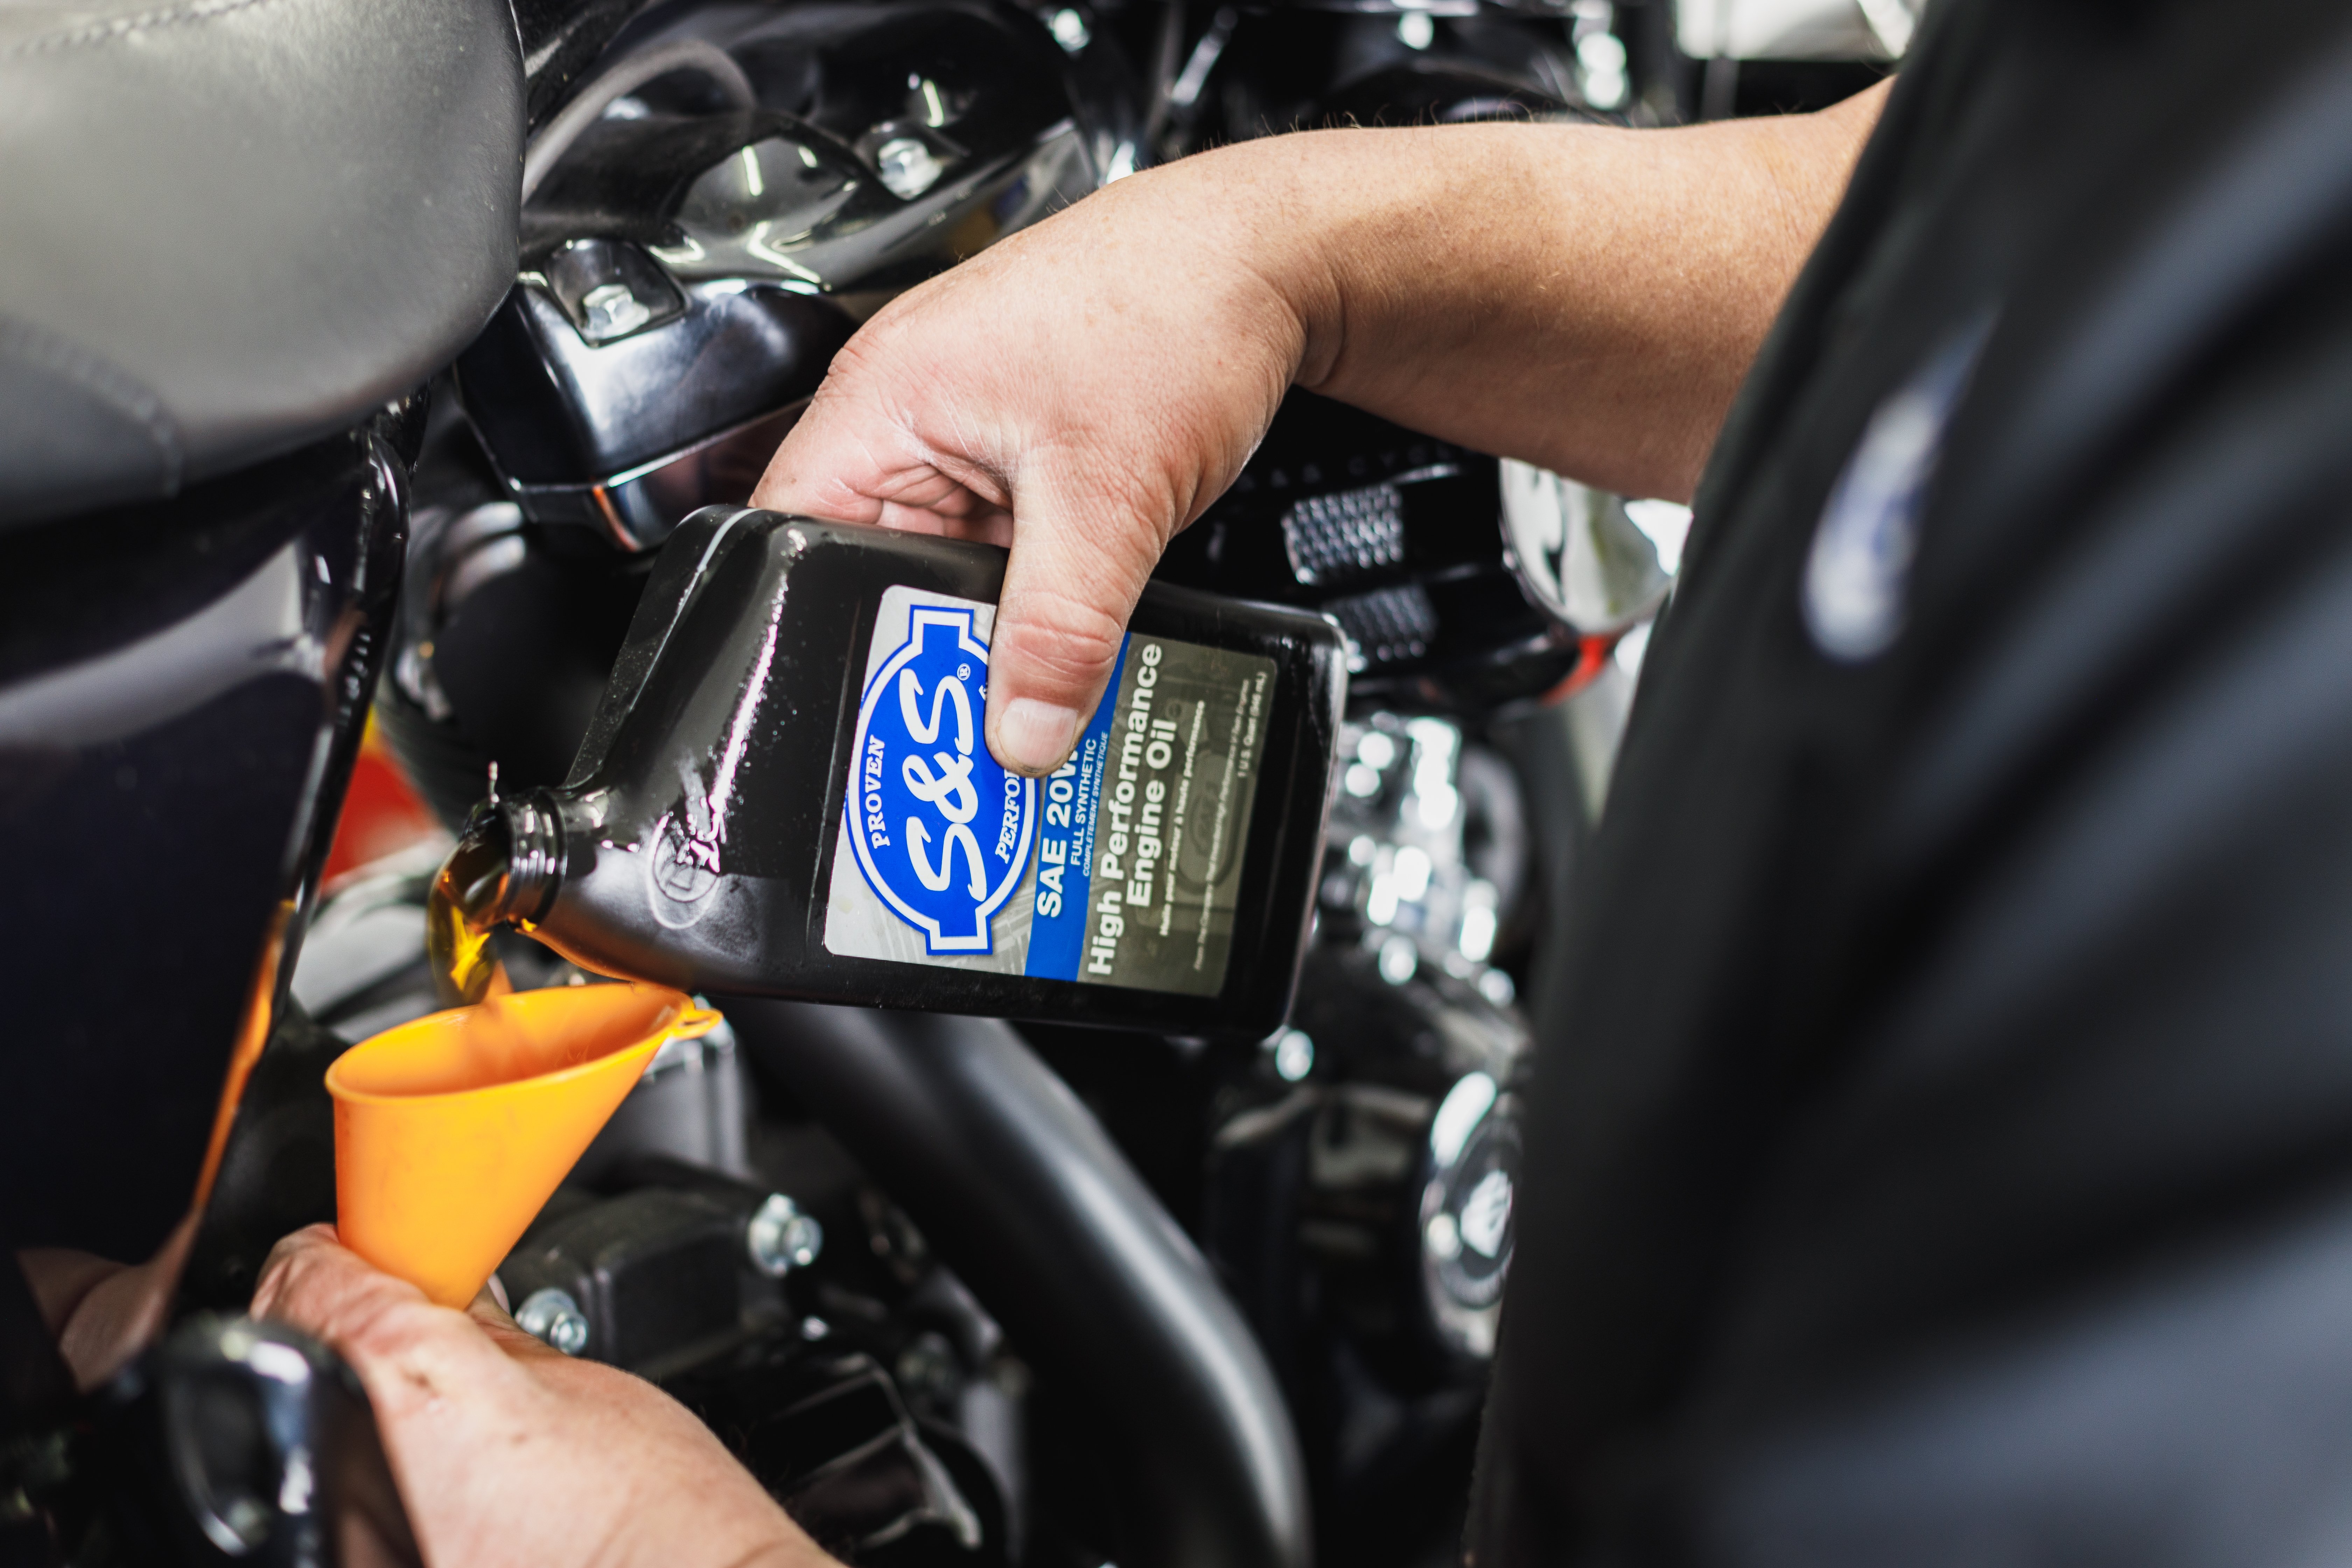
I disconnected the battery first. Safety first, always. Didn’t want any accidental sparks or the bike trying to start itself while I was elbows deep in its guts. Then I drained the oil. Messy job, but necessary. Let it drip out for a good while.
The Teardown
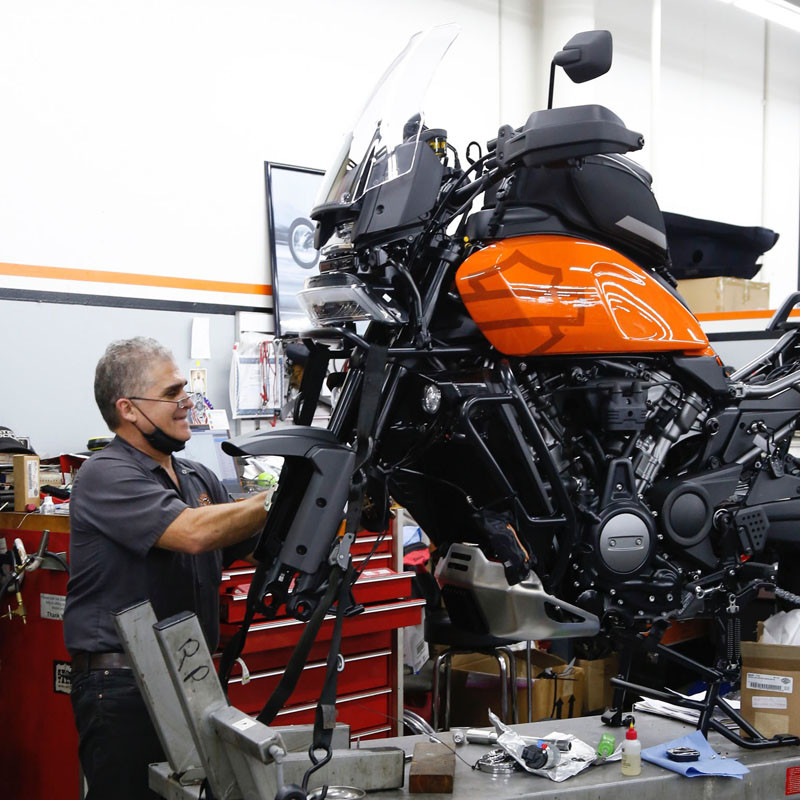
Next came taking things apart. Started with the easy stuff: seat off, tank off. Carefully disconnected the fuel line – always a bit fiddly. Then the exhaust pipes had to come off. Those bolts can be stubborn sometimes, especially near the heads. Needed a bit of muscle and some penetrating oil, but they gave way eventually. Air cleaner assembly came off next, exposing the carb (or throttle body, depending on your model).
Then it was time for the real work – getting into the top end. Rocker box covers came off first. You see the rocker arms doing their thing in there. Then the rocker arms themselves, making sure to keep track of which pushrod went where. Labeling things helps a ton here. Little baggies and a marker pen are your best friends.
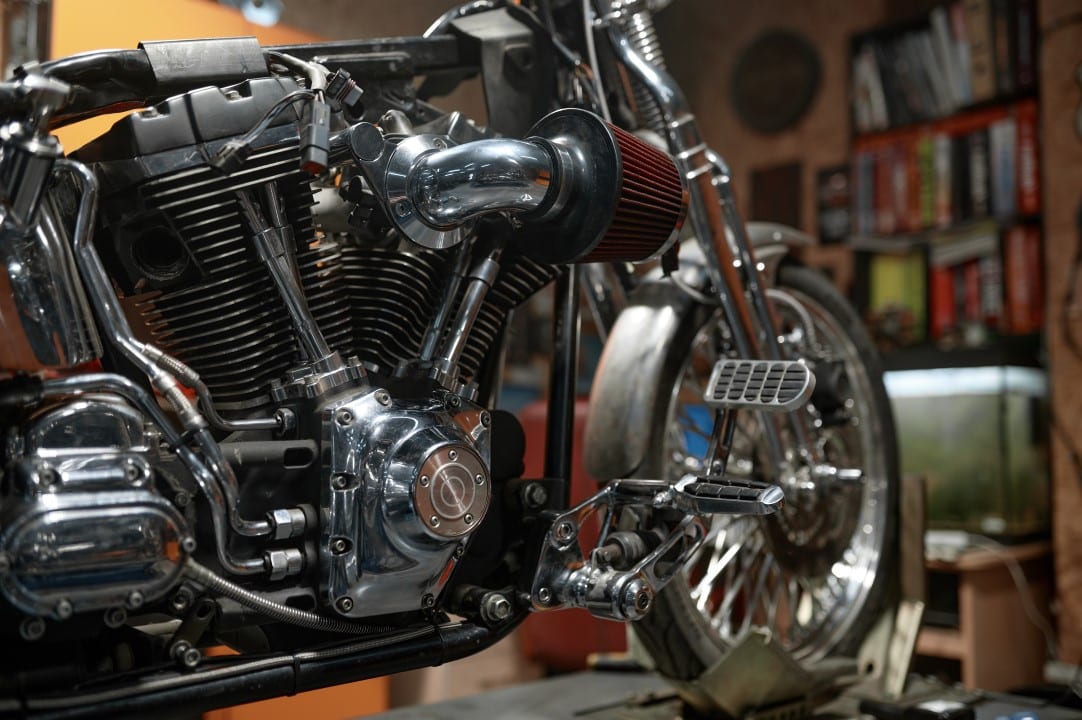
After that, unbolted the heads. Pulled them straight off. Got my first look at the pistons and the top of the cylinders. Looked okay, a bit of carbon buildup, which is pretty normal. Then the cylinders themselves. Had to wiggle them a bit, but they slid off the base studs. Now I could see the pistons fully, attached to the connecting rods.
- Checked the cylinder walls for scoring.
- Looked at the piston crowns and skirts.
- Decided while I was in there, might as well do a little cleanup.
Didn’t go for a full rebuild this time, more of a deep check and refresh. Cleaned up the carbon from the piston tops and the combustion chambers in the heads. Gave the cylinders a quick hone just to deglaze them slightly, help the rings seat nicely again. Checked the ring gaps, all seemed within spec, which was good news.
Putting It Back Together
Reassembly is basically the teardown in reverse, but you gotta be more careful. Cleanliness is key. Wiped everything down meticulously. Used assembly lube on moving parts.
Getting the piston rings compressed to slide the cylinders back on took some patience. Used a ring compressor tool, makes it way easier. Torqued down the cylinder base nuts, then the head bolts. This part is critical. Followed the manual’s sequence and torque specs exactly. You don’t want leaks or warped heads.
Reinstalled the pushrods, rocker arms, and rocker boxes. Again, torqued everything down properly. Put the exhaust back on with new gaskets. Air cleaner, fuel tank, seat… everything went back in its place. Connected the fuel line, double-checked all connections. Reconnected the battery.
The Moment of Truth
Filled it back up with fresh oil. Took a deep breath. Turned the key, hit the starter. It cranked a few times, then roared back to life. Let it idle for a bit, listening for any weird noises. Sounded good. Maybe even a little crisper than before, but that could just be me wanting it to sound better.
Took it for a short, easy ride around the block. Felt strong. No leaks, no strange sounds. Felt good to have done it myself. It’s a satisfying feeling, knowing your machine a bit more intimately. Nothing too complicated this time, just a good solid check-up and clean. Ready for more miles.