Okay, so I’ve been wanting to try this “hole northern star” thing for a while now. I saw some pictures online, and it looked pretty neat, So I thought, “Why not give it a shot?”
Getting Started
First, I needed to find a good spot. I live in city, so light pollution is big trouble. I packed up my gear and drove out to the countryside. It took about an hour, but I finally found a nice, dark field with a clear view of the sky.
Setting up was a bit of a pain, I forgot tripod at home! I rummaged around in my car and found some old stuff and rope. It wasn’t pretty, but it worked. I mounted my camera, aimed it roughly north, and started taking some test shots.
Figuring Out the Settings
This was the tricky part. I’m not a pro photographer. I fiddled with the ISO, aperture, and shutter speed for what felt like forever. Too bright, too dark, too blurry… ugh. I Googled some tips on my phone (thank goodness for cell service!), and that helped a bit.
- ISO: Started around 800, ended up closer to 1600.
- Aperture: Kept it wide open, f/2.8.
- Shutter speed: This was the key. I tried 30 seconds, then 1 minute, then even longer.
Taking the Shots
Once I had the settings dialed in, I started taking a series of long exposures. I used a remote shutter release to avoid shaking the camera. I also kept the light away to keep dark * shot took about 2-3 minutes, and I took about 50 of them.
I just had to keep adjusting focus.
Stacking the Images
After take the picture ,I have to put those photoes together.
I downloaded this free software. It’s supposed to align and stack the images, creating that cool star trail effect.
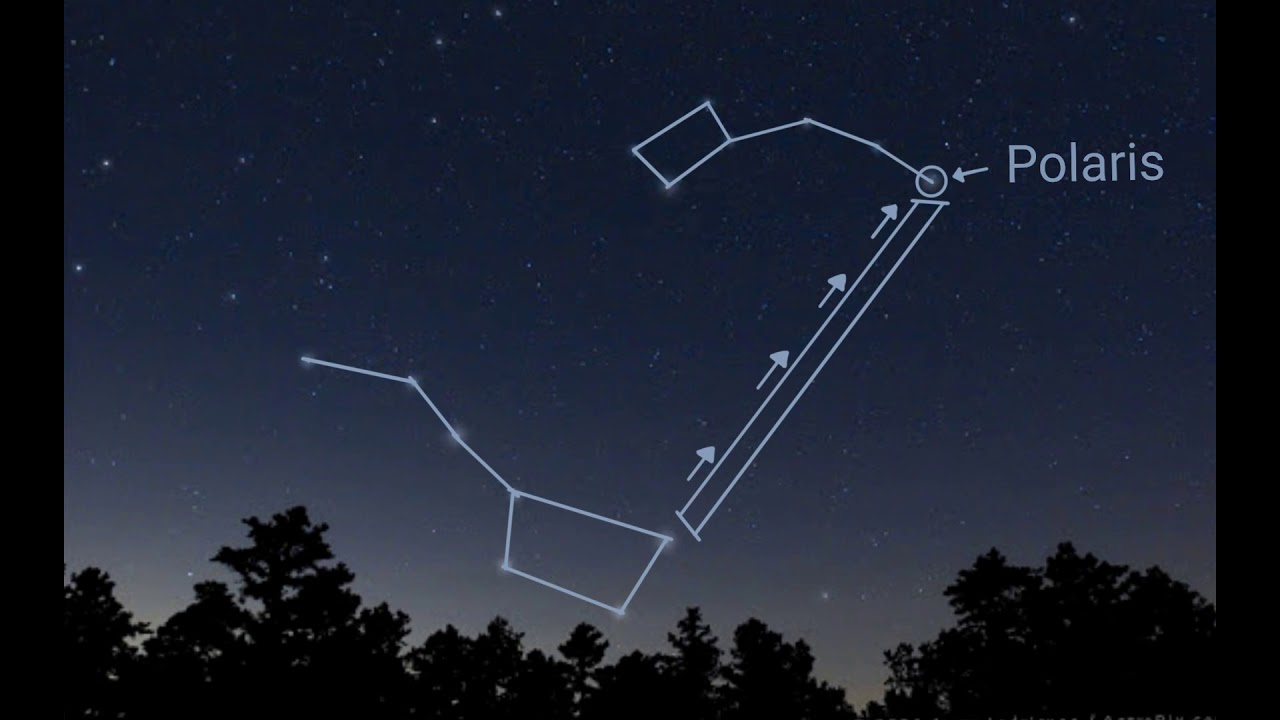
The stacking process took a while, my old laptop is a potato. But when it was finally done… wow! I could see the circular star trails around Polaris, the North Star. It wasn’t perfect, there was some noise and a bit of blur, but I was still pretty happy with it.
Final Thoughts
It was a lot of work, and a lot of trial and error. But it was also really rewarding. I learned a ton about my camera, about astrophotography, and about patience! I’ll definitely be trying this again, maybe with a better tripod next time. And maybe in a spot with even less light pollution.
It’s really amazing experience.