Okay, so I’ve been wanting to change up the look of my Steam Deck for a while now. I saw some cool skins online, and dbrand kept popping up. I finally decided to go for it and picked out their “Blue Gem” skin. Here’s how the whole thing went down.
Getting Started
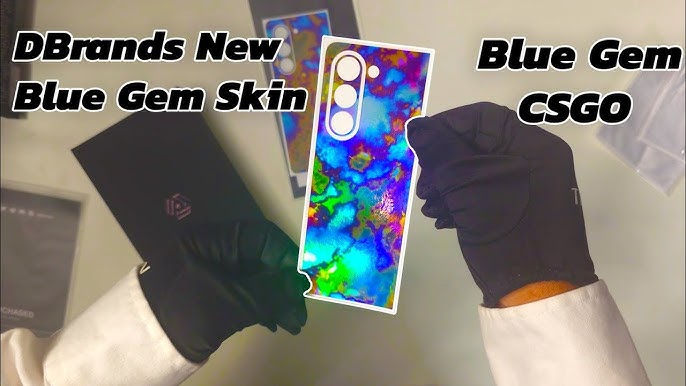
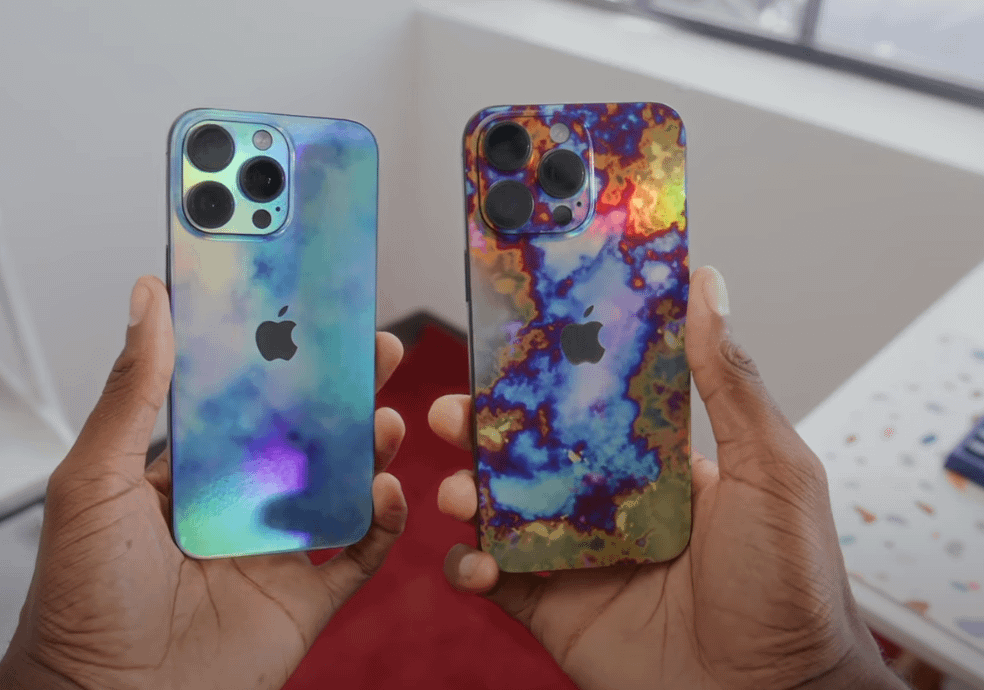
First, I jumped onto dbrand’s website. It was pretty easy to find the Steam Deck skins section. They’ve got tons of designs, but the Blue Gem one really caught my eye. It just looked so…clean and different.
The Ordering Process
Ordering was a breeze. I just added the skin to my cart, typed in my shipping info, and paid. Pretty standard stuff. I think I opted for the slightly faster shipping, ’cause I’m impatient like that.
Waiting Game
The wait was probably the hardest part. I kept checking the tracking number, like, every few hours. It felt like forever, but it actually only took about a week to arrive. Not too bad, all things considered.
Unboxing and First Impressions
When the package finally showed up, I was pretty stoked. I ripped it open, and there it was – the Blue Gem skin, all neatly packaged. It came with a microfiber cloth and some instructions, which was nice.
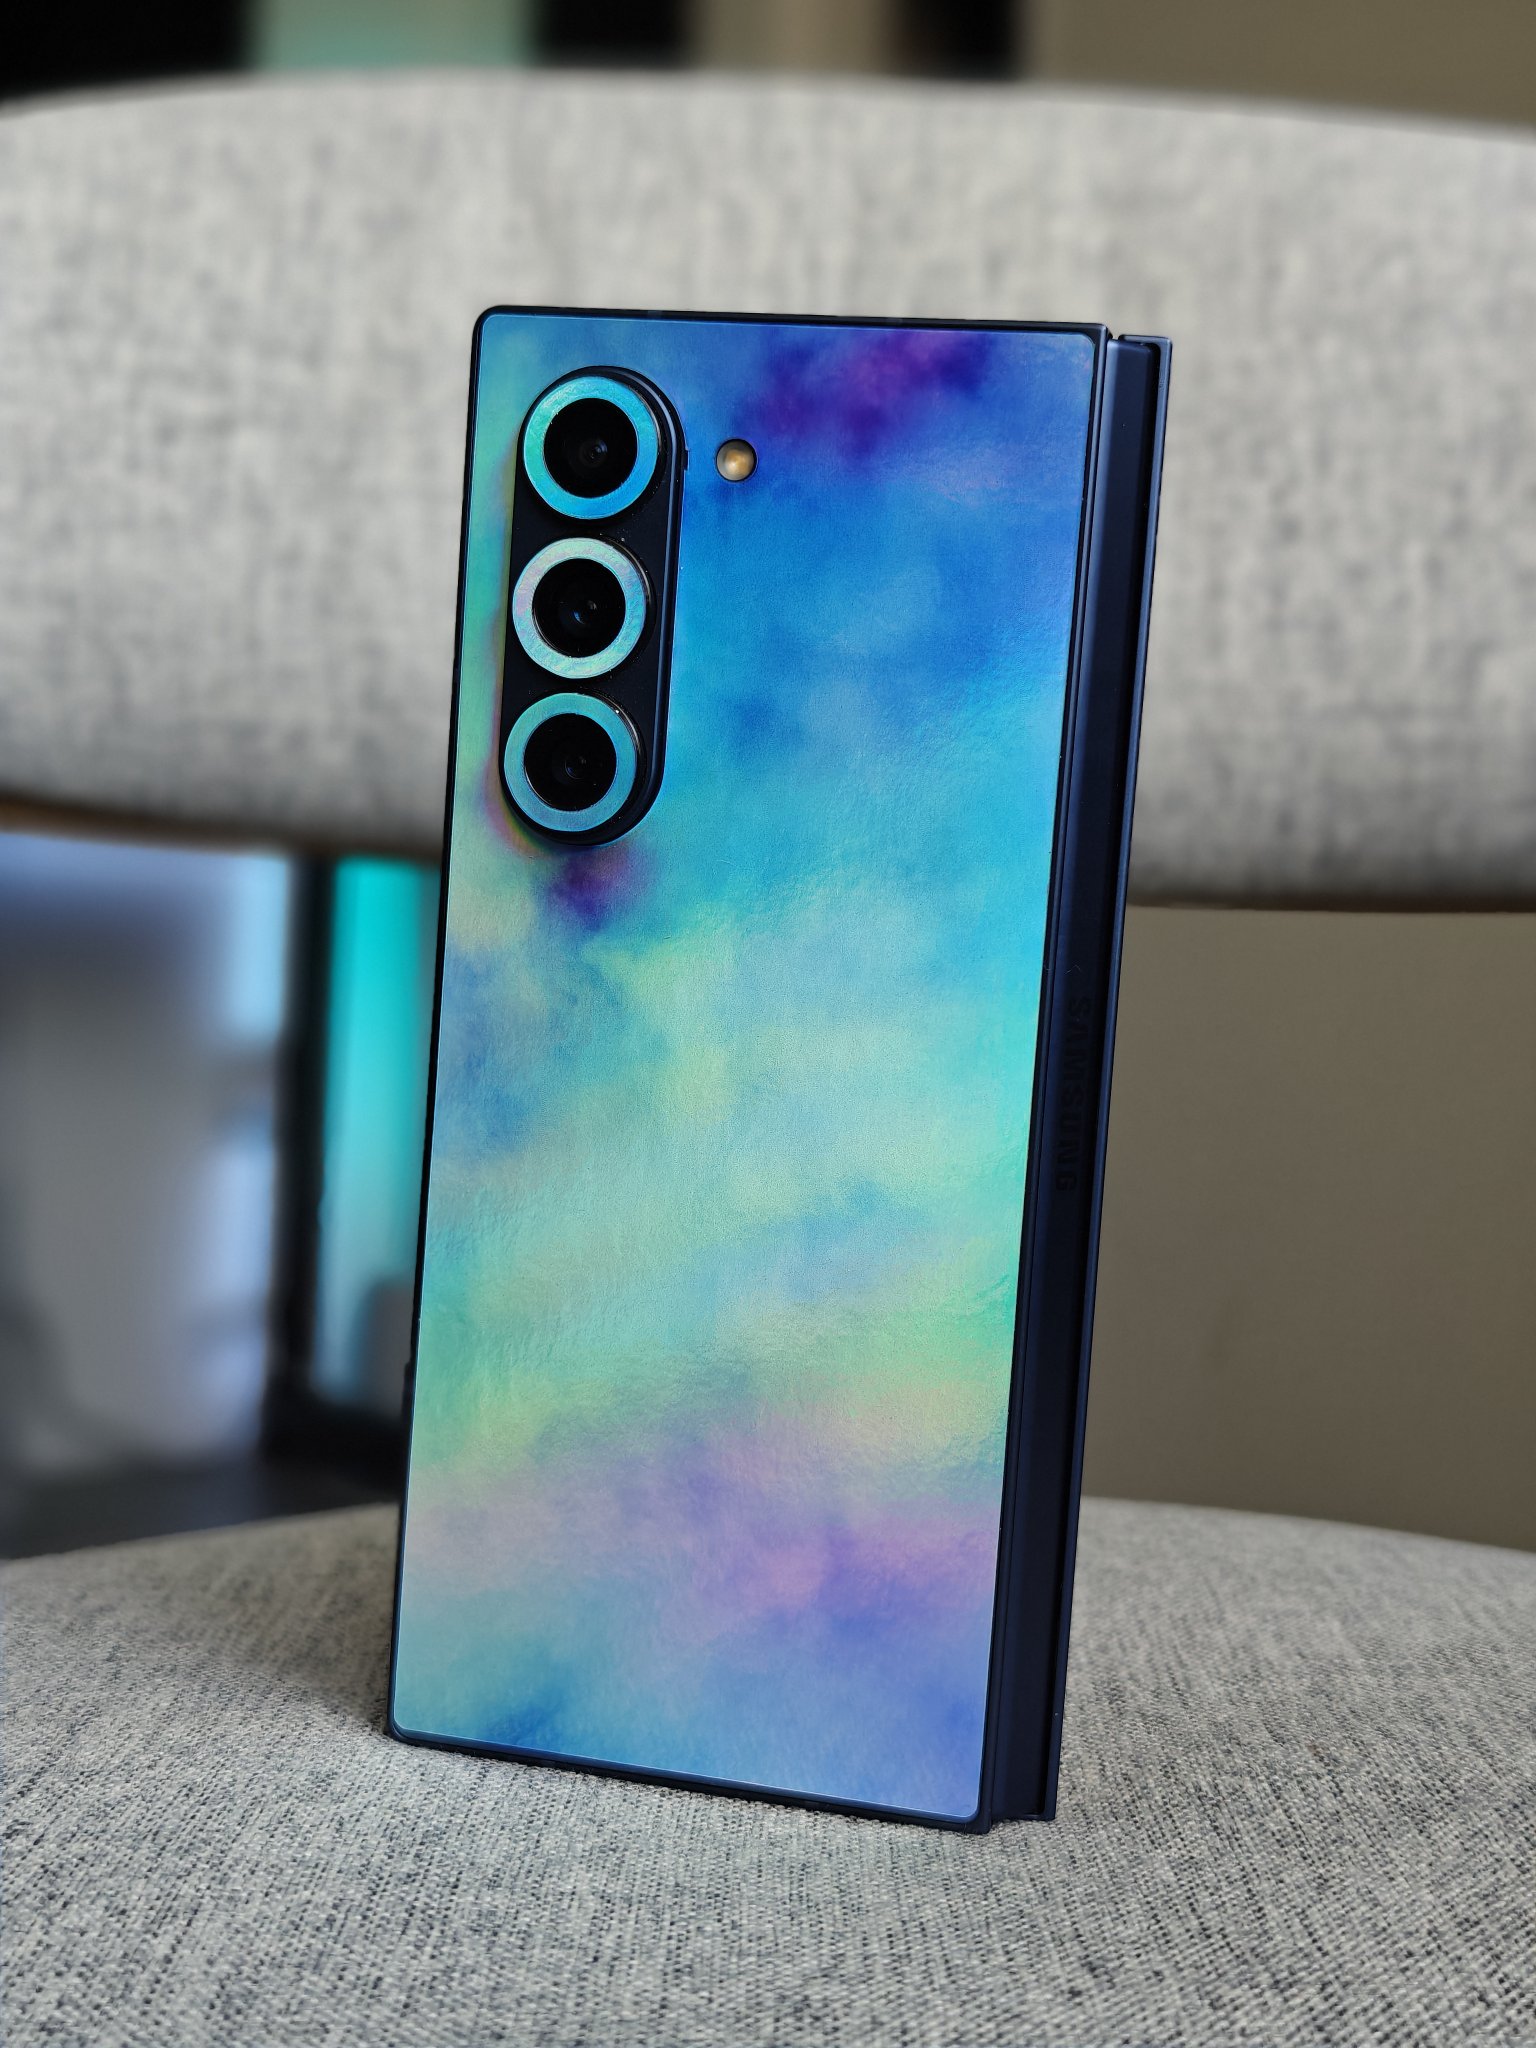
My first impression? It looked even better in person than it did online. The material felt really high-quality, not cheap or flimsy at all. The blue color was super vibrant, and the texture was nice and grippy.
The Application Process (This is Where it Got Tricky)
Alright, so applying the skin was…an experience. I’m not gonna lie, it was a little bit fiddly. dbrand has some tutorial videos, which I definitely watched a couple of times.
The instructions said to use a hairdryer to heat up the skin and make it more pliable. I did that, but I was still a bit nervous about messing it up. I started with the back panel, since it seemed like the easiest part.
- I lined up the skin carefully, making sure the cutouts for the vents and buttons were in the right place.
- Then I slowly started smoothing it down, using the microfiber cloth to push out any air bubbles.
- The corners were the trickiest part. I had to use the hairdryer again to get the skin to wrap around the curves properly.
It took me a good hour, maybe even longer, to get the whole thing applied. I had to peel it back and reapply it a few times in some spots, but eventually, I got it looking pretty good. There were a couple of tiny imperfections, but nothing major.
The Finished Product
Once I was done, I stepped back and admired my handiwork. Honestly, it looked awesome! The Blue Gem skin completely transformed the look of my Steam Deck. It felt great in my hands, too – the texture added some extra grip, which is always a plus.
Overall, I’m super happy with how it turned out. It was a bit of a challenge to apply, but the end result was definitely worth it. My Steam Deck looks unique and stylish, and I’ve already gotten a few compliments on it. If you’re thinking about getting a dbrand skin, I’d say go for it – just be prepared to take your time and be patient during the application process!