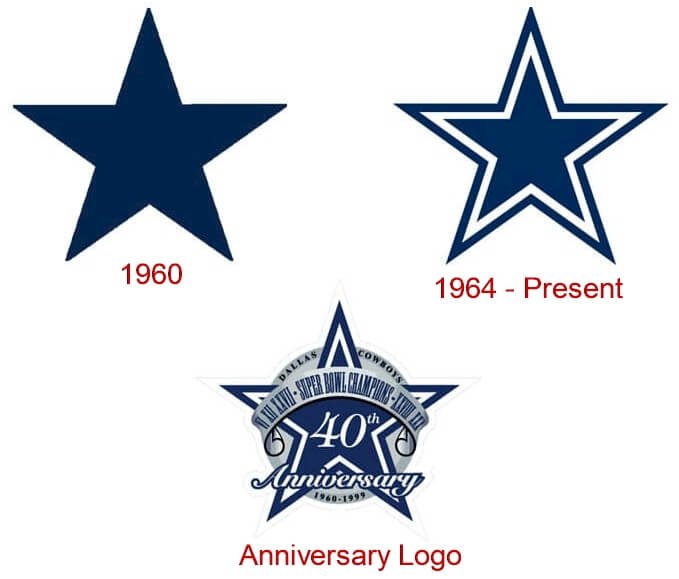
Okay, so I was messing around with some design stuff the other day, and I thought it would be cool to try and recreate the Dallas Cowboys logo. You know, the star. It’s pretty iconic, right?

First, I fired up my favorite design software. I’m not going to name any names here, but you know the one. I created a new document and made sure the background was white.
Then, I grabbed the shape tool. Usually, I’m all about the freeform stuff, but for this, I needed that perfect star shape. They usually have a star tool built-in. I clicked around until I found it and dragged it out onto the canvas.
Next, I had to get that signature Cowboys blue. I played around with the color picker for a bit until I got a shade that looked about right. It wasn’t perfect, but hey, close enough.
Now came the slightly tricky part – the white border. I duplicated the blue star layer, made it a little bigger, and changed the color to white. Then I just sent it behind the blue star layer. Boom! There it was, that classic outline.
But it still looked a little flat. So, I decided to add a bit of a gradient to the blue star. Nothing too crazy, just a subtle shift from a slightly darker blue to the main color. It gave it a bit more depth, you know?
- Started with a blank canvas.
- Drew a star shape.
- Filled it with the Cowboys blue.
- Created a white outline by duplicating and resizing the star.
- Added a subtle gradient for a more polished look.
Finally, I added a simple gray drop shadow to the whole thing, just to make it pop a little. And that was it! My very own homemade Cowboys logo.
The Result
It wasn’t an exact replica, of course, but it definitely captured the vibe. I was pretty happy with how it turned out, especially since I just threw it together in like an hour. It just goes to show, you don’t need to be a pro designer to have fun with this stuff. Just jump in and see what you can create!