Okay, so I’ve been messing around with this idea of changing shoe colors, and I wanted to share what I did. It’s not super complicated, but it was a fun little project.
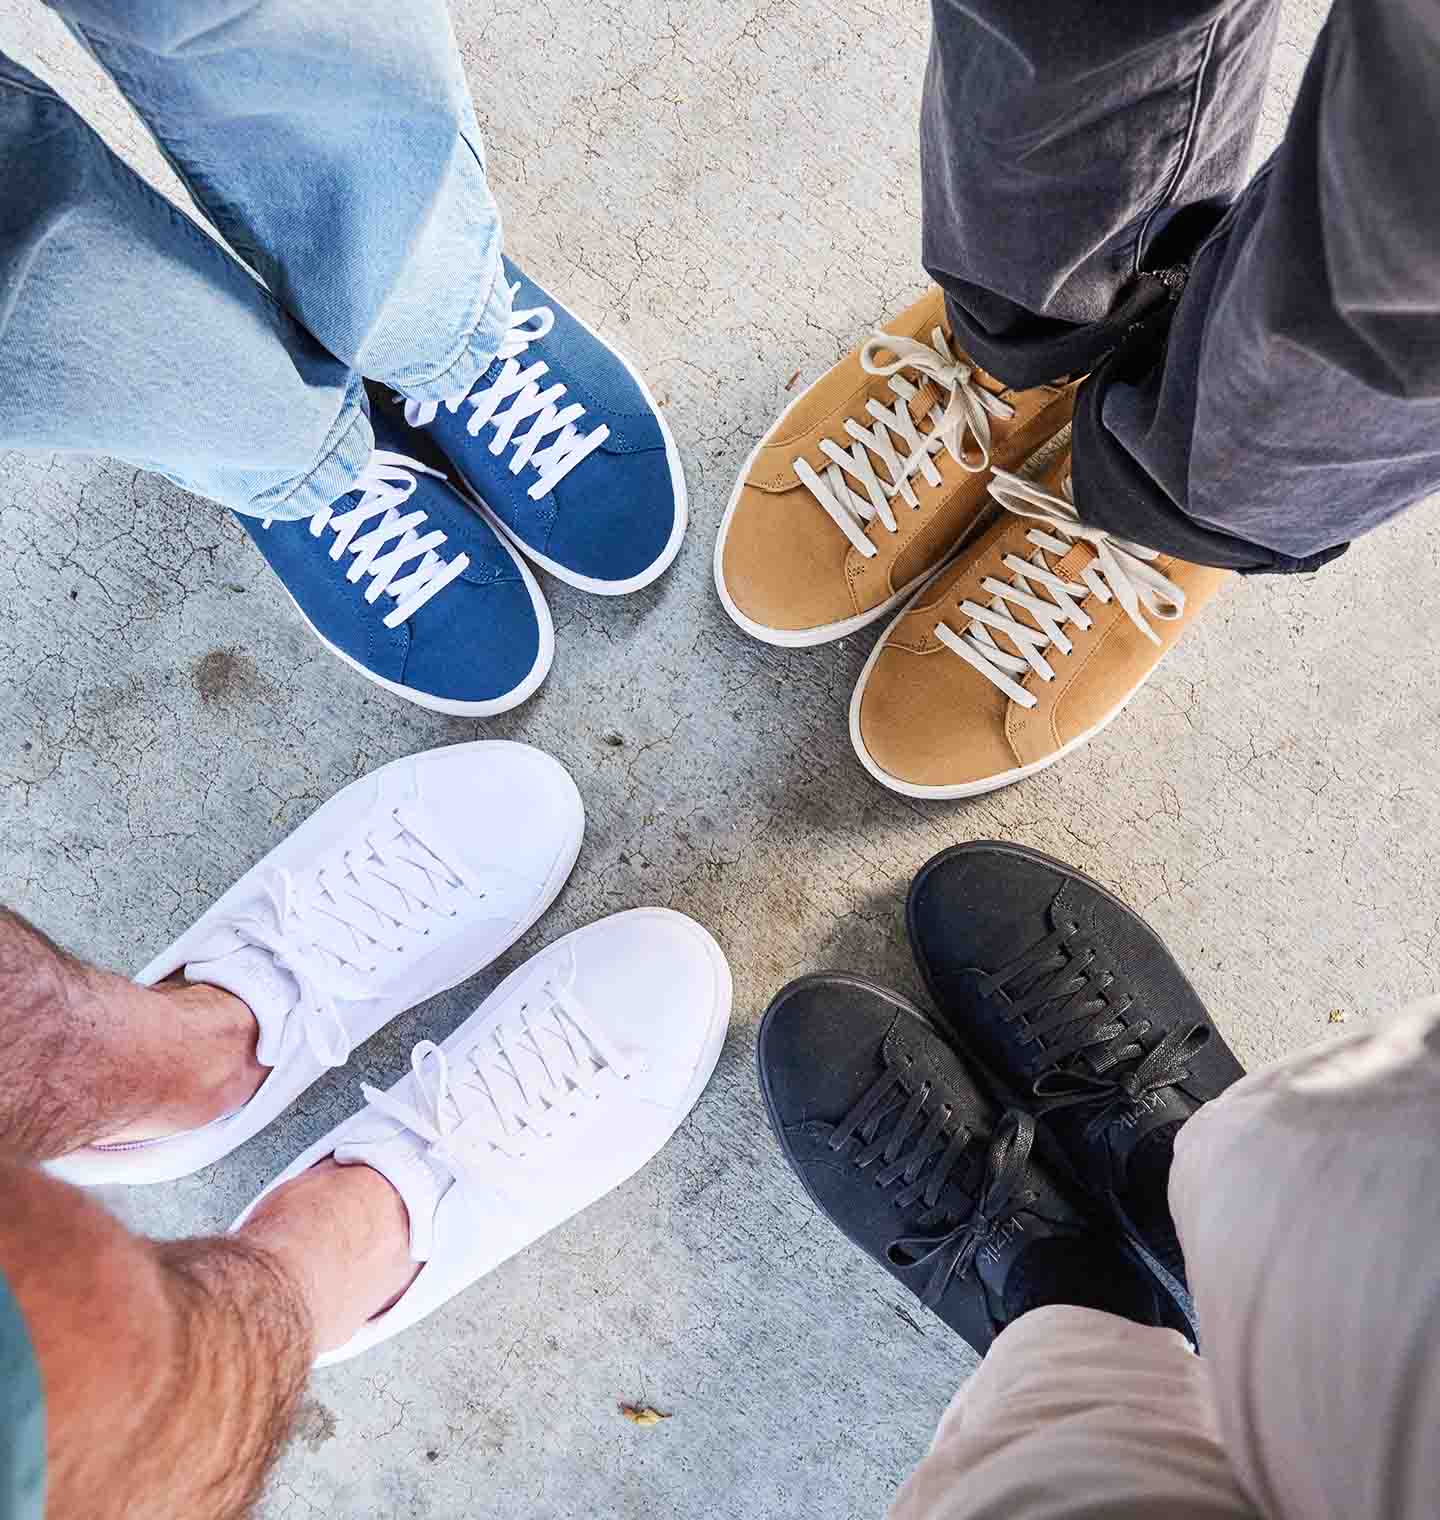
I started with these old, white sneakers. You know, the kind that gets dirty just by looking at them? I was tired of how easily they showed every little scuff and stain. So, I thought, “Why not try to change their color?”
Getting Started
First, I needed to pick a color. I went with a dark blue, thinking it would hide dirt better and, well, I just like blue.
- Gathered my stuff: Shoes, dye, a bucket, some rubber gloves (didn’t want blue hands), and an old toothbrush for those hard-to-reach spots.
- Prepped the shoes: Cleaned them up as best as I could. Took out the laces, scrubbed off any loose dirt. Made sure they were ready for the dye.
The Dyeing Process
I followed the instructions on the dye package. But here the simple steps that I’ve done:
- I mixed the dye with hot water in the bucket, making sure it was all dissolved.
- Then put my old, white sneakers in to the bucket.
- I used the brush to get the dye into all the seams and edges.
- Let them soak for few hours, checking them every half an hour and moving them around to get even coverage.
The Final Touches
After I was happy with the color, I took the shoes out, rinsed them with cold water until the water ran clear.
Then I let them air dry. It took a while, but it was worth it. Had to be patient with that part.
The Results
They turned out pretty great! Not perfect, mind you, there are a few spots where the dye didn’t take quite as well, but overall, I’m super happy with how they look. They look almost brand new, and a lot more interesting than plain white.
It was a simple project, but it was satisfying to take something old and give it a new look. Plus, I learned a bit about dyeing fabric, which is pretty cool. Might try it again with some other clothes sometime!