Okay, here’s my blog post about messing around with some pictures I took in Bath, England. Hope it’s not too boring!
Alright, so I finally got around to messing with those photos I took in Bath last year. Been meaning to do it forever, but you know how it goes. Life gets in the way. Anyway, I thought I’d share how I went about it. Nothing too fancy, just a bit of editing and organizing.
First things first: Dumping the photos
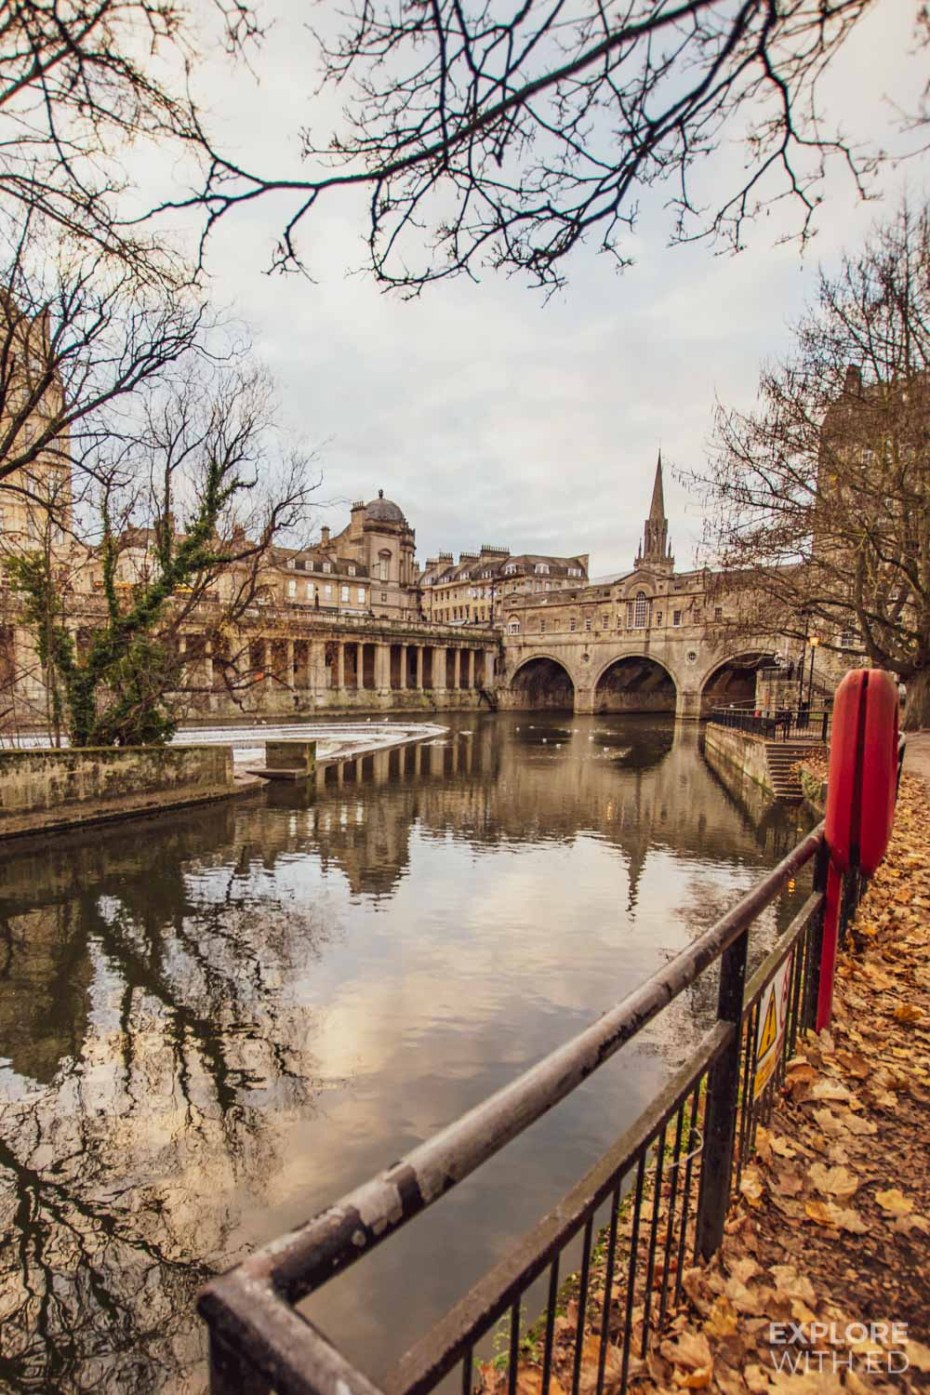
The first thing I did was just get all the photos off my phone and onto my computer. I usually just plug my phone in and drag and drop the files into a folder I made called “Bath England Pictures”. Super original, I know. I had like, a gazillion photos, mostly of the Roman Baths (duh!) and the cute little streets. I swear, every corner in that city is Instagram-worthy.
Culling the herd
Okay, so next step was to go through all those photos and delete the absolute garbage ones. You know, the blurry ones, the ones where I accidentally took a picture of my foot, the ones where I was clearly blinking. It’s always way more photos than you think. I used the preview on my mac to quickly go through them by hitting the arrows. This took a while, but it was worth it. Got rid of probably half the photos right there.
Basic Editing
After I had a reasonable amount of pictures left, I opened them up in Photos(mac default photo edit app). I didn’t do anything crazy. Just some basic stuff like adjusting the exposure, contrast, and maybe a little bit of color correction. Some of the pictures were a bit underexposed because it was a cloudy day, so I brightened them up a bit. I also cropped a few to get rid of distracting elements or improve the composition. Nothing too serious.
Organization is Key
Once I was happy with the edits, I started organizing the photos into subfolders. I created folders for “Roman Baths”, “Bath Abbey”, “Streets of Bath”, etc. This made it way easier to find specific photos later on. I also renamed the files to something more descriptive, like “Roman Baths – Interior 1” or “Bath Abbey – Front View”. Makes searching easier later!

Favorite Pics
I picked out my absolute favorite shots and put them in a separate folder called “Best of Bath”. These are the ones I might actually print out or share on social media. I gotta say, there were a few that I was really proud of. Especially a couple of shots of the Abbey at sunset. Those were pretty magical.
Backup, Backup, Backup!
Finally, and this is super important, I backed up all the photos to an external hard drive and to cloud storage. You never know what might happen, so it’s always good to have multiple backups. I learned that the hard way after losing a bunch of photos from a previous trip. Don’t be like me!
Final Thoughts
So yeah, that’s pretty much it. It wasn’t anything groundbreaking, but it felt good to finally get those photos organized and looking decent. Plus, it was a nice way to relive the memories of that trip. Bath is a beautiful city, and I can’t wait to go back someday and take even more pictures!