Okay, so I’ve been eyeing this 1500 Goldwing for a while now. It’s a beast of a machine, and I finally decided to pull the trigger and get one. My plan? To give this classic a bit of a refresh and document the whole process.
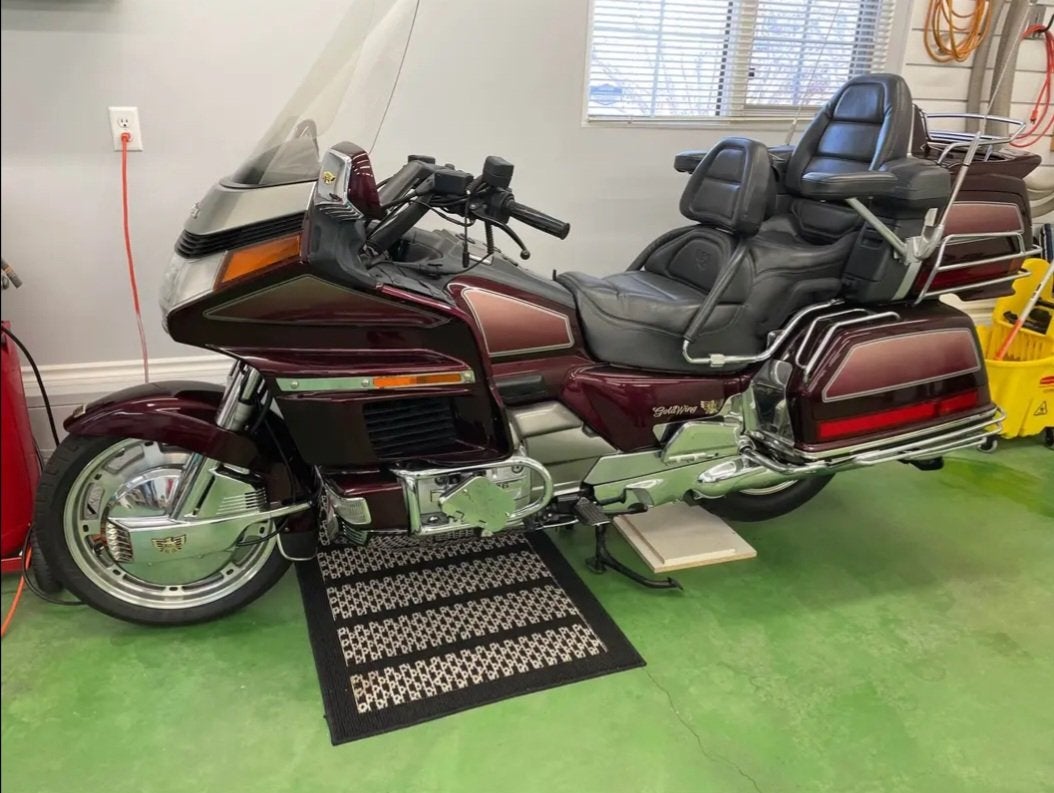
First things first, I found a decent one online. It wasn’t perfect, a bit rough around the edges, but it had good bones. I drove out to see it, checked it over, and made the deal. Getting it home was the first adventure, had to borrow a buddy’s trailer.
The Teardown
Once I got it in my garage, the real fun began. I started by stripping it down. Took off the fairing, the seat, the saddlebags – basically anything that wasn’t bolted down. I made sure to keep all the screws and bolts organized in little baggies, labeled everything – a lesson learned from past projects!
- Fairing removal: This was surprisingly easy, just a few bolts and it popped right off.
- Seat and saddlebags: These were a bit more fiddly, but nothing too challenging.
- Wiring check: I took a good look at the wiring harness, making notes of anything that looked suspect.
The Engine Work
Next up was the engine. I’m no master mechanic, but I’m comfortable getting my hands dirty. I started with a basic tune-up: new spark plugs, oil change, and filter replacement. I also checked the valve clearances – a bit of a pain, but necessary.
The carbs were definitely gunked up, so I pulled them off and gave them a thorough cleaning. I used a carb cleaner and some compressed air to blow out all the jets and passages. Putting them back together was a bit like assembling a puzzle, but I managed it.
Putting it all togehter!
With the engine sorted, I moved on to the cosmetics,cleaned, polished, added a few custom touches and put it all * was a big task, and it sure took time,but it was all worth it for the results

It took some time, and there were definitely a few moments of frustration, but seeing the finished product made it all worthwhile. It’s not perfect, but it’s mine, and I’m proud of the work I put into it. Now, time to hit the road!