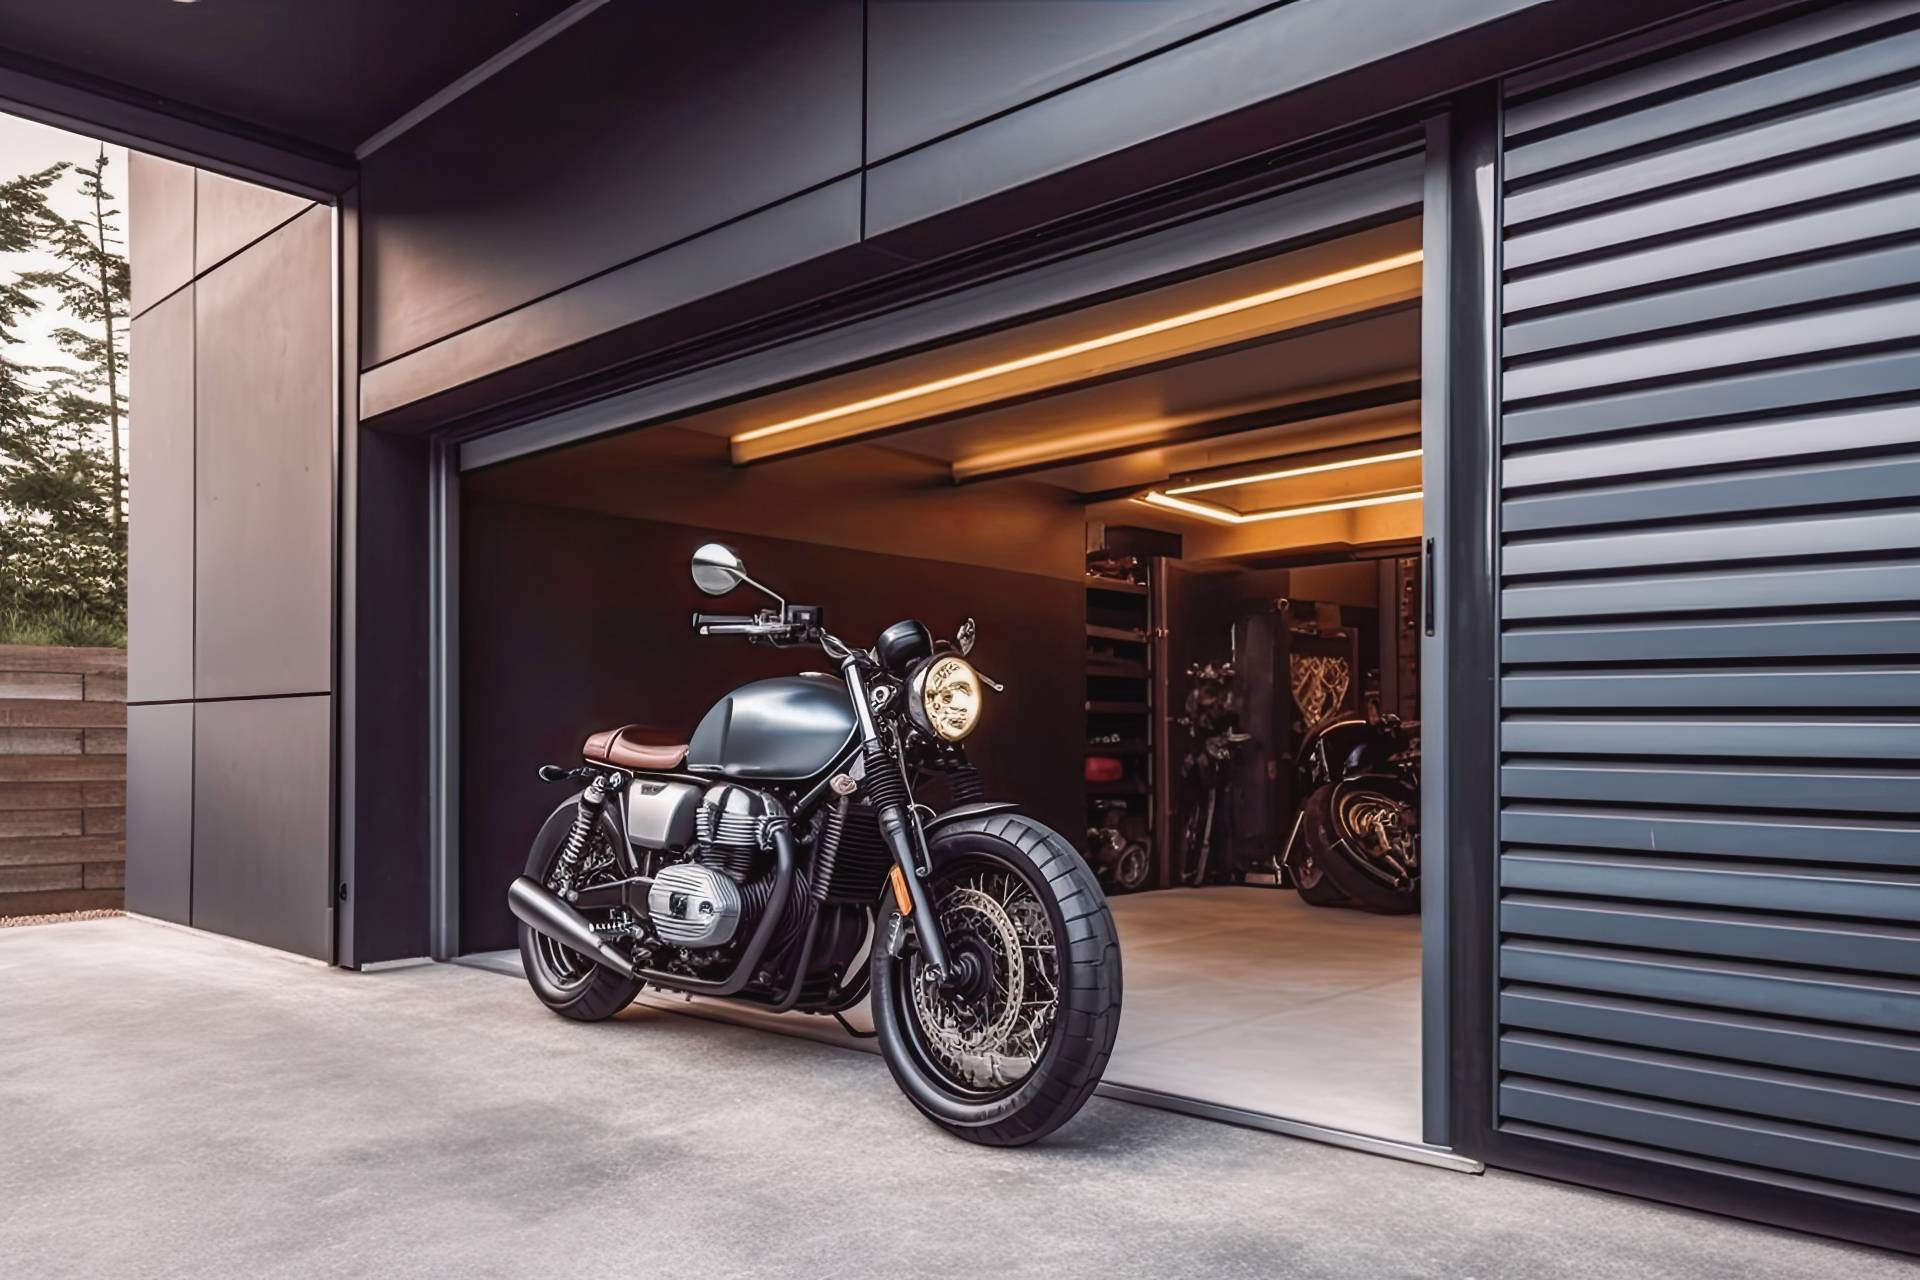
Alright, let’s talk about sorting out the garage for the bikes. Mine used to be a real mess, honestly. Stuff everywhere, barely enough space to walk, let alone park my motorcycle without playing Tetris with lawnmowers and boxes.
Getting Started – The Big Clear Out
First thing I did, and probably the hardest part, was just hauling everything out onto the driveway. Seriously, everything. Empty shelves, boxes, old paint cans, tools I forgot I had. It took a whole Saturday. Seeing it all laid out like that really showed me how much junk I’d accumulated.
Then came the tough part – deciding what stayed and what went. I made three piles: keep, donate, trash. Was pretty ruthless about it. If I hadn’t used it in a year, chances are I wasn’t going to. Filled up the truck bed for a dump run and dropped off a load at the donation center.
Planning the Space
With the garage empty, it looked huge! I could finally see the potential. I grabbed a tape measure and figured out where the bike (or bikes, sometimes my buddy leaves his here) would actually park. I wanted easy in-and-out access, no shuffling cars around if possible.
I decided one wall would be dedicated purely to bike stuff and general tools. The other side could handle the garden tools, storage bins, etc. Keeping things separate seemed like a good plan to stop the clutter creeping back in.
Putting Things Back – Organized This Time
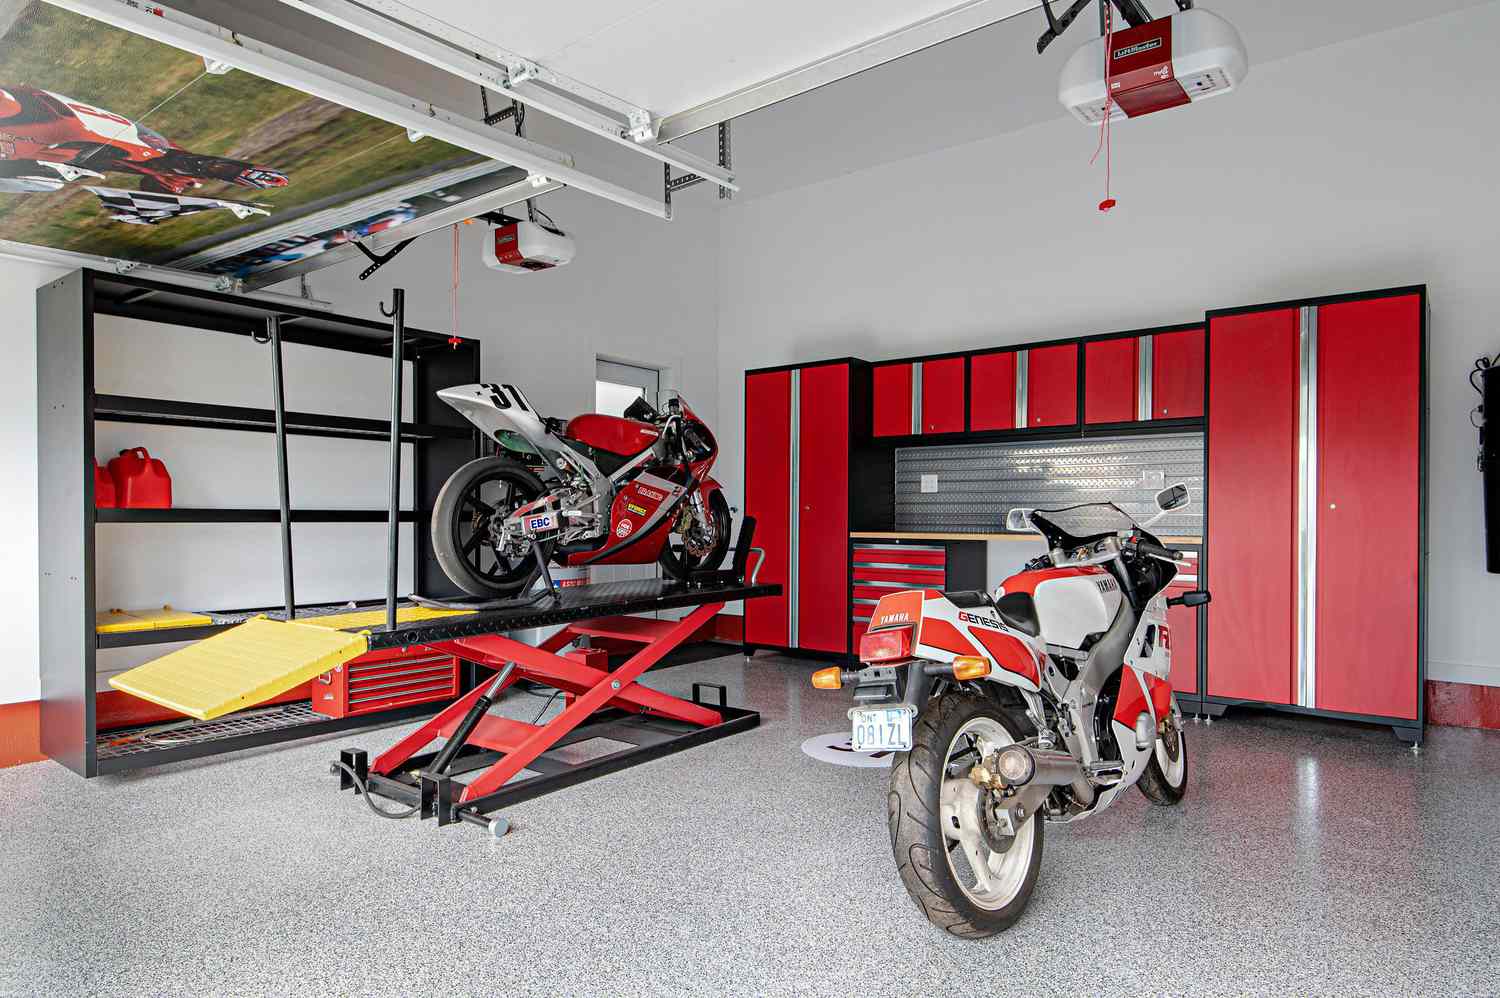
Okay, time to build. I went and got some heavy-duty metal shelving units. Assembling those wasn’t too bad, just took a bit of time and a rubber mallet. I put these along that designated ‘tool wall’.
- I put the frequently used stuff, like cleaning supplies, chain lube, and basic hand tools, on the middle shelves, easy to grab.
- Heavier things, like spare parts or bigger tool cases, went on the bottom shelves.
- Less-used items, like seasonal gear or old parts I can’t throw away, went up top.
I also got one of those wall-mounted pegboard systems. Hung that up right above where I planned to put a small workbench. This thing is great for hanging wrenches, pliers, screwdrivers – all the stuff you reach for constantly. No more digging through drawers.
For the bike itself, I didn’t do anything too fancy. Just made sure the floor space was totally clear. I did pick up a simple paddock stand. Makes cleaning the chain or doing any rear wheel maintenance way easier than leaning it against the wall.
The Result – A Usable Space
So, after another day of organizing and putting things away properly on the new shelves and pegboard, the difference was amazing. It’s not a showroom or anything, but it’s functional. I can easily roll the bike in, put it on the stand if needed, and access all my tools and supplies without tripping over anything.
Honestly, the biggest thing was just getting rid of the junk I didn’t need. That freed up so much space. The shelves and pegboard just help keep the remaining stuff tidy. It’s way less stressful getting ready for a ride or doing quick maintenance now. Totally worth the weekend’s effort.