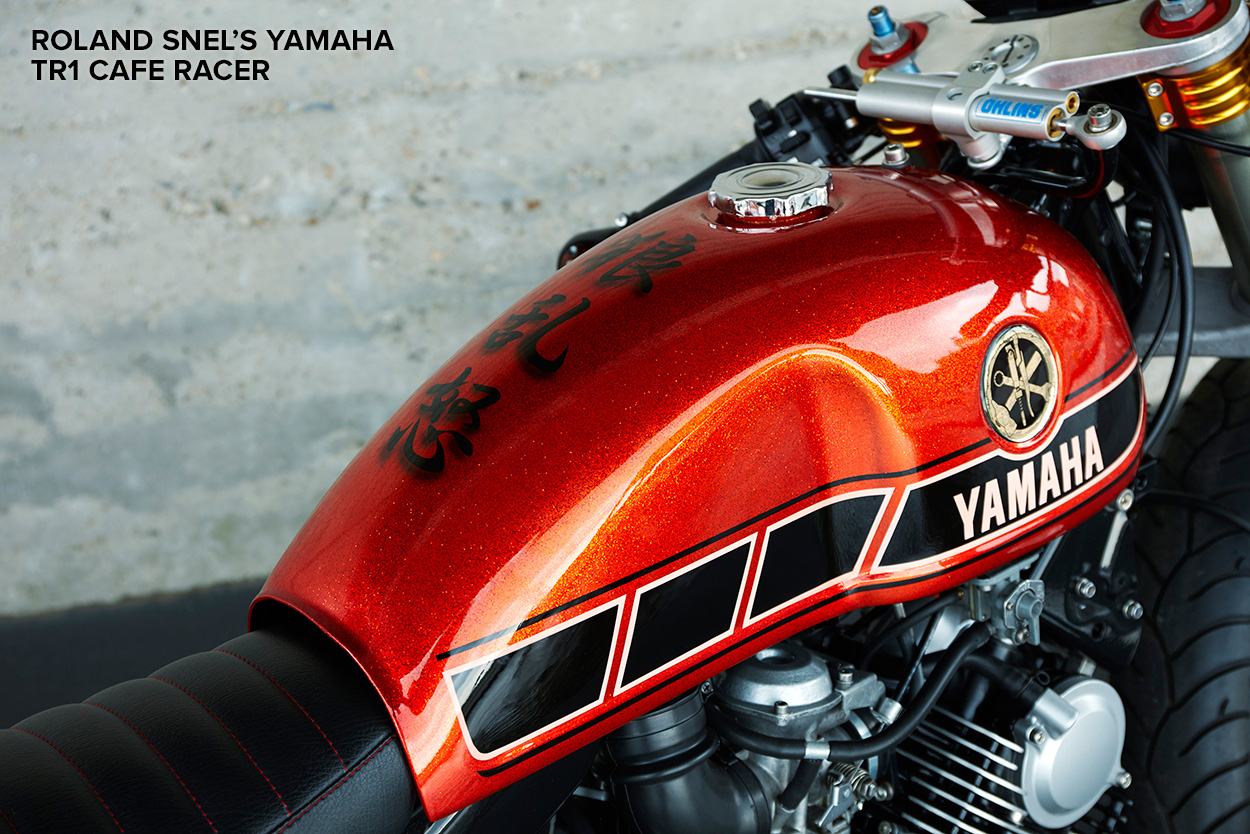
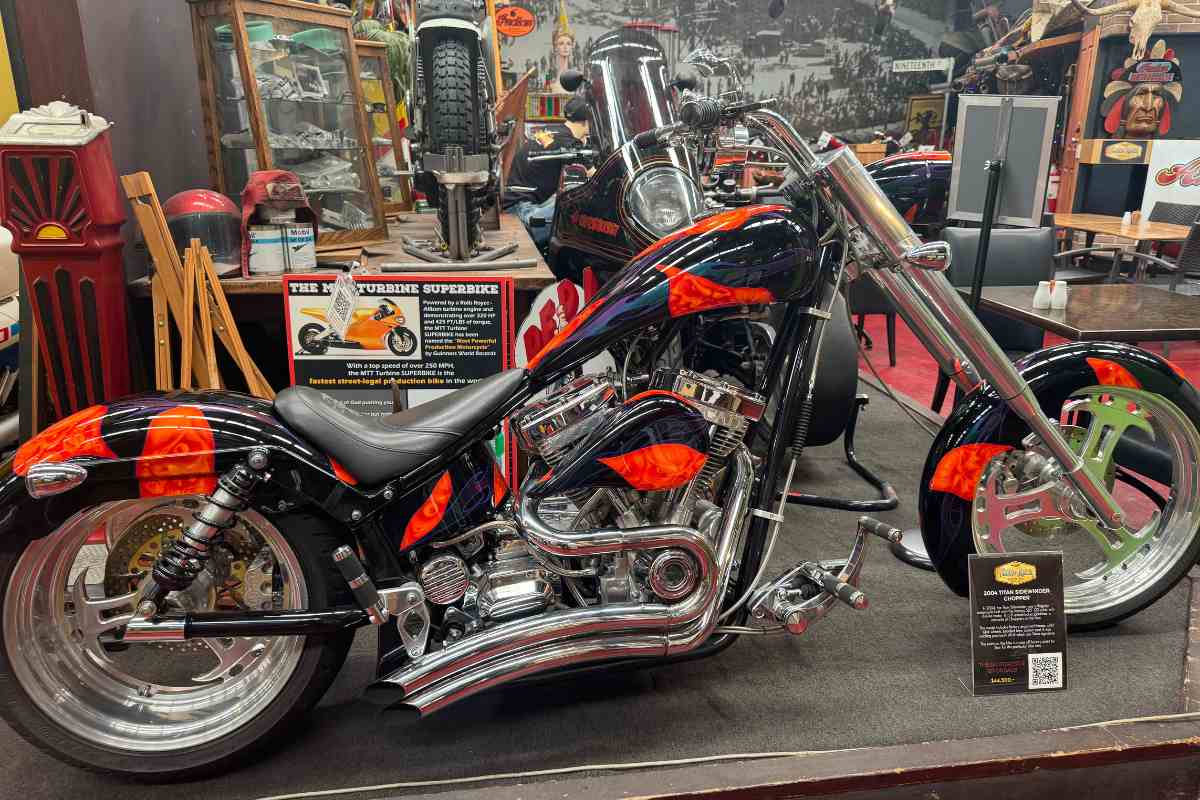
Okay, so I decided my old bike needed a facelift. She was looking a bit sad, you know? Scratches here and there, paint faded from the sun. Thought about getting it professionally done, but then I thought, “Nah, I can probably tackle this myself.” Save a bit of cash, learn something new. How hard could it be, right? Famous last words sometimes, but this time, it actually worked out pretty well.

Getting Started – The Teardown
First things first, I had to strip the bike down. This part is a bigger job than you think. I took off all the parts I wanted to paint: the tank, fenders, side covers, fairings. Man, so many little bolts and clips! I got a bunch of plastic baggies and a marker, and every time I took a part off, I put its screws and bits in a bag and labeled it. Took a ton of photos too, mostly so I’d remember how the heck it all went back together. Trust me, you’ll thank yourself later if you do this. Then I found a spot in my garage, laid down some old sheets to protect the floor, and made sure I had decent light.
I gathered all my supplies. You’ll need stuff like:
- Sandpaper – lots of it, different grits.
- Degreaser – to get all the gunk off.
- Masking tape and paper – good quality stuff, makes a difference.
- Primer – don’t skip this.
- Your color paint – I went with spray cans, good quality ones.
- Clear coat – for shine and protection.
- Oh, and safety gear! Seriously, wear a mask, gloves, and some eye protection. Paint fumes are no joke, and you don’t want crap in your eyes.
The Nitty Gritty – Prep Work
Right, with the parts off, the real slog began: preparation. If you skimp on prep, your paint job will look awful, period. First, I gave everything a super thorough clean with degreaser. Had to get every bit of oil, road grime, and old wax off. Then came the sanding. And more sanding. And just when I thought I was done, more sanding. I started with a coarser grit sandpaper to knock down any old, flaking paint and smooth out bigger scratches. Then I moved to finer and finer grits until the surface was really smooth to the touch. If you have any dents, now’s the time to use a bit of body filler, let it dry, and sand that smooth too. My fingers were aching by the end of it, I tell ya.
After all that sanding, everything was covered in dust. So, another clean. I wiped everything down with a tack cloth – it’s this sticky cloth that picks up all the fine dust. Some folks use alcohol wipes. Whatever you use, make sure it’s spotless before you even think about primer.
Priming Time
Okay, surfaces prepped and clean. Next up: primer. I masked off any areas I didn’t want paint on, like mounting holes or undersides that didn’t need it. Then I started with the primer. The key here is thin, even coats. Don’t try to cover it all in one go, or you’ll get runs and drips, and then you’re back to sanding. I did about two or three light coats of primer, waiting the recommended time between each coat for it to dry. Read the can, it’ll tell you. After the final primer coat was fully dry, I gave it a very light sanding with super fine sandpaper, just to make it extra smooth for the paint. Then, you guessed it, wiped it down again to get rid of any dust.

Laying Down Some Color
This is the part I was most excited and nervous about. I shook the paint cans like there was no tomorrow – seriously, shake them really well. And then, just like the primer, thin, even coats. I kept the can moving, overlapping each pass by about half. It’s better to do several light coats than one or two heavy ones. I waited the right amount of time between coats for the paint to flash off. I think I did about three or four coats of color until I was happy with the coverage and depth. Patience, patience, patience. If you rush, you’ll mess it up. I had a small run on one piece, so I had to let it dry completely, carefully sand that spot down, and then repaint that area. Annoying, but better than leaving it.
The Final Shine – Clear Coat
After the color coats were fully dry – I gave it a good 24 hours just to be safe – it was time for the clear coat. This is what gives it that professional-looking shine and protects the color paint underneath. Same deal as before: multiple thin, even coats. I applied about three coats of clear, letting it dry properly between each. The clear coat really made the color pop. It’s amazing the difference it makes.
Patience and Putting It All Back Together
Now, the hardest part for me: waiting. You gotta let that clear coat fully cure. The can will give you an idea, but I left my parts hanging in the garage for a good week before I even thought about touching them. You want it to be rock hard so it doesn’t get damaged when you’re reassembling everything.
Then, finally, it was time to put my bike back together. This is where those labeled baggies and photos I took earlier became lifesavers. I took my time, carefully reattaching all the fairings, the tank, and everything else. It’s like a giant puzzle, but way more satisfying when you finish it. Seeing it all come together with that fresh paint job was just awesome. I stepped back, had a look, and man, she looked like a brand new bike. All that work, the sanding, the fumes, the waiting – totally worth it. It wasn’t perfect, a pro could probably find flaws, but for me, it was a job well done, and I saved a ton of money. Plus, now I can say, “Yeah, I painted that myself.” Pretty cool, huh?
