Okay, here’s my blog post about using silver indoor paint, written in the style of a personal, down-to-earth blog:
So, I’ve been wanting to jazz up my boring old living room for, like, forever. I finally decided to take the plunge and do something about it. I didn’t want to go crazy with color, but I needed something more than just plain white walls. After scrolling through tons of pictures online, I landed on the idea of using silver paint. It seemed classy, but also kinda modern, you know?
Picking the Right Stuff
First things first, I had to actually get the paint. I went to the local home improvement store and stared at the wall of paint chips for a solid 20 minutes. There are SO many shades of silver! Some were super shiny, almost like a mirror, and others were more of a dull gray. I ended up grabbing a few sample pots of the ones that looked promising.
Test, Test, Test!
Back home, I slapped those sample colors onto a piece of cardboard. It’s crazy how different paint can look in the store versus in your actual room with your lighting! Good thing I did this, because the one I thought I loved ended up looking way too dark. The winner was a lighter, slightly warmer silver that had a bit of a shimmer to it, but wasn’t, like, blindingly sparkly.
Prep Time (Ugh)
Okay, I’ll be honest, this is the part I hate. Prepping the walls. I had to move all the furniture, put down drop cloths (because I’m a messy painter), and tape off the edges. Then came the fun part – washing the walls! Seriously, who knew walls could get so dusty? I used some soapy water and a big sponge. Let everything dry completely before even thinking about painting.
Finally, Painting!
I used a roller for the big areas and a brush for the edges and corners. Let me tell you, that first coat looked rough. It was streaky and uneven, and I definitely had a mini panic attack. But I remembered reading online that the first coat always looks bad, so I just kept going.
- First coat: Stressful, but I powered through.
- Second coat: MUCH better. The color started to even out and look really nice.
- Third coat (yes, three!): This was the magic touch. Finally, it looked smooth, consistent, and totally awesome.
The Big Reveal
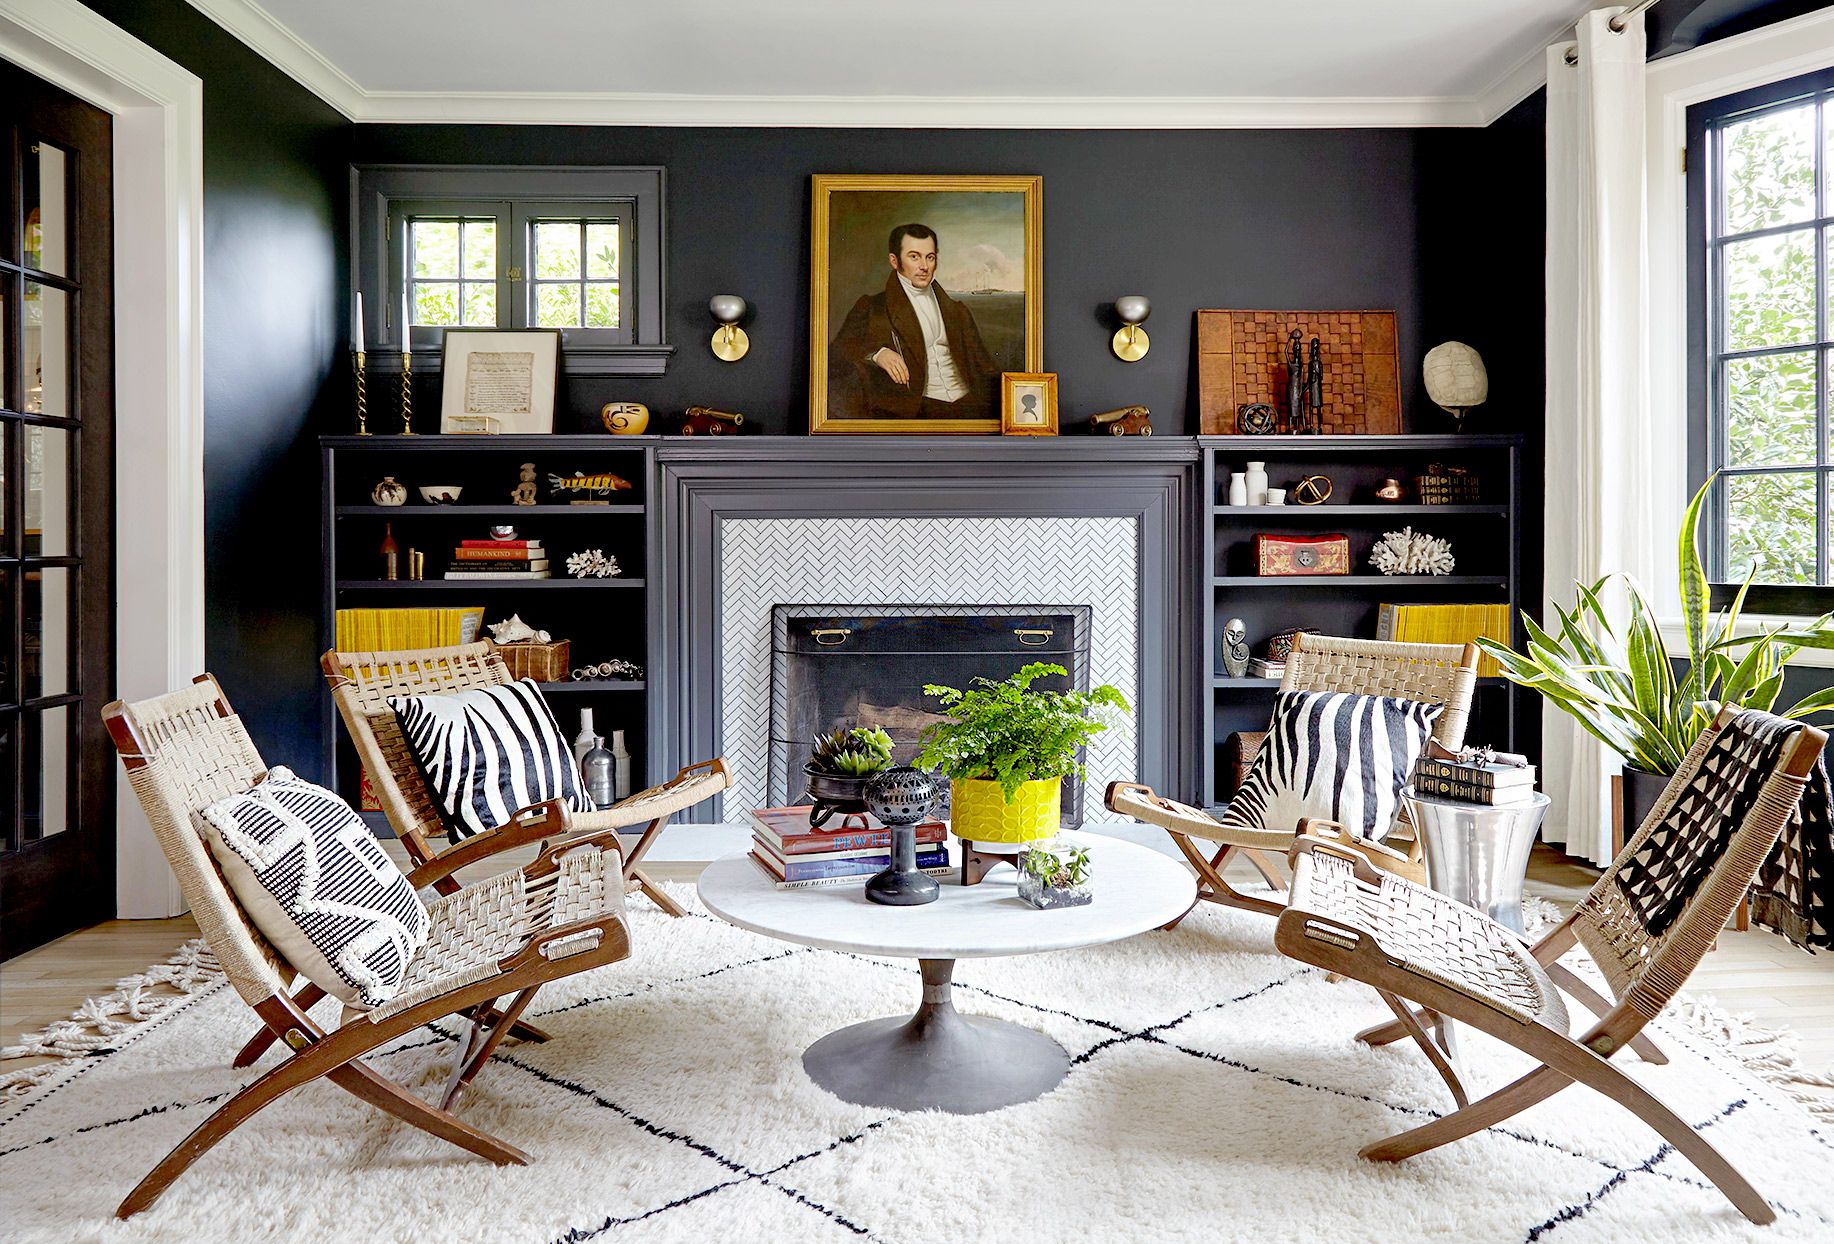
After letting everything dry (and peeling off all that tape – so satisfying!), I put the furniture back. WOW. What a difference! The silver paint really brightened up the room and gave it that modern, sophisticated vibe I was going for. It reflects the light beautifully, and it just feels so much more… me. My wall is finally not that boring!
It was definitely a bit of work, but totally worth it. If you’re thinking about trying silver paint, I say go for it! Just remember to test your colors, prep your walls, and be prepared to do a few coats. Happy painting!