Okay so today I woke up thinking, why not try something new? Been seeing quails around the old trail behind my house lately, cute little birds with their funny top knots. Figured, how hard could drawing one be, right? Saw this “10 minute quail drawing” idea floating around and decided to put it to the test.
The Gear Grab
First things first, needed supplies. Didn’t wanna overcomplicate it. Just grabbed:
- My everyday HB pencil (sharpened it, that counts as prep!)
- That basic sketchbook sitting on my desk, half-used
- And yeah, just a regular old eraser. Nothing fancy.
Jumping Right In
Started simple, like super simple. Forgot about feathers and all that jazz for a second.
- Body Block: Sketched a kinda rounded oval shape, slightly tilted forward a bit. Thats gonna be the main torso and butt area. Kept it loose, didn’t press hard.
- Head Ball: Drew a smaller circle up top, off to one side of the oval. This circle sat right on top of the oval’s shoulder, not floating away. Important for the hunch look.
- Connect the Dots: Added two quick lines from the head circle down to the front of the body oval. Boom, instant neck.
- Basic Beak: Stuck a tiny, short triangle pointing down and forward from the head circle. Easy. Quails don’t got giant beaks.
So far, maybe like 90 seconds in? Had a blobby potato with a ball and a beak. Promising! Not.
Making it Look Like a Bird
Now to actually try and make it look like a quail.
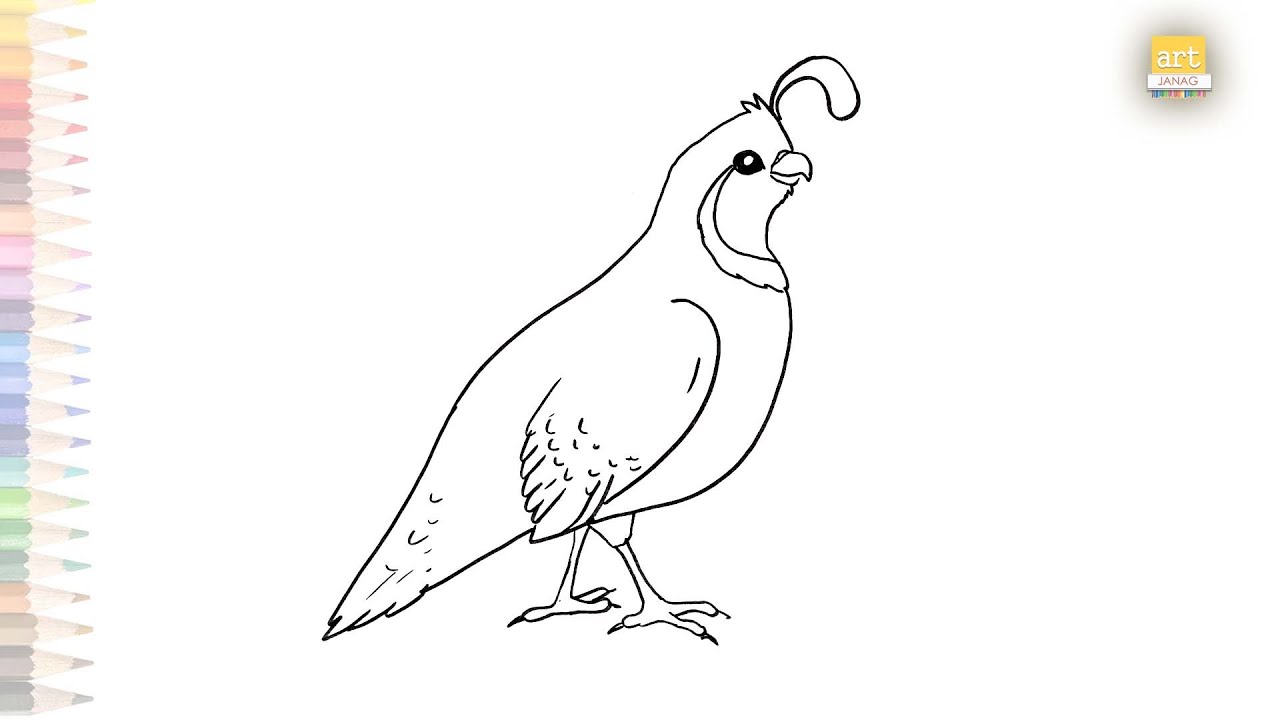
- Top Knot Plume: Looked at my reference pic (just a quick image search on my phone). Saw that silly little feather plume thing on top. Drew a few quick, slightly wobbly upwards curves from the top of the head circle. Kinda like drawing exaggerated cowlicks.
- Fat Little Chest: Quails look kinda plump in the chest. I thickened up the front bottom part of the body oval a tiny bit, rounding it out more.
- Stumpy Legs: Drew two short lines straight down from the belly for legs. Then added little sideways “L” shapes at the bottom for feet. Kept ’em stubby.
- Tail Tweak: Remembered the body wasn’t a perfect oval. Smushed the back end a bit flatter and hinted at maybe one or two tail feathers with a couple very short, angled lines.
Playing Detective With Details
Alright, maybe 5 minutes in? Time for some character.
- Eye Spy: Tiny dot on the side of the head circle, facing mostly forward. Big help!
- Cheeky Fluff: Underneath the eye, towards the back, I sketched a little patch of wispy, messy lines for cheek feathers. Super light pencil strokes.
- Pattern Play (Sort Of): Instead of full feather detail, I just suggested the markings. Made light, curved stripes across the back, thicker on the shoulder? Stopped before I screwed it up.
- Grounding It: Added a single bumpy line below the feet. Gotta stand somewhere!
The eraser saw some action here. That beak placement bugged me, had to nudge it.
Final Touches & My “Aha!” Moment
Honestly, getting near 10 minutes felt stressful! Mostly I:
- Darkened some key lines lightly – the beak, the eye, the legs.
- Added a few more haphazard lines for the top knot to make it bushier.
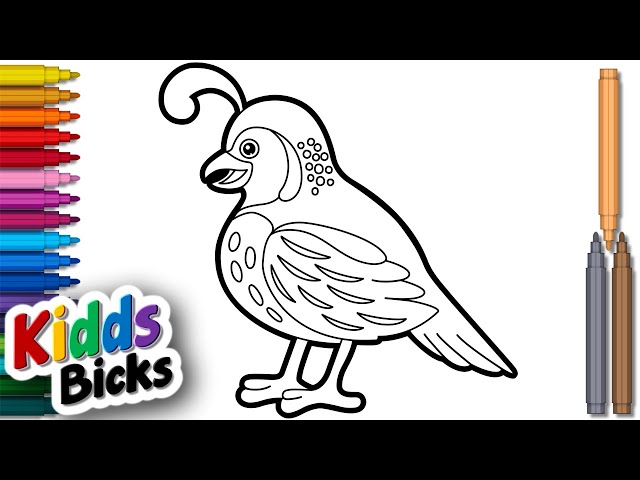
- Roughed up the chest and belly area with very quick, overlapping “U” shaped strokes, really soft, just to hint at fluff. Didn’t go crazy.
Stepped back… blinked… and honestly? It actually looked like a quail. A wonky, simple, cartoonish quail, sure. But totally recognizable! That quick blocking step – body shape, head position – made the rest surprisingly easy to just slot in. No shading wars, no feather-by-feather torture. Just basic steps clicking together. Crazy how effective focusing on the simple structure first really was. Took 10 minutes? Honestly, closer to 12 counting my coffee sip halfway, but hey, good enough for me! Might try a running one next time…