So, the other day, I got hooked on sketching cars, and McLarens caught my eye—super fancy but looked tough to draw. I figured, why not try a quick and easy way for newbies? Let me walk you through my messy journey step by step.
Getting Set Up
First, I rummaged through my desk drawer for some basic stuff: a plain sheet of paper, a regular pencil I had lying around, and an old eraser. No special tools needed—just keep it simple, right? Then, I flipped open my phone to find a simple McLaren image as a reference. Picked one that looked blocky and straightforward, nothing too detailed.
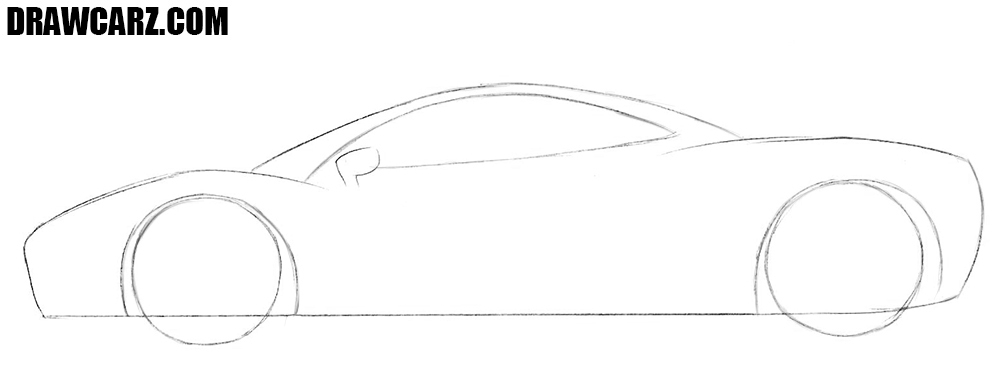
- Started with the outline: Drew a big rectangle for the main body of the car, keeping it short and chunky to make it less complicated.
- Added the wheels: Scribbled two circles at the bottom corners—no perfect shapes, just rough ovals that I fixed with the eraser a couple times.
- Tossed in the roof: Pulled a smaller rectangle on top, but it looked flat, so I curved the edges slightly to give it that McLaren vibe—like bending it a bit toward the front.
Honestly, at this point, it felt like drawing a kid’s toy car. I erased and redid parts until it started resembling something cool.
Adding the Fun Bits
Now for details—kept ’em basic ’cause this is for beginners. Went back to my phone screen, glanced at where the windows and lights should go.
- Sketched the windows: Made two small rectangles on the sides, one for the front windshield and one for the side window, using straight lines that dipped downward.
- Drew the lights and grille: Added little circles for headlights at the front and a tiny grid thing below—like dots squished together. Didn’t overthink it; just dabbed with the pencil.
- Threw on wheels details: Traced some inner circles and lines to make the tires look real quick, like adding a smaller circle inside the wheel ovals for rims.
It started coming together, but man, the eraser saw plenty of action—too many smudges. Kept it loose and scribbly.
Finishing It Up
Almost there! I decided to shade it a bit to make it pop. Grabbed a darker pencil I had, nothing fancy.
- Darkened the wheels and windows: Just shaded around the edges lightly, so they didn’t look paper-flat. Easy peasy, no need for perfection.
- Fixed any wonky lines: Stepped back, saw parts that looked crooked, and smoothed ’em over with the eraser—took a minute or two.
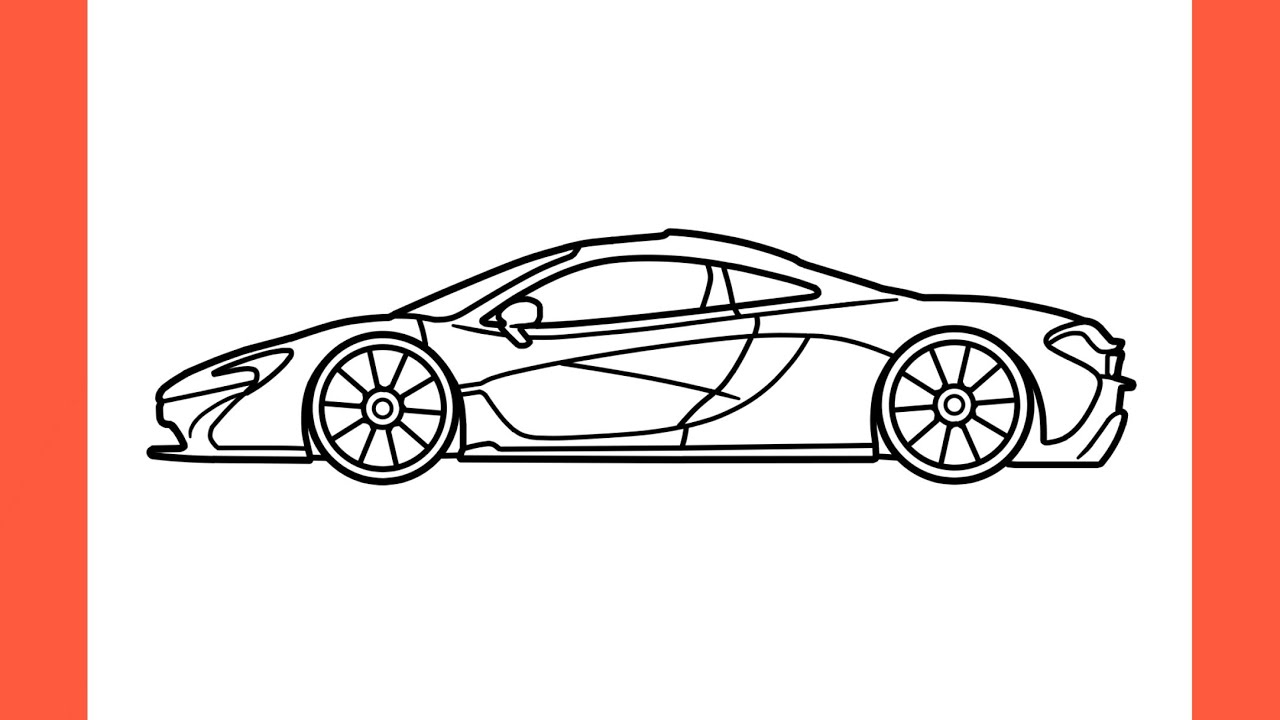
Finally, held it up—boom, a simple McLaren! Not masterpiece-level, but it looked cool enough to show off. The whole thing took maybe 15 minutes once I got going. For beginners, start with this rough-and-ready approach; it cuts the frustration. And yeah, I snapped a quick pic for myself—felt pretty proud!