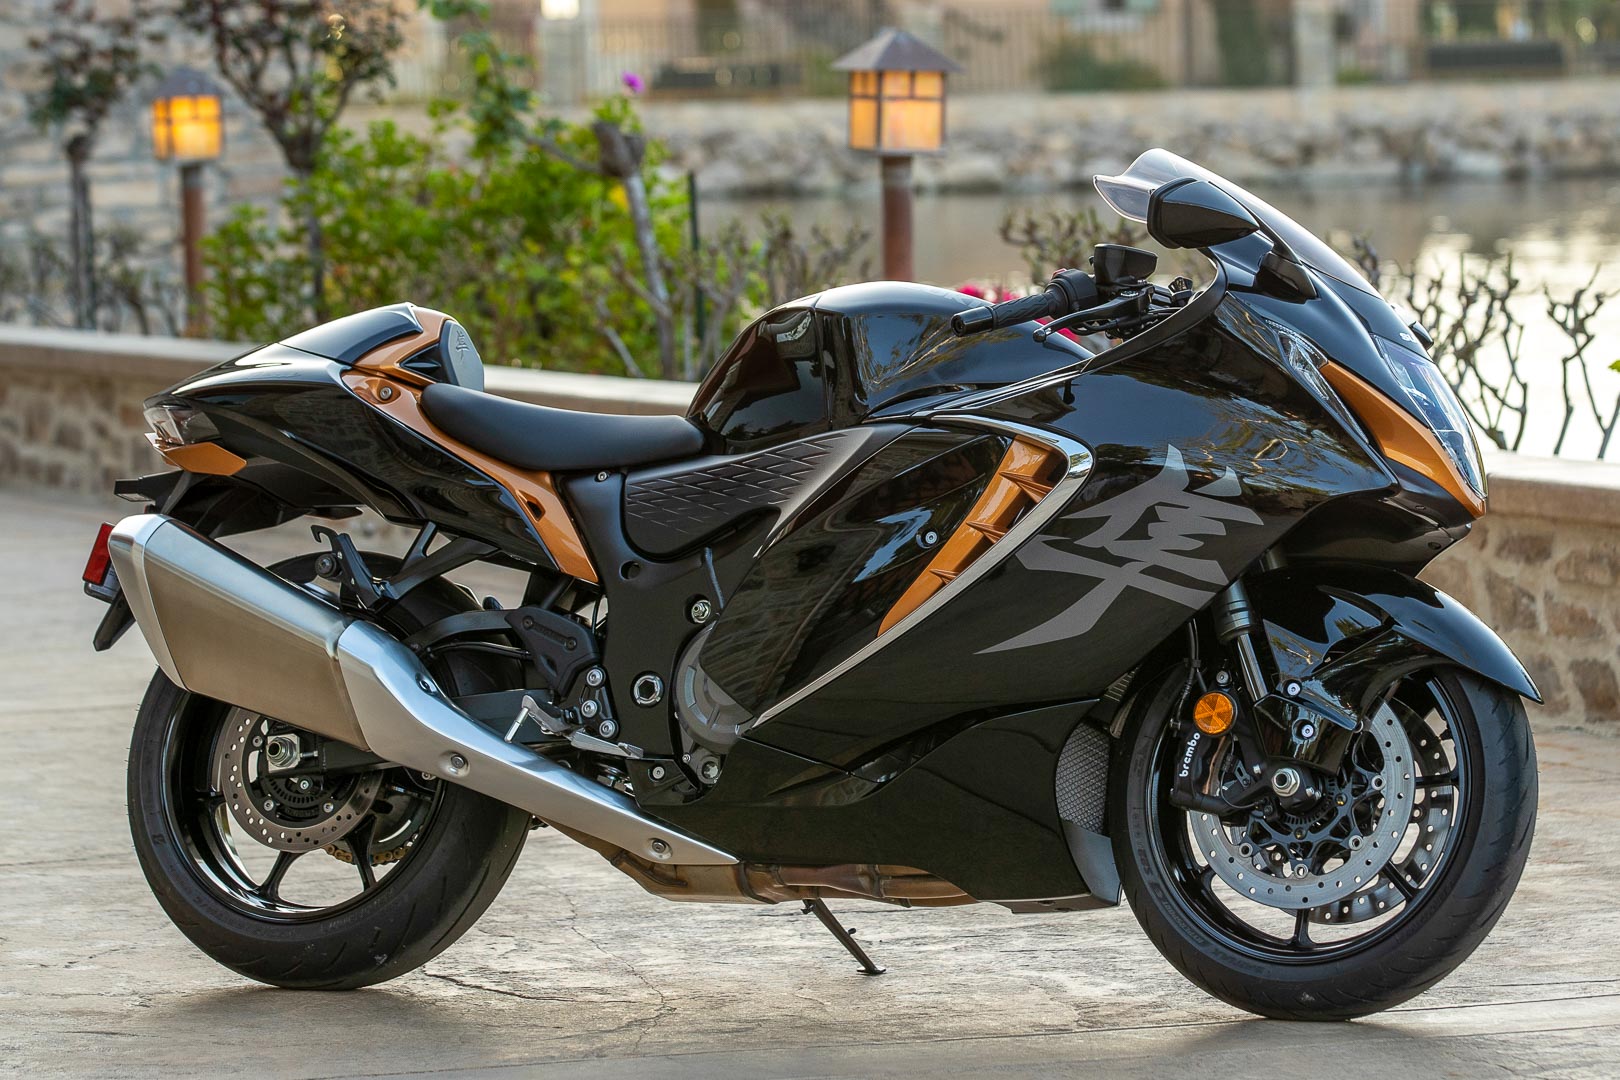
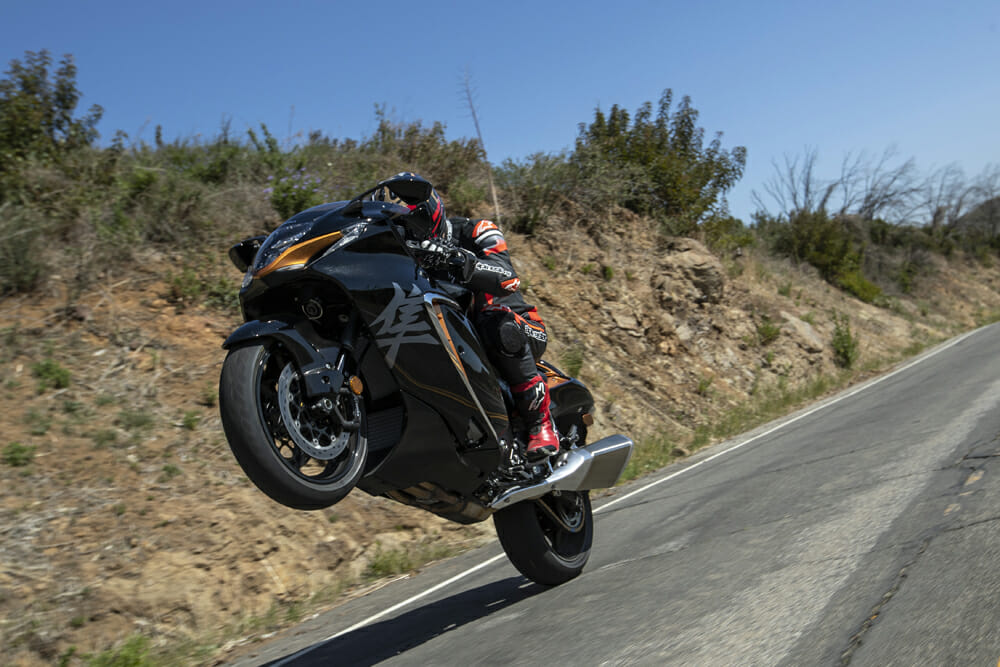
Alright, let’s talk about stretching my Hayabusa. Been wanting to do this for a long time, finally got around to it. Wanted that long, low look, you know? Plus, everyone says it helps keep the front end down, though honestly, I just thought it looked mean.

Getting Started
First thing was getting the parts. I didn’t want anything too complicated, so I went looking for a bolt-on extension kit. Found one online that looked decent, just simple blocks that bolt onto the end of the stock swingarm. Seemed like the easiest way to get it done in my garage. Ordered those up. Of course, you need more than just the blocks.
- A much longer chain. Had to figure out the right length based on how much stretch I was adding. Got a good quality X-ring chain.
- A longer rear brake line. The stock one wasn’t going nearly reach. Went with a braided steel one.
Waited for all the bits to show up. Felt like forever, as usual.
The Actual Work
Got a free Saturday, dragged my tools out. First up, get the bike stable. Put it up on a good rear paddock stand, made sure it wasn’t going anywhere. Then, off came the rear wheel. Standard stuff, axle nut, adjusters, pull the axle, roll the wheel out. Easy enough.
Next, dealing with the stock setup. Had to remove the chain guard, loosen the chain adjusters all the way. Then I popped the master link on the old chain and pulled it off. Kept it aside just in case, though it was too short now anyway.
Now for the extensions. These bolt right into where the axle blocks normally sit. Cleaned up the end of the swingarm first. Lined up the extension blocks, slid the bolts through, and tightened them down pretty good. Make sure these are solid. Felt sturdy enough.

Then came the fun part – the new chain. Had to figure out exactly how many links I needed. Wrapped it around the sprockets, marked it, and then used my chain breaker tool to get it to the right length. Riveted the new master link on. Took a couple of tries to get the rivet flare just right. Didn’t want that coming apart on me.
Swapping the brake line was next. Disconnected the old rubber hose. Fluid went everywhere, of course. Put rags down but still made a mess. Bolted the new, longer braided line in place. Routed it carefully so it wouldn’t snag on anything. Then came the bleeding. Pump, hold, crack the bleeder, close it, release lever. Did that about a million times until the lever felt firm again. Always a pain, bleeding brakes.
Putting It Back Together
With the extensions, chain, and brake line sorted, it was time to get the wheel back on. Slid the wheel into the extensions, fed the axle through. Now, lining the wheel up straight is super important with extensions. Used the adjuster bolts on the extensions, measured carefully from the swingarm pivot to the axle on both sides. Took some fiddling back and forth to get it spot on. Didn’t want it crab-walking down the road.
Got the chain tension set right. Checked everything was tight – axle nut, extension bolts, brake caliper bolts. Double-checked. Triple-checked.
First Ride and Thoughts
Cleaned up the tools and the brake fluid puddle. Stood back and looked at it. Yeah, definitely looks longer. Lowered the bike off the stand. Looked pretty cool.

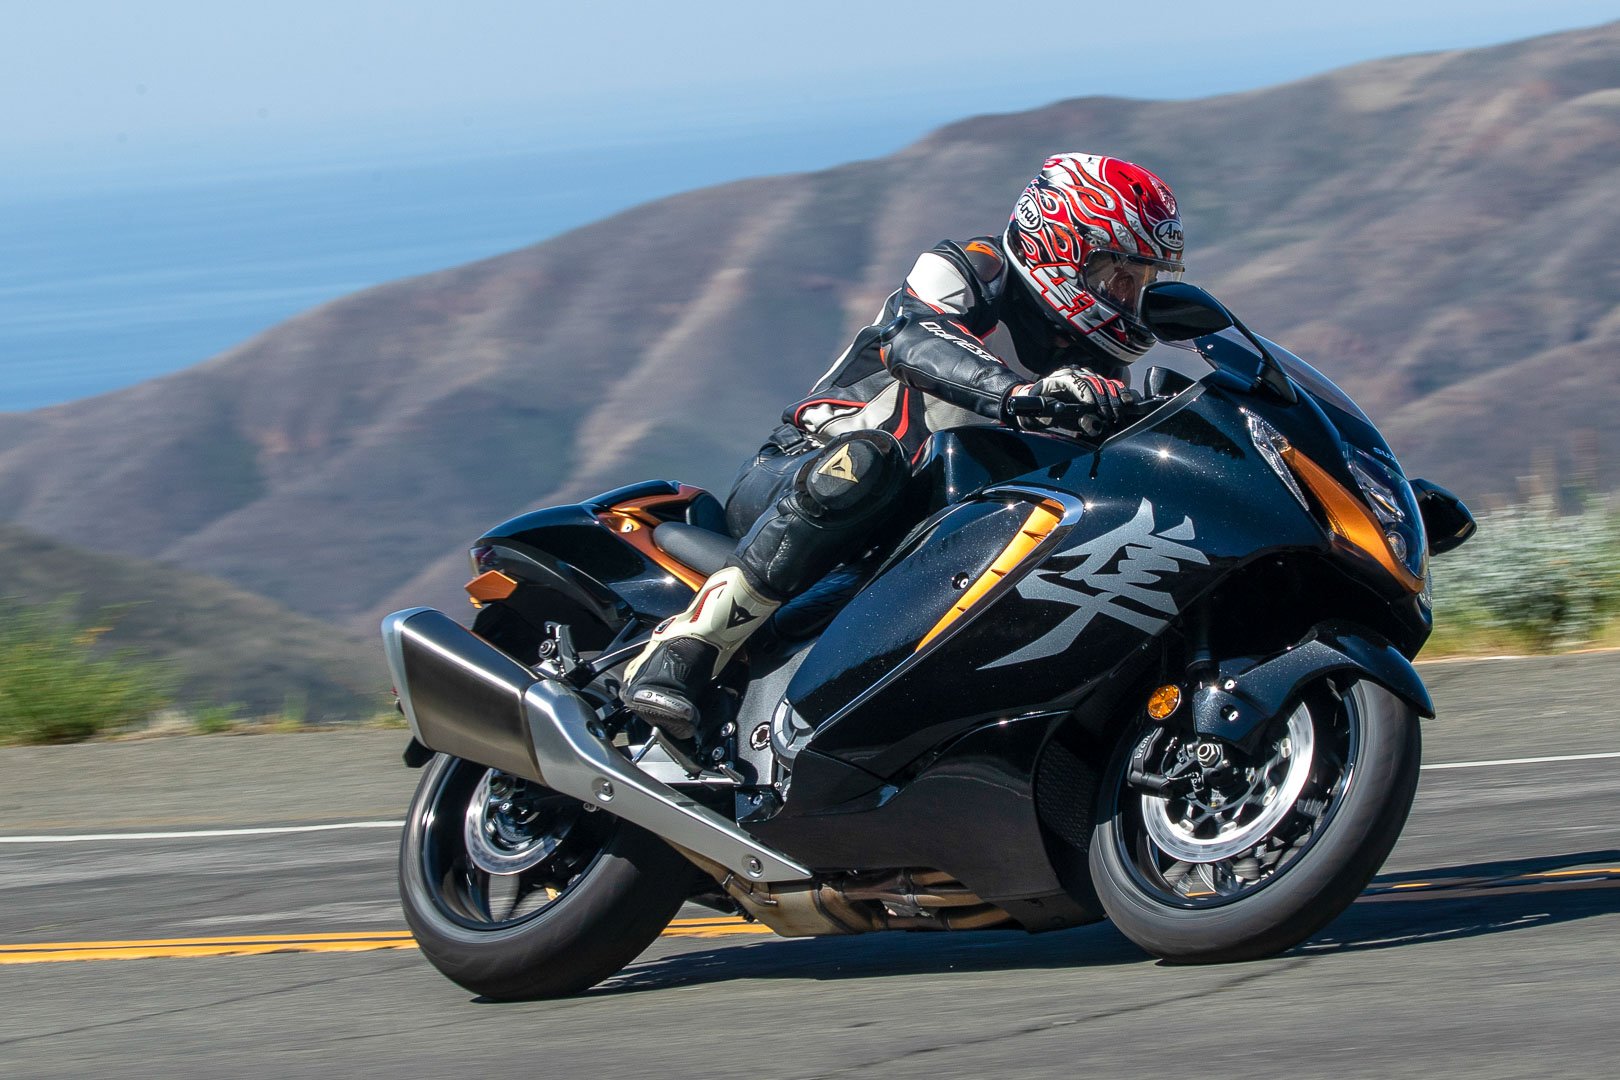
Fired it up, let it warm up a bit. Took it for a slow ride around the neighborhood first. Felt… different. Steering felt a bit heavier, slower. Makes sense, longer wheelbase. Took it out on a straight bit of road, opened it up gently. Felt stable, real stable in a straight line. Haven’t really pushed it in corners yet, gonna take it easy until I get used to it. It definitely changes the handling, makes slow speed turns a bit wider.
So, was it worth it? For the look, yeah, definitely. For straight line stability, seems like it. Handling is something I need to adapt to. Wasn’t too hard to do myself, just took patience and basic tools, plus that chain tool. Happy with how it turned out though. Looks tough.
