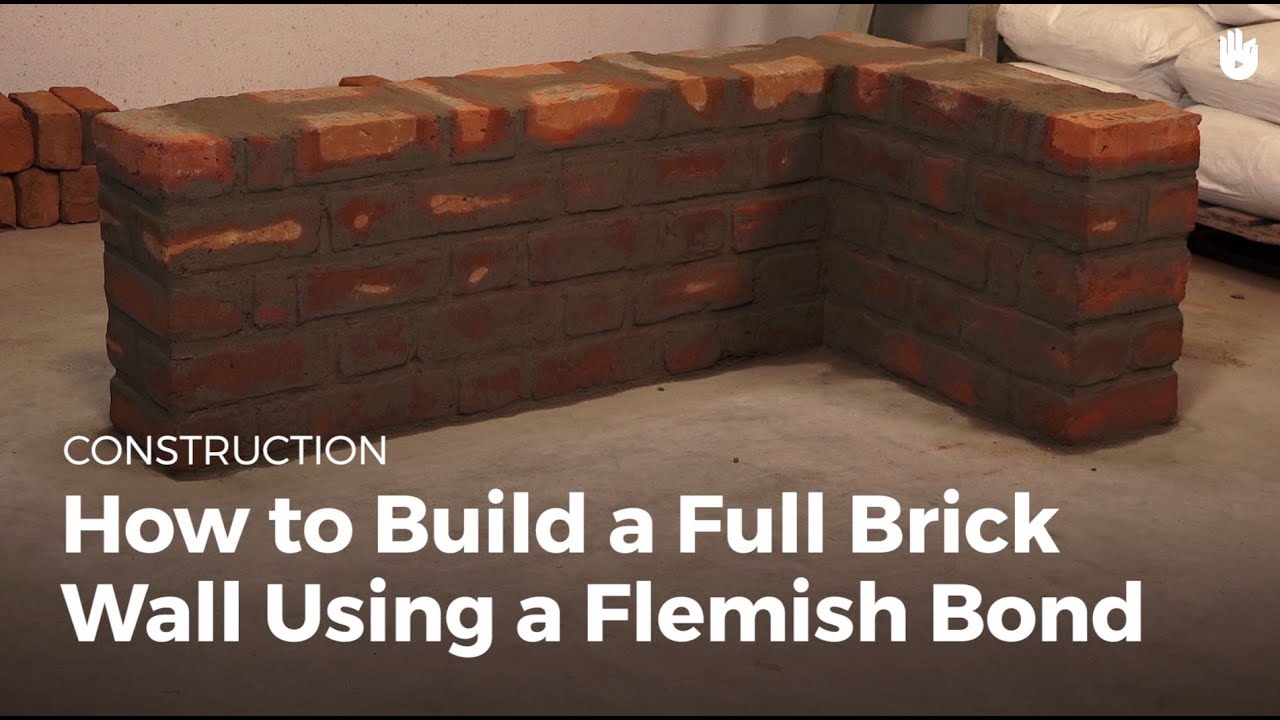
Okay, so I decided to give this ‘Dutch Header’ thing a try the other weekend. Heard about it, sounded sturdy for the little garden border I was planning. Thought, how hard can it be?
Getting Started
First off, I got my stuff together. Bricks – just some standard ones I had lying around. Bag of mortar mix, my trusty old trowel, a spirit level, and some string. Felt pretty prepared, you know? Went ahead and mixed up the mortar. Maybe added a bit too much water at first, it was sloppy. Had to chuck in more mix to get it right. It’s always a bit tricky, getting that perfect consistency, not too wet, not too dry. Like making porridge, but less tasty.
Laying the Bricks
So I laid down the first layer, the stretchers, nice and simple along the string line I set up. Easy peasy. Then came the part I was actually trying – the Dutch Header pattern. Now, this is where it got interesting. It’s supposed to be a pattern, headers and stretchers mixed up on each course. I started laying them out, trying to follow the pattern I’d seen pictured somewhere.
Keeping everything level and straight was the main battle. I was constantly tapping bricks down, checking with the level, adjusting. Getting those header bricks lined up properly with the stretchers below took some real fiddling. My joints probably weren’t as neat as a pro’s, that’s for sure. At one point, I realized I’d messed up the sequence about halfway down a row. Had to pull up like five bricks, scrape off the mortar, and do it again. Bit frustrating, that.
Cutting bricks for the ends wasn’t fun either. Don’t have a fancy saw, just a bolster chisel and hammer. Let’s just say some cuts were cleaner than others. Lots of tapping, hoping it would break where I wanted it to.
Finishing Up
It took way longer than I expected, mostly because I had to keep checking and re-checking everything. My back was definitely feeling it by the end of the day. When I finally put the last brick in place and stepped back, well, it wasn’t perfect. A bit wobbly if you look too close. But you know what? It stands up. It looks like a wall border, and I did it myself using that Dutch Header method. Learned a lot, mostly about patience and how heavy bricks get after a few hours. It’s solid enough for what I need it for. Pretty satisfying, actually, despite the messy bits.