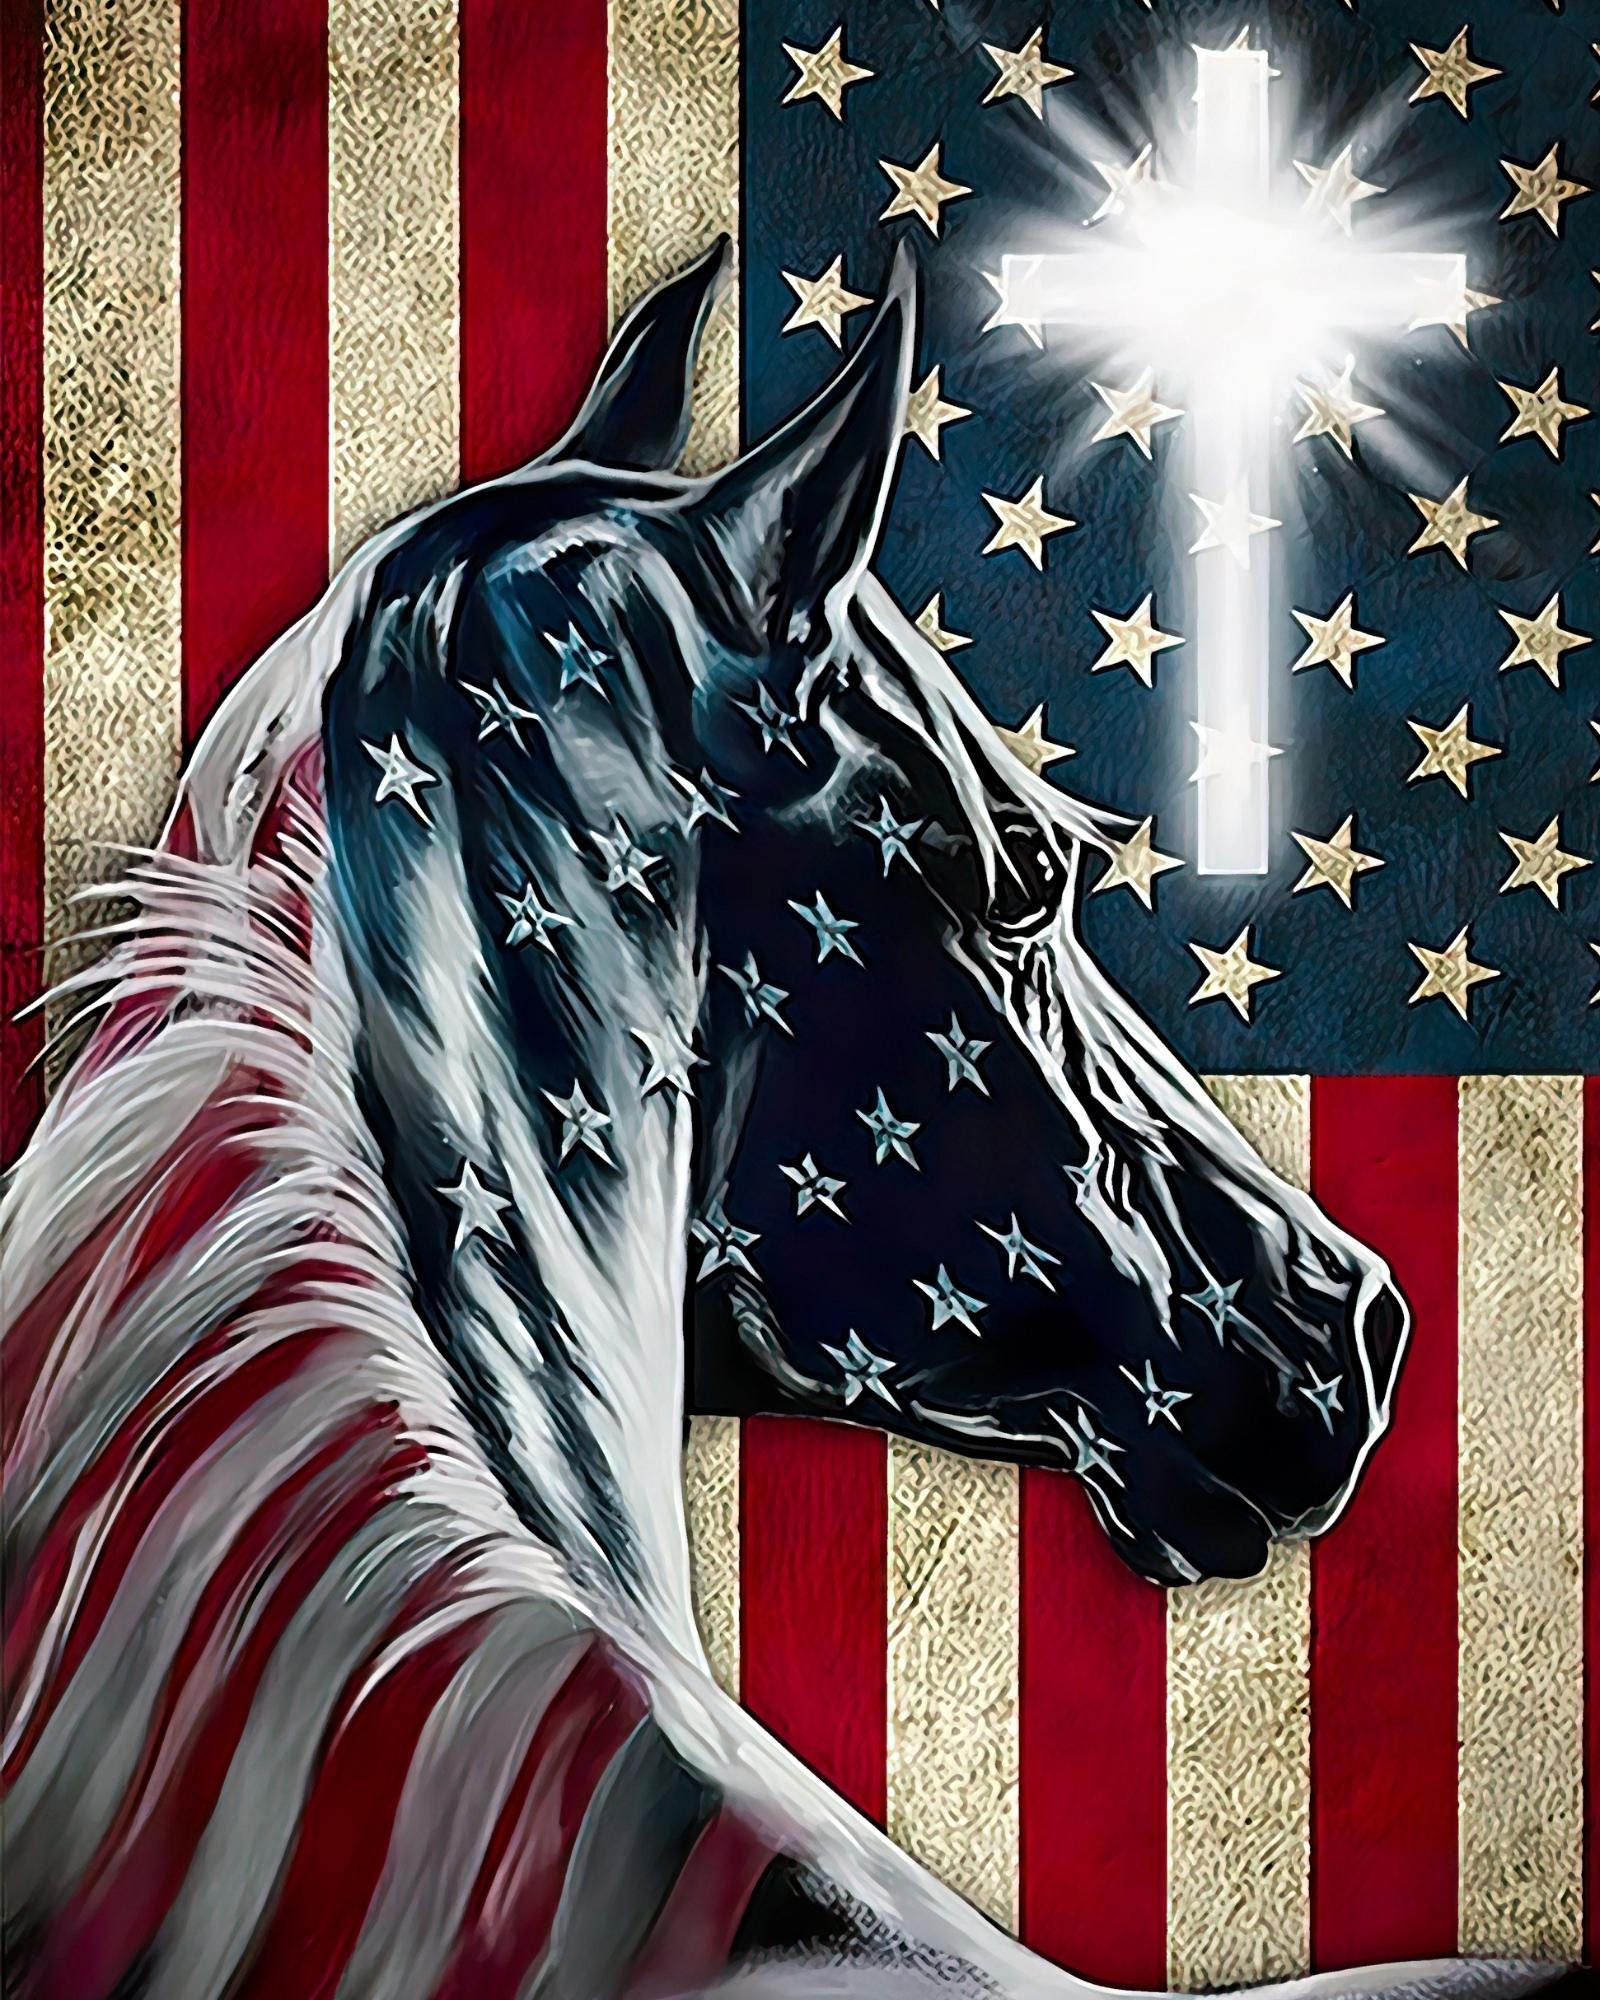
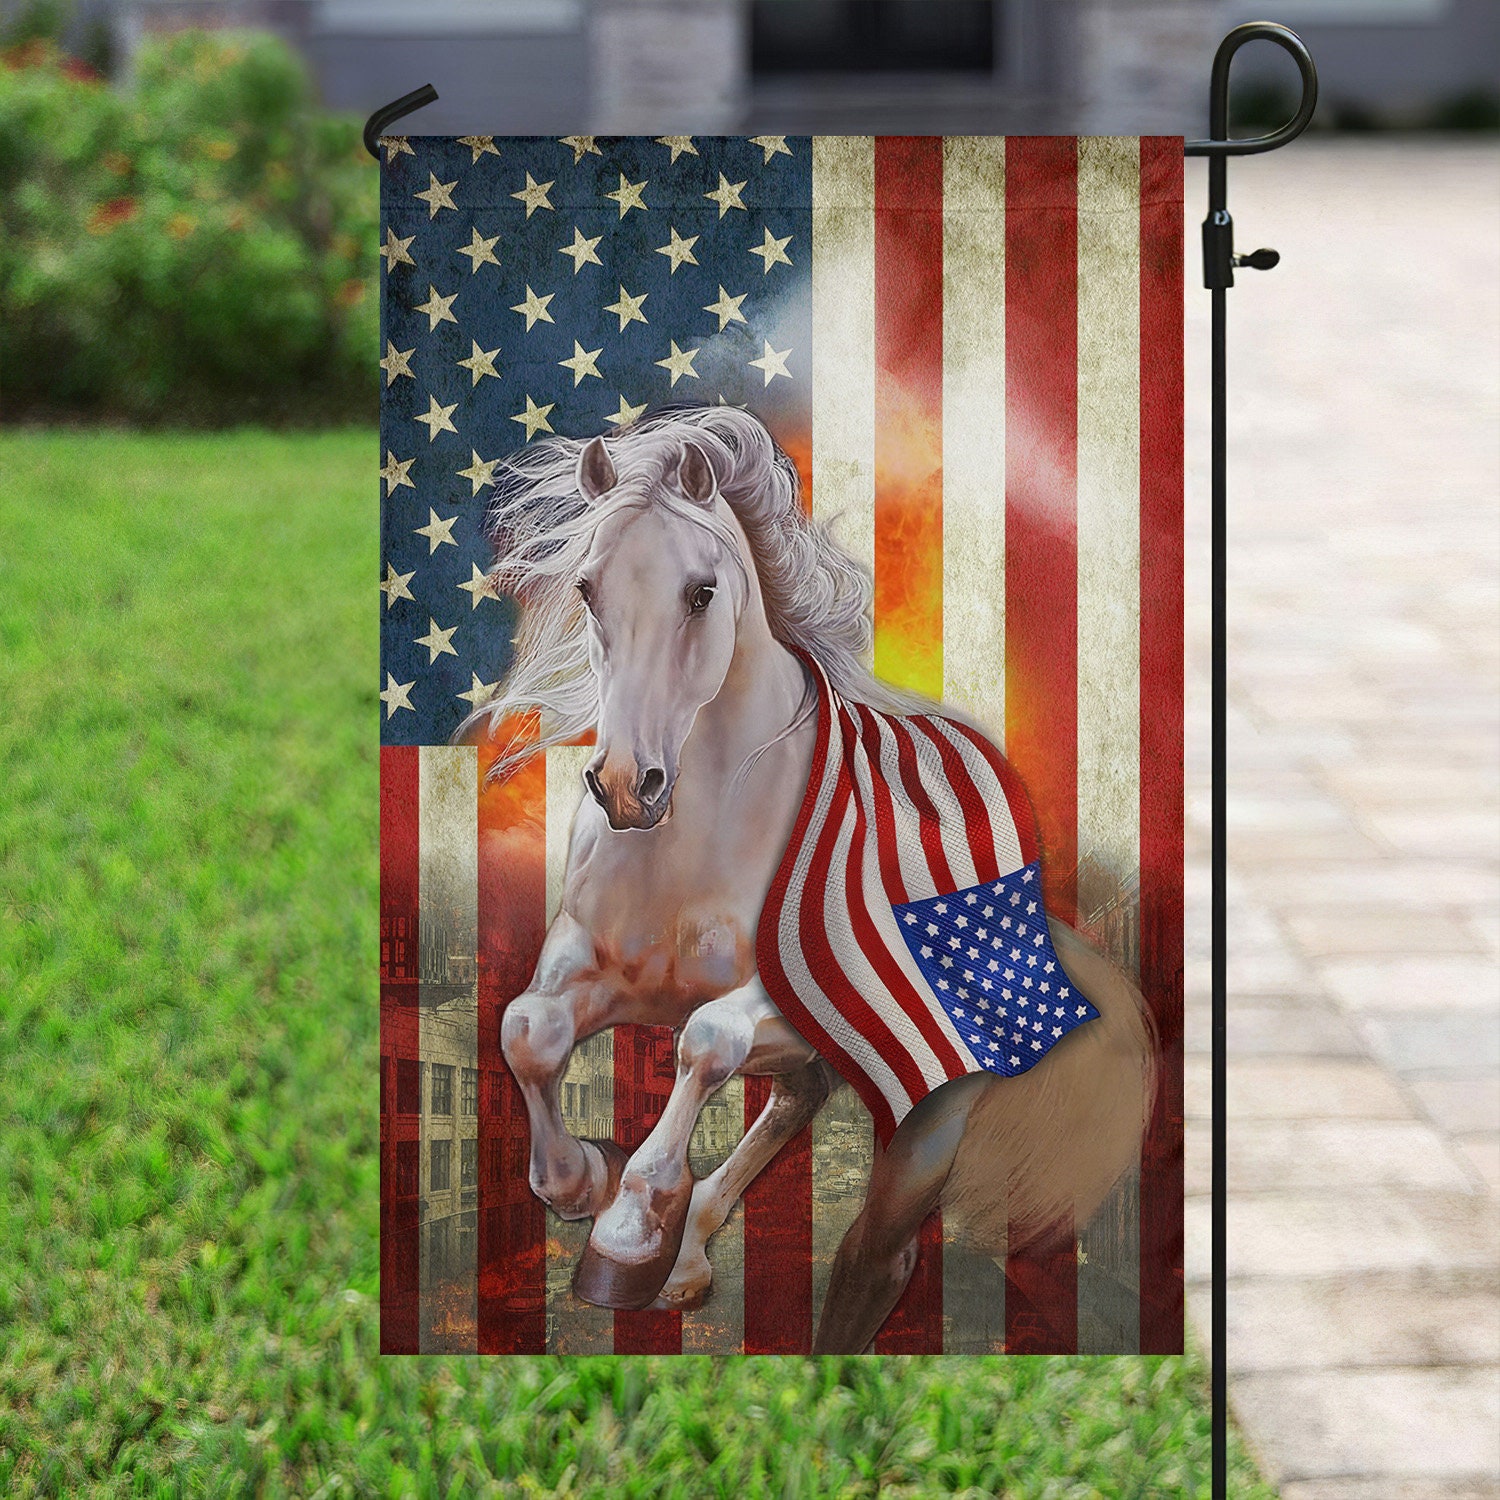
Okay, so I got this idea stuck in my head the other day. A horse, right? And the American flag. Put ’em together. Sounded pretty cool, so I figured, why not give it a shot? I’m always looking for something to keep my hands busy, and this seemed like a fun little project.
What I Used – The Nitty Gritty
Before I could even start, I had to round up all the bits and pieces. Here’s what I ended up needing:
- A decent chunk of wood. I think mine was pine, nothing too fancy.
- A jigsaw. Yeah, for cutting out the horse shape.
- Sandpaper. Lots of it, different grits.
- Primer. White stuff, to make the paint stick better.
- Acrylic paints. Red, white, and blue, obviously. And maybe some black or brown for an outline if you’re feeling it.
- Brushes. A few different sizes.
- Painter’s tape. This stuff is a lifesaver for straight lines.
- A star stencil or some small star stickers. I ain’t no artist, so stencils are my friend.
- A clear sealer. To protect it when it’s all done.
How I Made This Thing Happen
Alright, let’s get into the actual doing part. It wasn’t super quick, but I got there.
First off, the horse shape. I’m not gonna lie, drawing a horse freehand that looks good is tough. So, I found a silhouette online, printed it out, and traced it onto my wood. Then, very carefully, I used the jigsaw to cut it out. Took my time with this, because one slip and, well, you get a wonky horse.
Then came the sanding. So much sanding. Started with rougher sandpaper to smooth out the jigsaw cuts, then moved to finer stuff to get it really smooth. You want it smooth so the paint looks good, you know?
Once it was smooth like a baby’s… well, you know… I slapped on a coat of primer. Let that dry completely. Super important step, don’t skip it. Makes the colors pop later.
Now for the flag part. This was the trickiest bit, figuring out how to get the stripes and the blue field onto a horse shape. I kinda just eyeballed where the blue bit for the stars should go, near the horse’s head and neck. Taped that section off.
Then, the stripes. More tape! I carefully measured and taped off for the red and white stripes along the horse’s body. This took a while, gotta be patient. Painted the red stripes, let ’em dry, peeled the tape. Then painted the white stripes. It’s a bit back and forth, but it’s the only way to get those clean lines.
After the stripes were all dry, I moved onto the blue field. Painted that in. Waited for it to dry. Then, the stars. I used a small star stencil I had. Could have tried painting them by hand, but I know my limits, haha. Stencil worked out just fine. Little dabs of white paint.
Last steps! Once everything was super dry, like, next-day dry, I gave the whole thing a couple of coats of clear sealer. Just to protect all that hard work from dust and whatever else. You can get spray-on stuff or brush-on, either works.
What I Learned Along the Way
Well, for one thing, patience is key. Especially with the taping and waiting for paint to dry. If you rush it, you’ll mess it up. I almost smudged a stripe because I got impatient.
Also, good quality painter’s tape? Worth its weight in gold. The cheap stuff bleeds, and then you’ve got fuzzy lines, and nobody wants that.
And cutting out the shape with a jigsaw on anything but a simple square takes practice. My first curve wasn’t perfect, but hey, it’s homemade, right? Adds character.
So, How’d It Turn Out?
You know what? I’m pretty darn pleased with it! It’s not something you’d find in a fancy store, but it’s got that rustic, handmade charm. It’s definitely a conversation starter. Got it hanging up in the workshop now. Makes me smile when I see it. It’s a cool little piece of Americana, horse-style. Definitely a fun weekend project if you’re looking for one.