Alright folks, buckle up. Decided to tackle this connecting rod mess myself after the ol’ truck started knocking like an angry woodpecker. Figured, how hard could it be? Famous last words.
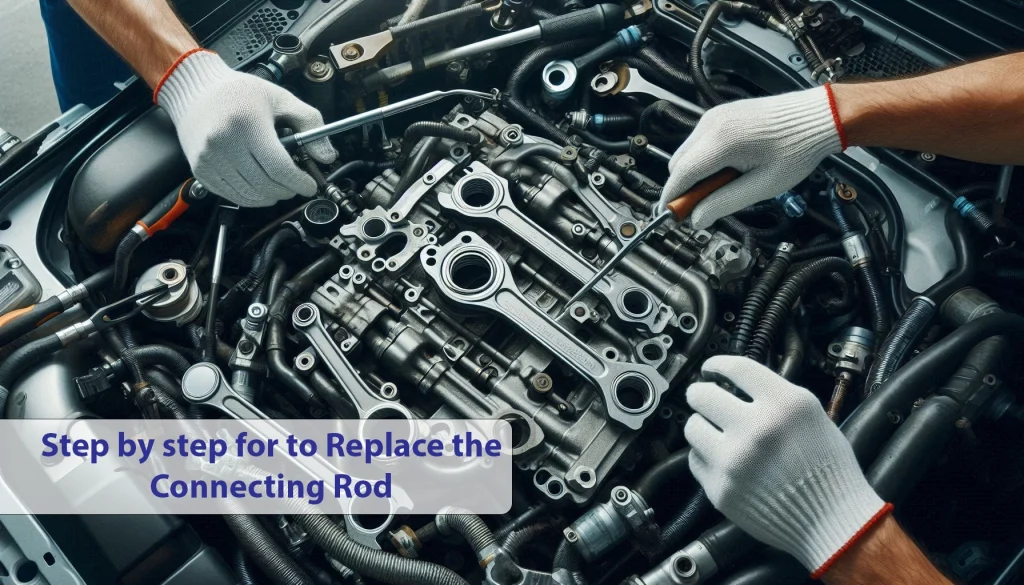
Diving Headfirst Into The Mess
First things first, needed to actually see the darn connecting rod. That meant ripping the engine out. Unbolted everything holding it down – mounts, exhaust pipes, wiring harnesses, you name it. Felt like wrestling a greased pig trying to hoist it out with my engine crane. Nearly crushed my foot when it slipped! Ugh.
Got it onto the workbench. Started stripping it bare. Head came off, then the oil pan came off, showing the crank and all those rods swinging around. Looked like a metal spiderweb down there.
The Nitty Gritty Struggle
Spun the crank around slowly until I spotted the bad apple – piston number three’s connecting rod bearing was shredded. Bits of shiny metal everywhere. No wonder it sounded awful. Knew I had to get that specific rod out.
- Marked Everything: Used a paint pen on the rod cap and rod itself, big number “3”. Did the same for the bearing cap bolts. Cannot mix these up later. Seriously.
- Undid the Bolts: Needed a breaker bar and my whole body weight. Sounded like a gunshot popping loose. Soaked myself in old engine oil. Lovely.
- Separated the Cap: Tapped it gently… nothing. Tapped it harder… still stuck. Finally whacked it good with a rubber mallet and it flew off, nearly taking my eye out. Found it later behind my drill press.
- Pulled the Piston/Rod: This was tricky. Had to poke the piston up from the bottom while gently guiding the rod out. Felt like playing operation. Kept jamming on the cylinder walls.
Swapping Parts & Facing Demons
Took the bad rod and piston to the machine shop. Got a new rod installed on piston three and the crank polished where the bearing spun. Looked pretty again. Cleaned everything like crazy – pistons, cylinder walls, oil passages. Used about half a roll of shop towels.
Putting Humpty Dumpty Back Together:
- New Bearings: Slapped new bearings in the rod and cap. Coated them with assembly lube – that gooey stuff is messy as heck.
- Guide Rings: Squeezed some plastic guide rings onto the rod bolts so I wouldn’t scratch the crank when sliding it back in. They break off later.
- Back In the Hole: Fed the piston and rod assembly back up into the cylinder. Had to use a ring compressor to squish the piston rings. Took three tries to get it compressed right so the rings didn’t snap climbing in. Stressful.
- Matching Marks: Slid the cap back on, making SURE the paint marks lined up perfectly. Double, triple-checked.
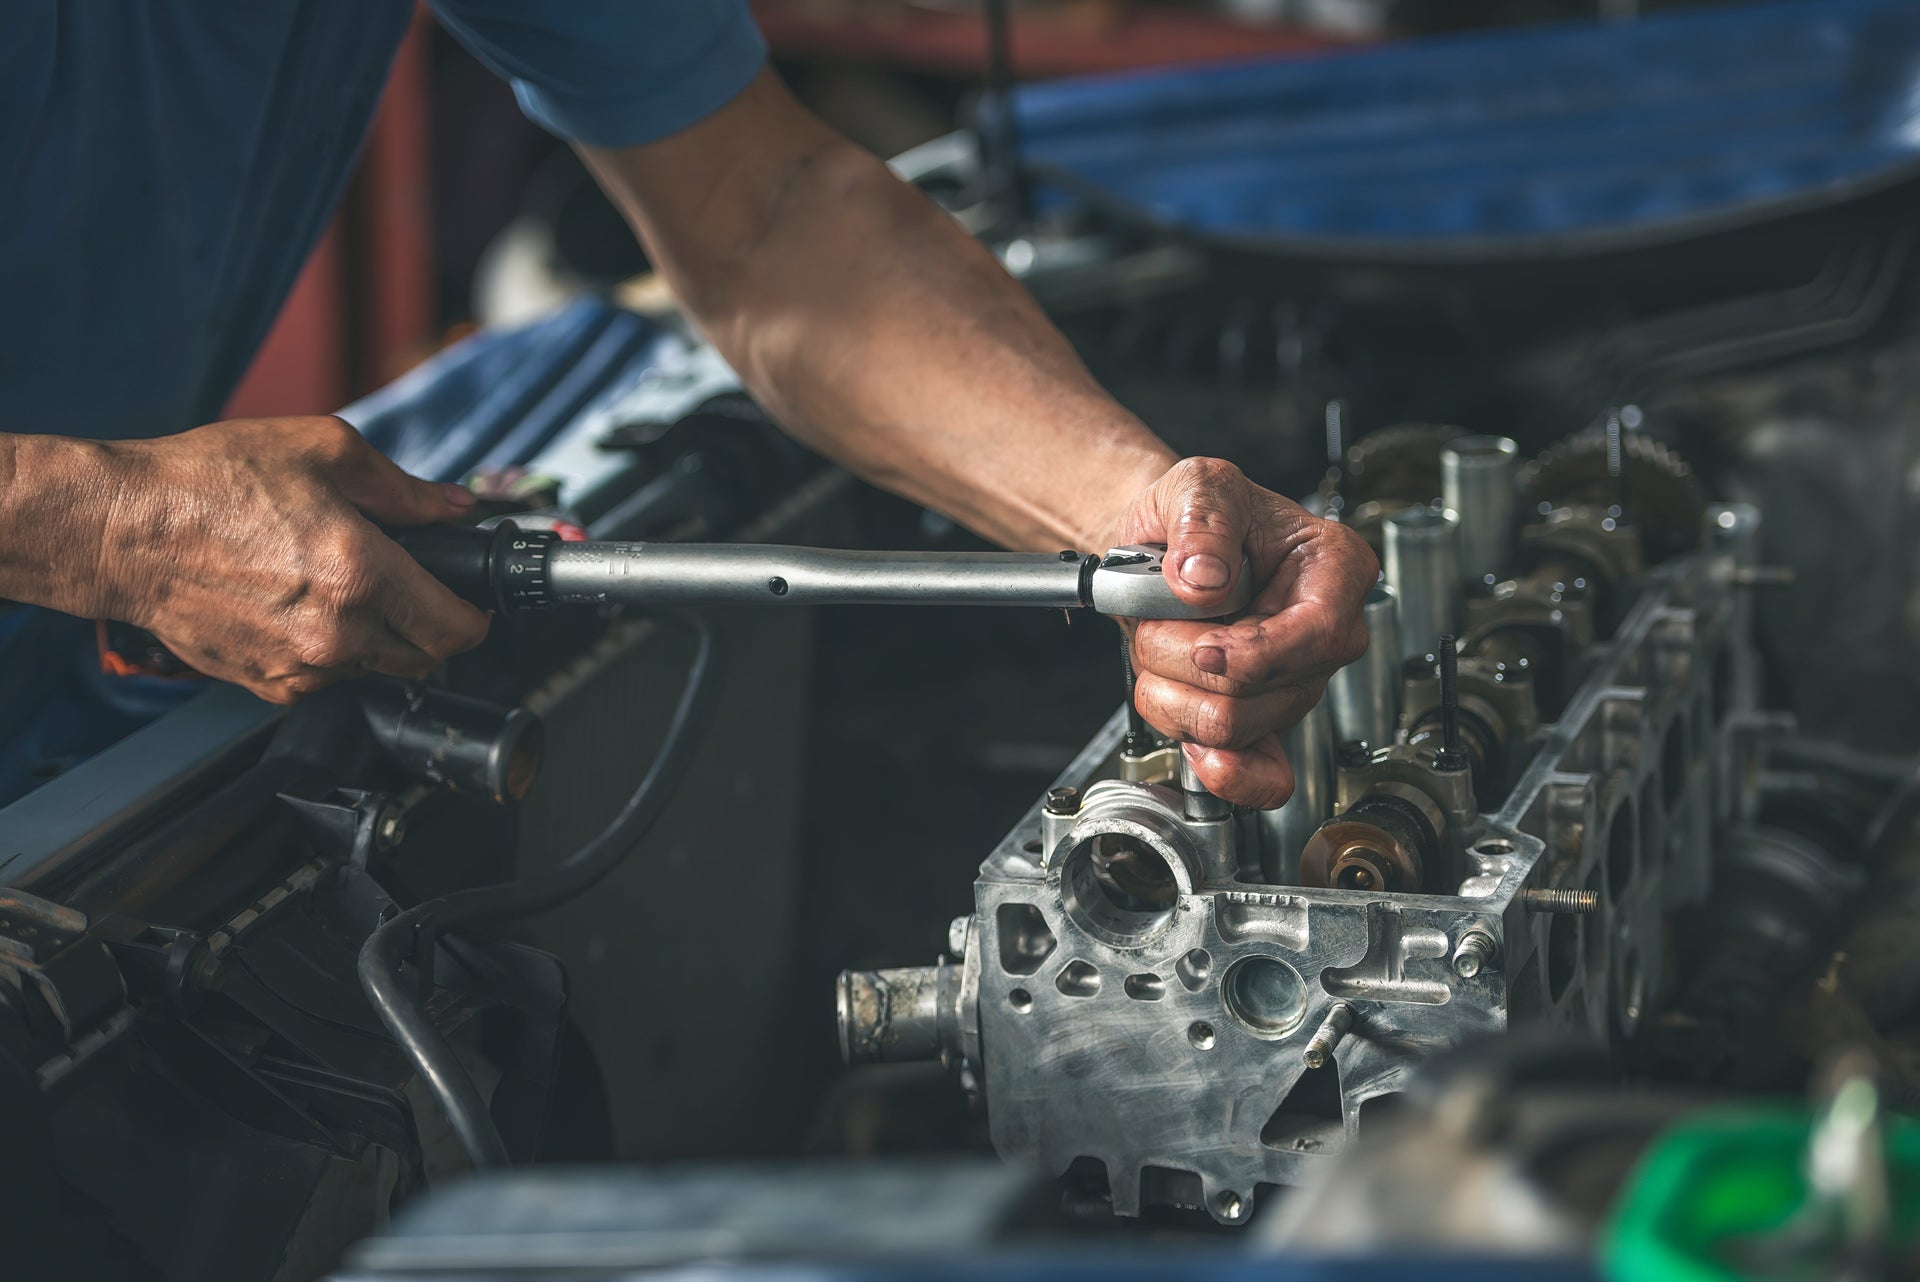
- Torque Time: Torqued those rod bolts down nice and tight following the manual’s sequence. Click-click on the torque wrench feels good. Did it twice just to be sure.
Reassembly Nightmare & Hopeful Roar
Put everything else back – oil pan gasket (hate those fiddly things), cylinder head with a new head gasket, all the hoses and wires. Filled it up with fresh oil and coolant. Said a little prayer.
Turned the key. Starter groaned, engine cranked… cranked… cranked… felt like forever. Then it coughed, sputtered… and actually roared to life! No more knocking! Just the smooth purr I remembered. Almost cried. Let it run, checked for leaks like a hawk. So far, so good. Took me two weekends and I lost 10 pounds sweating buckets, but man, feels good… for now.
Would I recommend doing this yourself? If you got time, patience, and a really good manual? Maybe. But be ready for grease and regret.