Alright folks, buckle up! Today I’m gonna spill the beans on my Yamaha Go-Kart project. This wasn’t just some weekend tinkering, this was a full-blown dive into the world of engines, metal, and a whole lot of grease.

It all started with a beat-up Yamaha engine I snagged from a buddy who was cleaning out his garage. It was caked in grime and looked like it hadn’t seen the light of day in years. My first move? Tear that thing down! I mean, completely stripped it. Every nut, every bolt, every gasket. I laid everything out on a big sheet of cardboard, labeled each part (mostly, I kinda messed that up later, haha), and started cleaning. Carb cleaner was my best friend during this phase.
Cleaning and Assessment
- Disassembly: Took the whole engine apart, piece by piece.
- Cleaning: Used carb cleaner and degreaser to get rid of all the gunk.
- Inspection: Checked for wear and tear – piston rings, cylinder walls, valves, everything.
Turns out, the engine was in surprisingly decent shape. A few worn parts, sure, but nothing major. I ordered a rebuild kit online – new piston rings, gaskets, seals, the whole shebang. While waiting for the parts, I started thinking about the frame. I wanted something sturdy, something I could really put through its paces. I ended up finding some steel tubing at a local metal supply shop. It wasn’t pretty, but it was strong.
Frame Fabrication
- Design: Sketched out a basic frame design, nothing too fancy.
- Cutting: Cut the steel tubing to size with an angle grinder. Sparks flew everywhere!
- Welding: This was the tricky part. My welding skills are… well, let’s just say they’re “developing.” I managed to tack the frame together, though.
- Reinforcement: Added some extra supports and bracing to make sure the frame wouldn’t fall apart on the first bump.
Once the frame was welded (sort of) together, I started test-fitting the engine. This is where I realized my measurements were a little… off. Had to do some creative bending and grinding to get everything to line up. Lesson learned: measure twice, cut once (or maybe even three times!).
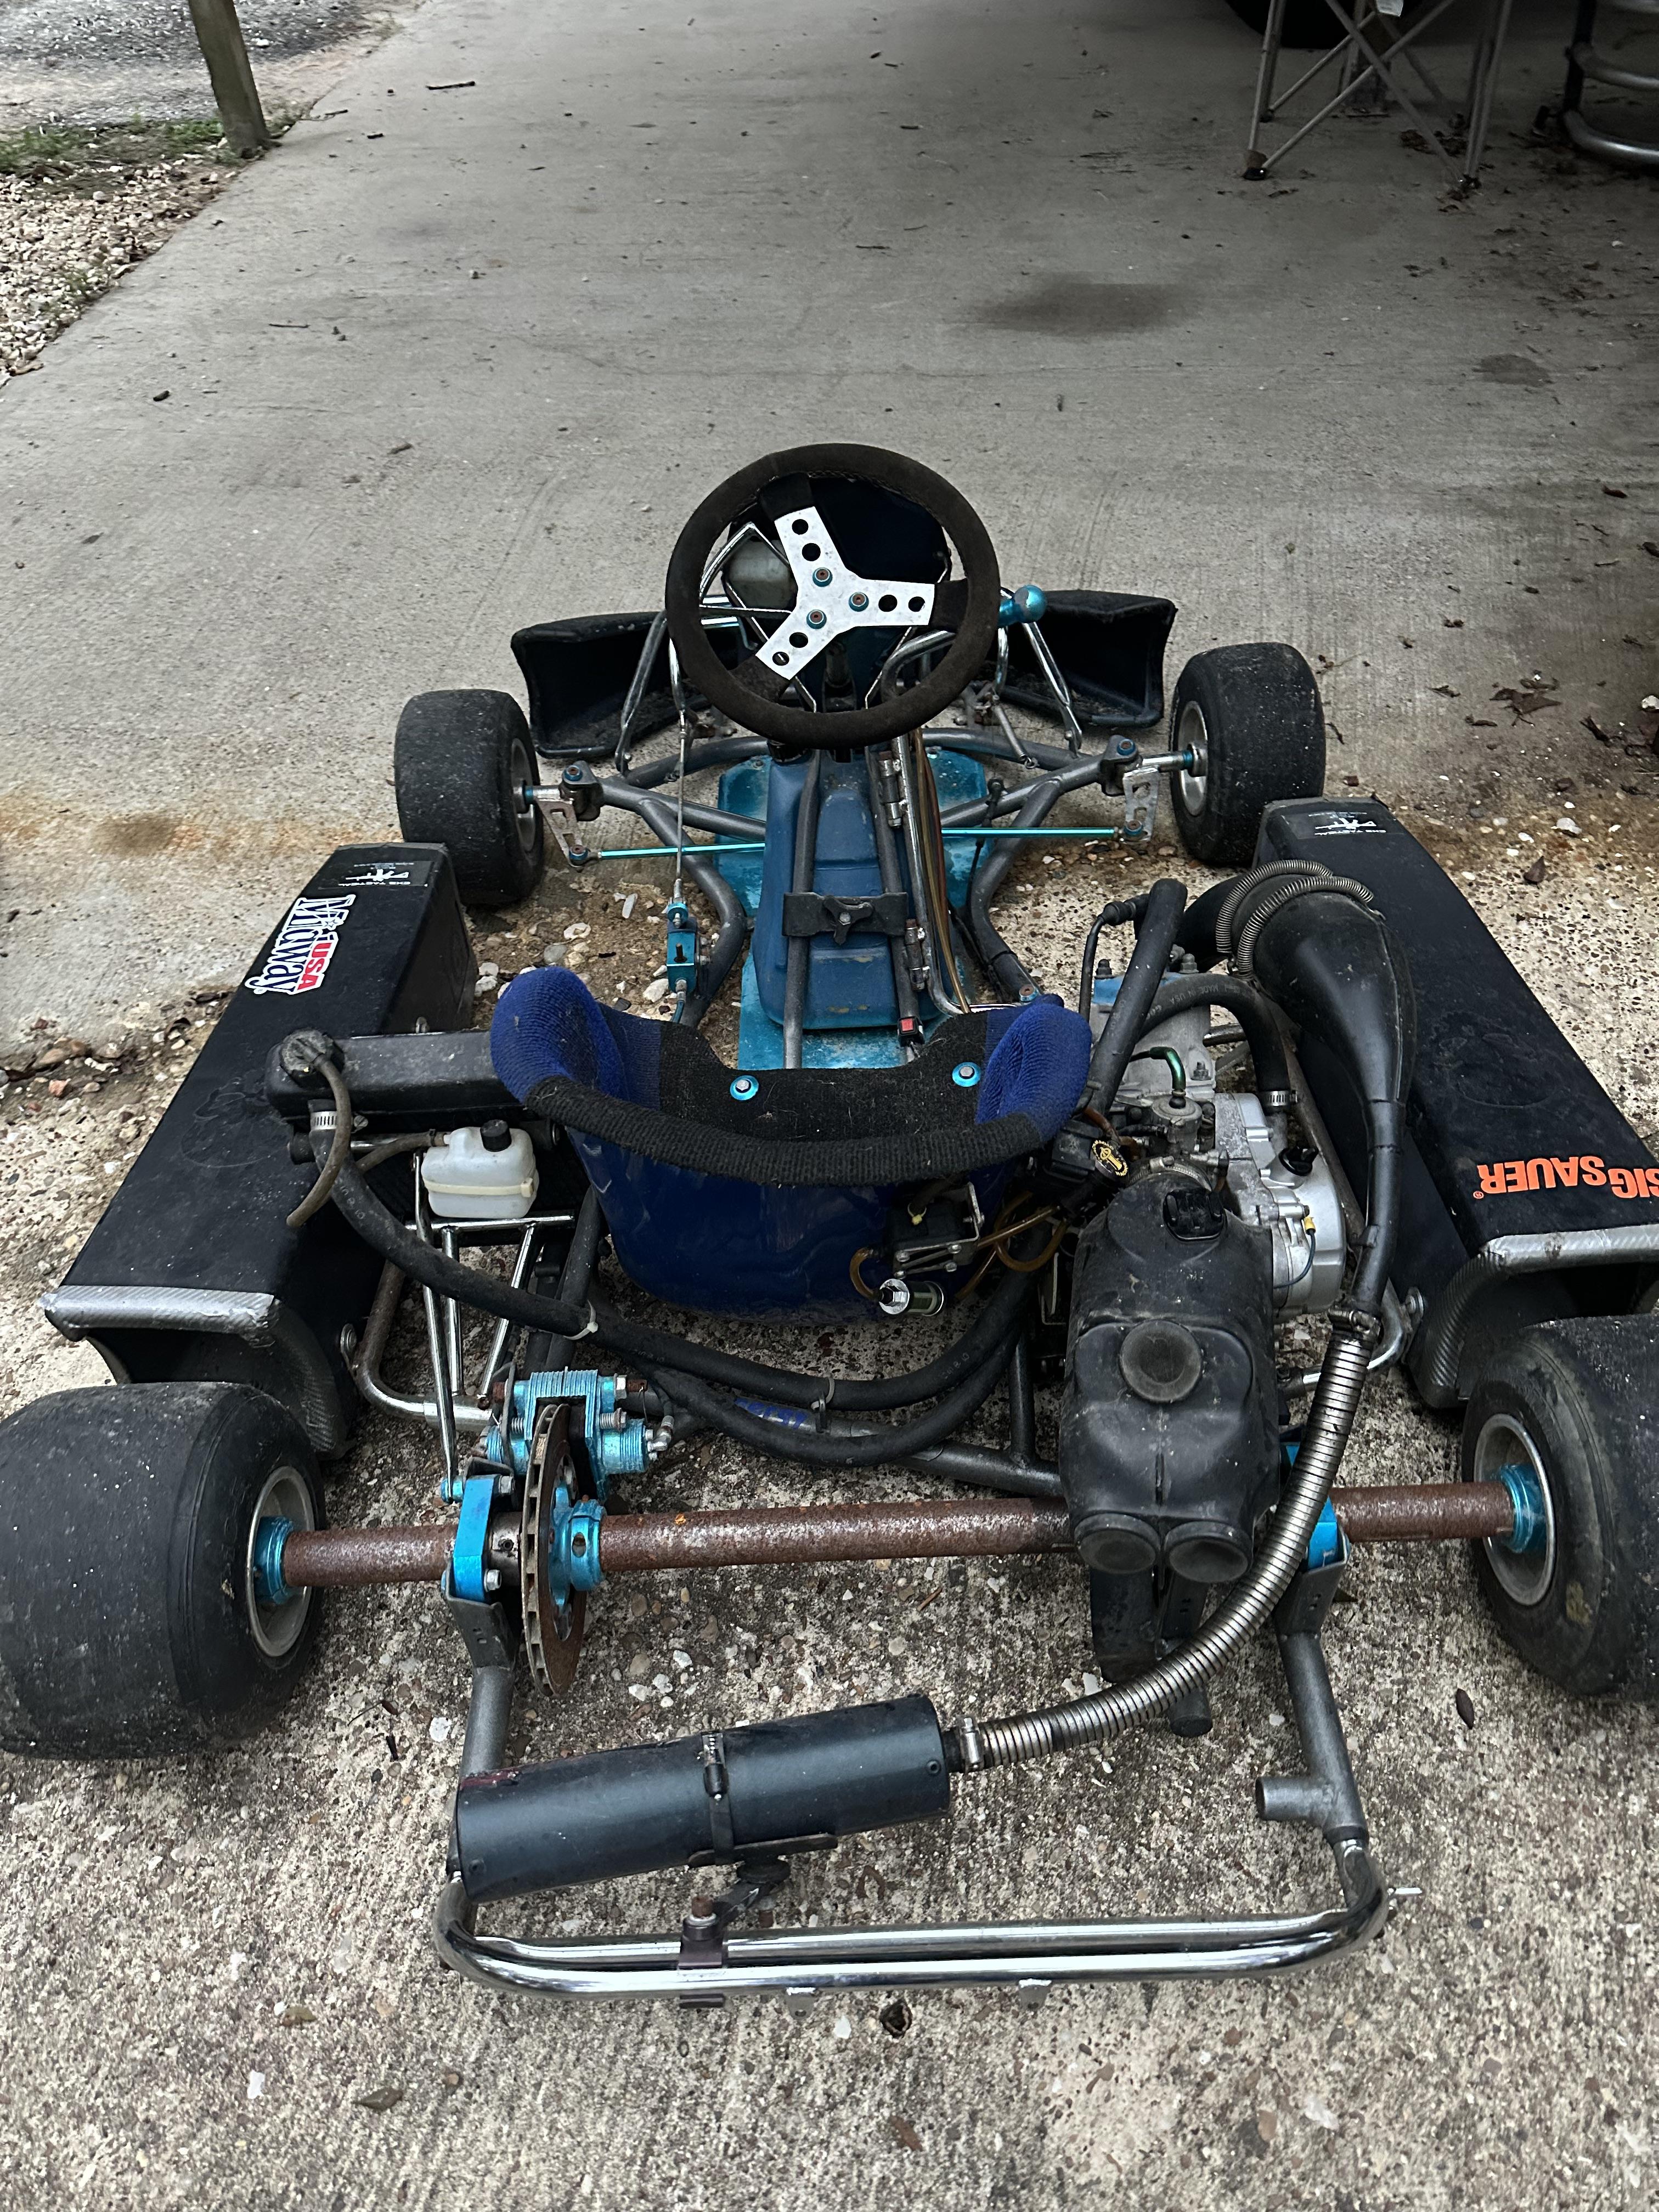
With the engine mounted, it was time to tackle the steering and brakes. I scoured online marketplaces and found some used go-kart parts – steering wheel, tie rods, brake calipers, rotors, the whole shebang. Bolting everything together was a bit of a puzzle, but with enough fiddling and cursing, I got it done.
Steering and Brakes
- Sourcing Parts: Found used go-kart steering and brake components online.
- Installation: Bolted everything together, making sure the steering was responsive and the brakes were strong.
- Adjustments: Fine-tuned the steering and brakes for optimal performance.
Now for the fun part – the wheels! I picked up some cheap go-kart wheels and tires online. Slapped ’em on, and suddenly it started to look like an actual go-kart! Filled it with gas and oil, crossed my fingers, and gave the engine a crank. It sputtered, coughed, and then… ROARED to life! I was grinning like a kid on Christmas morning.
Final Touches
- Wheels and Tires: Mounted the wheels and tires.
- Fuel and Oil: Filled the engine with gas and oil.
- Initial Startup: Started the engine for the first time – success!
The first test drive was… interesting. The steering was a little wonky, the brakes were a bit grabby, and the engine was screaming like a banshee. But it MOVED! I spent the next few days tweaking and adjusting everything until it was running (relatively) smoothly.

Refinements
- Steering Adjustments: Corrected the steering to remove slop.
- Brake Adjustments: Fine tuned the brake system.
- Engine Tuning: Adjusted the carburetor for performance.
Now, it’s not pretty. It’s loud. It’s rough around the edges. But it’s MY Yamaha Go-Kart. And it’s a blast to drive! So if you’re thinking about building your own go-kart, I say go for it! It’s a challenging project, but the feeling of tearing around in something you built with your own two hands is totally worth it. Just be prepared to get your hands dirty!