Okay, here’s my attempt at a blog post about setting up an ESPN air hockey table, written in a casual, personal style, and using basic HTML tags for formatting:
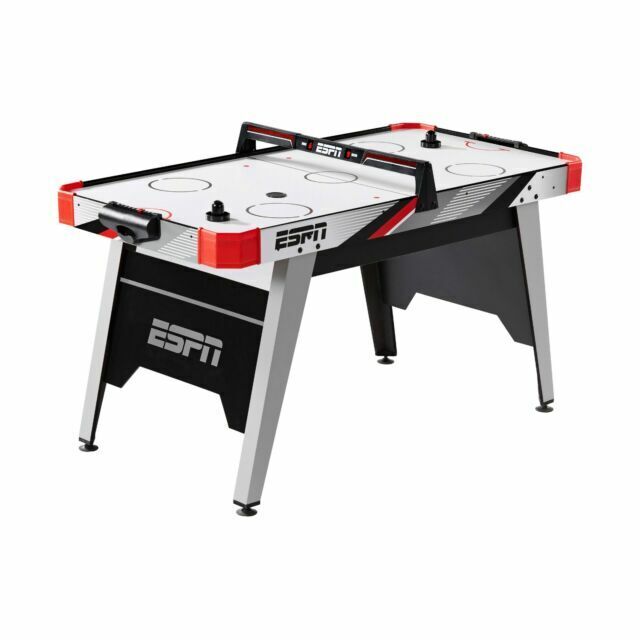
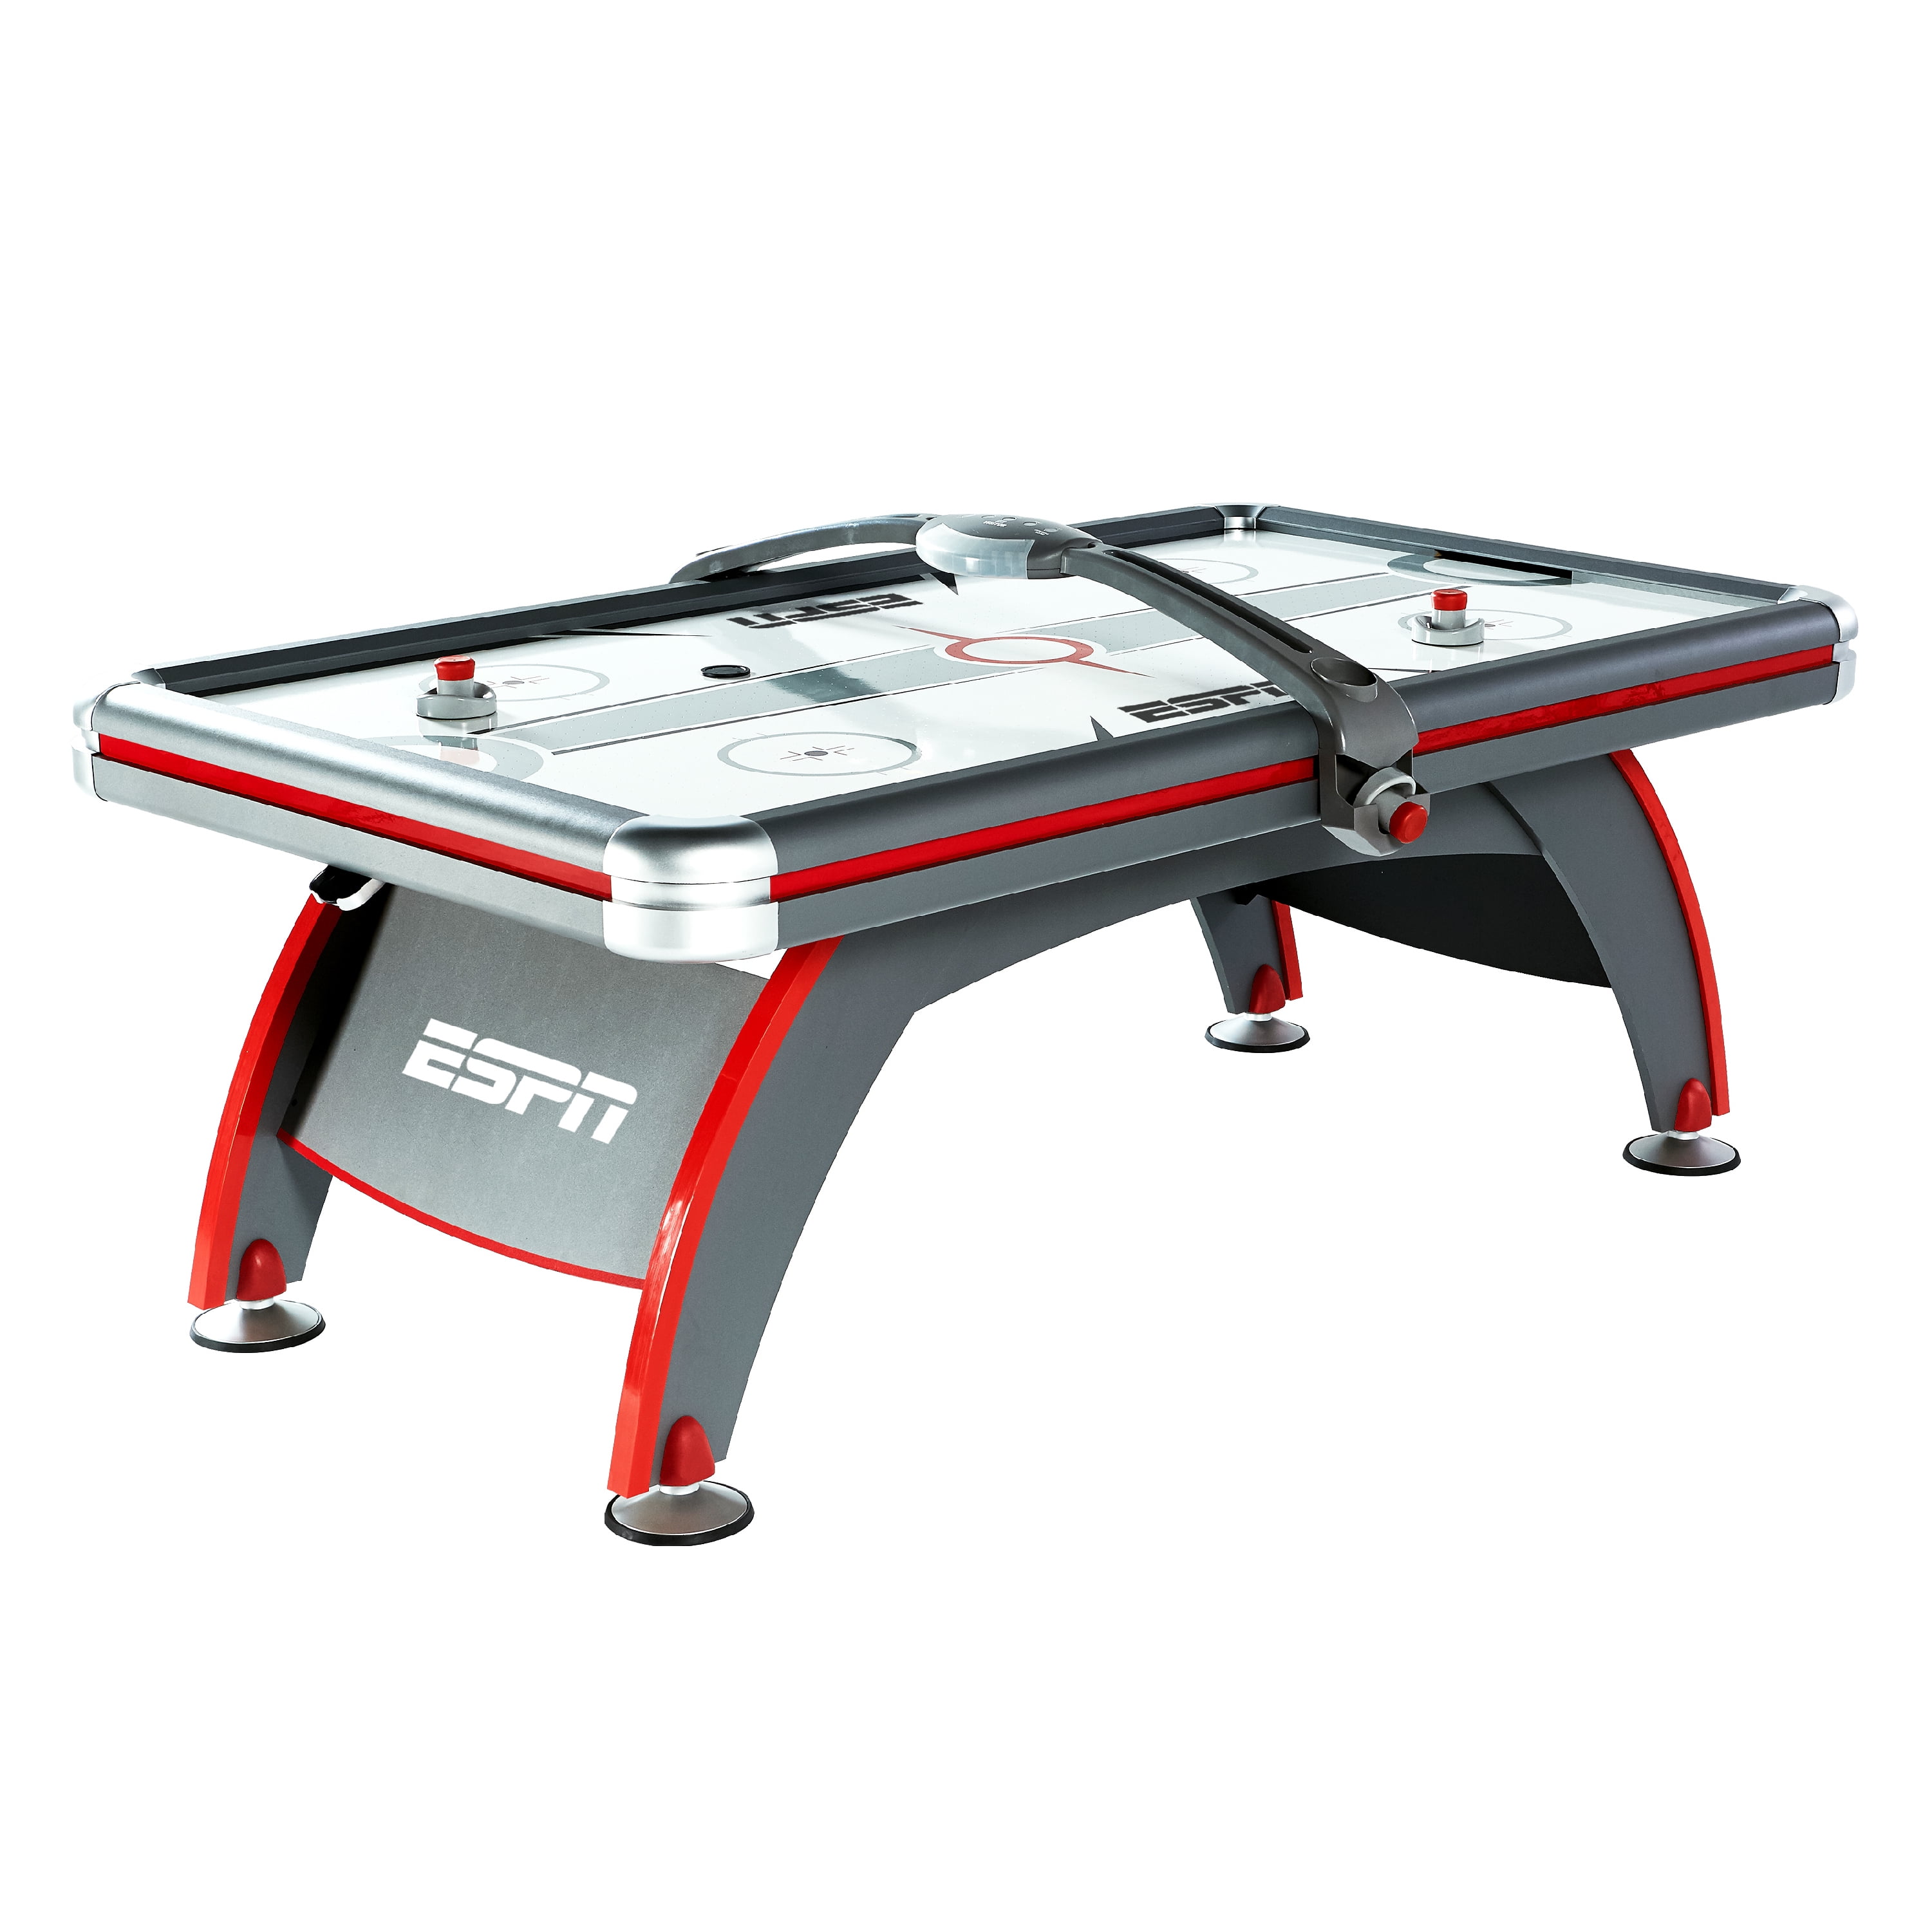
So, I finally caved and bought one of those ESPN air hockey tables. I’d been eyeing them for a while, you know, for the “kids” (wink, wink). It was more for me, let’s be real.
First things first, I unboxed this beast. It was surprisingly heavy! I definitely recommend having a friend help you move the box, especially if you have stairs. I, uh, learned that the hard way. My back still twinges a little.
Assembly Time!
Opening it up, it looked a bit intimidating. Lots of parts, screws, and those dreaded picture-only instructions. Seriously, who comes up with those things? It’s like an IQ test before you can even play.
I started by laying out all the pieces. This helped a ton, just to get a sense of what went where. The legs were pretty straightforward. Just had to bolt them onto the main table body. I used the wrench in the package.
- Step 1: Attach the legs. Pretty simple bolt-on action.
- Step 2: Flip the table. (Get help for this!)
- Step 3: Connect the electronic scoring unit. This was just plugging in a few wires.
- Step4:Put on batteries for the electronic scoring unit.
The trickiest part was probably attaching the electronic scoring unit. The wires were a little finicky, and I had to make sure I plugged them into the right spots. I double, and triple check and I think I almost messed that up, but I got it in the end. The instructions show the pictures, so you just need follow it.
After that, it was smooth sailing. I just had to screw in the goal ends and the puck return thingies. Oh, and pop in the batteries for the scoreboard. Don’t forget that, or you’ll be keeping score in your head like a caveman.
Finally, I plugged it in, flipped the switch, and… whoosh! The air started flowing, the lights came on, and it was game time! I grabbed a puck and a striker, and proceeded to get thoroughly destroyed by my “kids.”
All in all, the setup took me maybe an hour and a half, including a few breaks to curse at the instructions and question my life choices. But it was totally worth it. The table is solid, the air flow is strong, and it’s just a blast to play. Now, if you’ll excuse me, I have a rematch to win…