Okay, so, I got this thing for my little one, a “horse on springs”, and let me tell you, it was quite the project getting it all set up. First off, I pulled this big box into the living room. It was heavier than I thought! After I wrestled the box open, I found the horse. It’s like, this soft, plushy thing, really cute, but it’s not even on the springs yet.
Next, I had to find the springs and this metal frame thingy. They were kinda buried under all that packing stuff. So I dig those out. The instructions, well, they weren’t super clear, if you know what I mean. A bunch of pictures, but not a lot of words. But hey, I’m pretty handy, so I figured it out.
I started by attaching the springs to the frame. This took a bit of muscle, I won’t lie. You gotta stretch those springs a bit and hook them onto these little notches on the frame. I did that four times, one for each corner, you see? My fingers were a bit sore after that, not gonna lie.
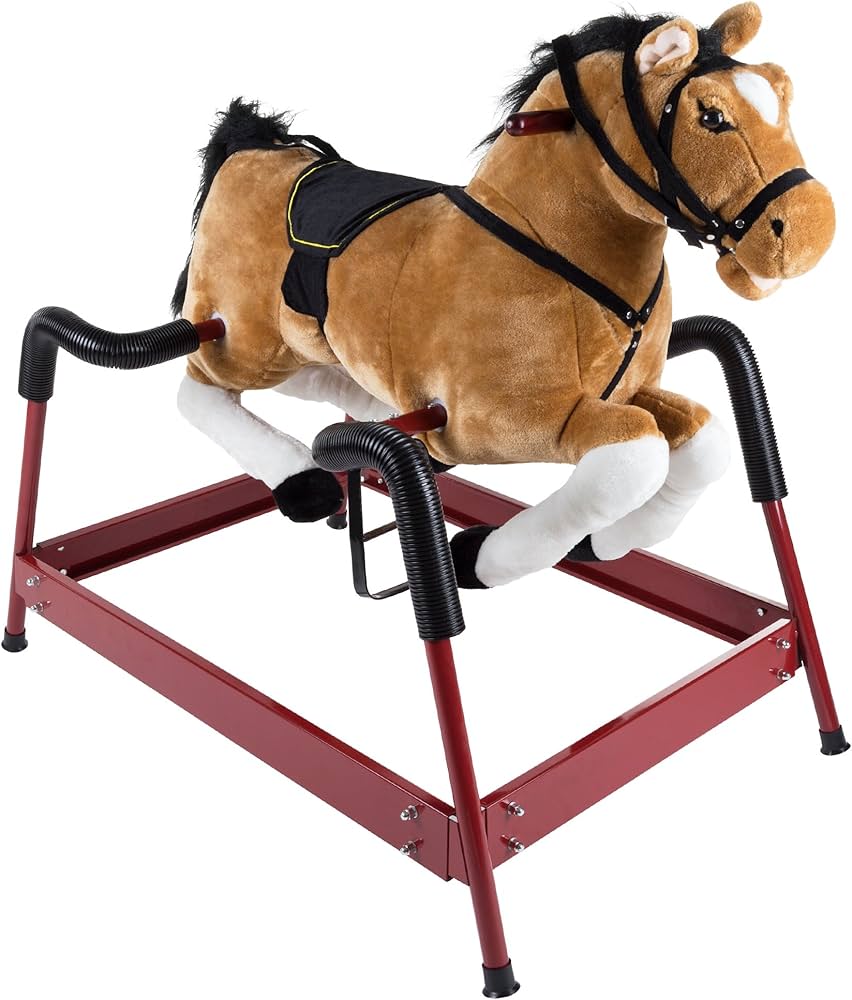
Then came the fun part – putting the horse on the springs. This wasn’t as bad as I thought. The horse has these loops on the bottom, and you just hook those onto the top of the springs. It’s designed to be pretty safe, with a strong spring structure, so I wasn’t too worried about it coming loose. I made sure everything was nice and secure. Gave it a good wiggle test and everything.
- Attach the springs to the metal frame.
- Attach the horse to the springs.
- Make sure all the springs are fixed.
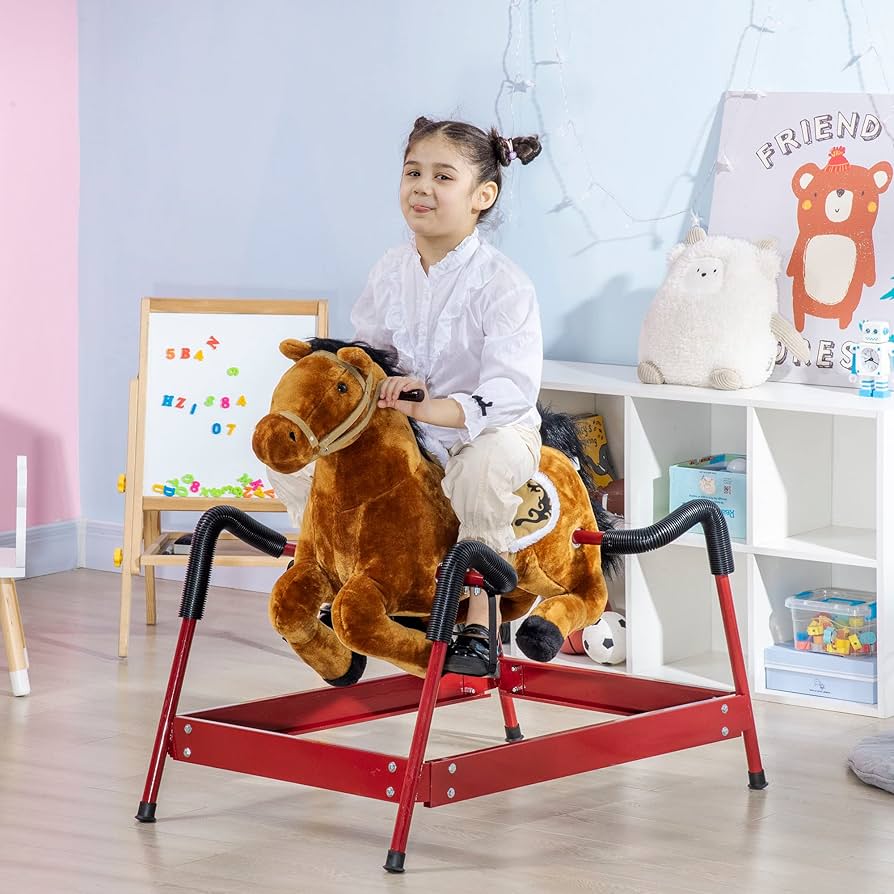
Once it was all put together, it looked pretty cool. My kid was super excited. They hopped right on and started bouncing. And guess what? This thing even makes horse sounds! You press its ear, and it neighs. It’s pretty funny, actually.
The Result
The whole setup took me about, I don’t know, maybe half an hour? It wasn’t too bad, all things considered. And seeing my kid so happy made it totally worth it. They’ve been bouncing on that thing non-stop. It’s a great way for them to burn off some energy, and they seem to really love it. It’s definitely a hit in our house!