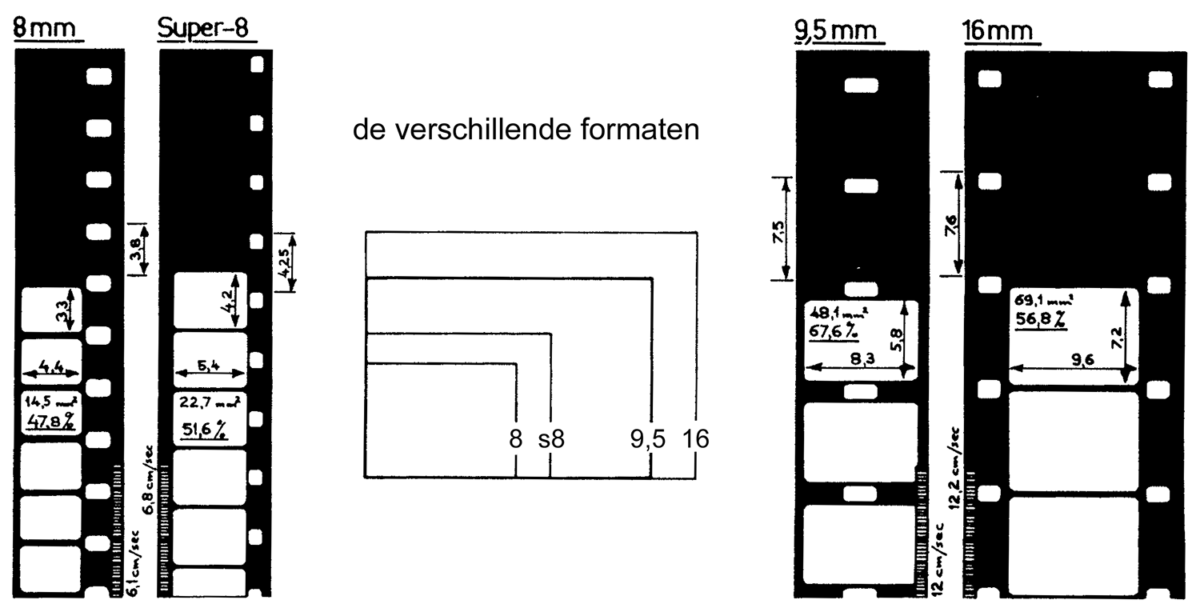
Alright folks, let me walk you through my messy first time trying to actually get Super 8 film ready to watch. Spoiler: it wasn’t smooth!

First off, I dug out my old man’s dusty Super 8 projector. This thing hadn’t seen light since maybe the 80s. Seriously, I nearly choked on the dust cloud. Opened it up, wiped it down with a slightly damp cloth – careful not to soak anything, just getting the worst grime off. Found a spare bulb too, thank goodness.
The Film Was a Hot Mess
Then came the film reel itself. My uncle gave me a box labeled “Beach Trip 1972” – exciting! Pulled it out and it felt… sticky? Turns out that weird chemical smell was vinegar syndrome. Great start. Held it by the edges, hoping I hadn’t already wrecked it.
Step one for me was: finding the start. Sounds obvious, right? Wrong. In the dim light, I couldn’t see squat. Grabbed a mini LED flashlight I use for fixing bike tires, shone it carefully through the film sideways on a white sheet of paper. Finally spotted some frames – people squinting in sunshine! Okay, that’s the start.
Next up: splicing. The existing leader tape was cracked and brittle. Remembered my grandma’s old editing kit. Dug out her splicing tape and cement.
- Cut off the damaged leader with her special scissors (razor blade scissors, scary!).
- Put a tiny drop of cement on the end piece of film.
- Pressed it onto a fresh plastic leader tape for like a minute, holding my breath.
- Waited 10 whole minutes before even touching it again. Impatience kills tapes.
Projector Nightmares
Time to load the projector. Easy? Hah! Got it upside down on my first try, obviously. Pulled the film back out, feeling like an idiot. Second try:

- Fed the fresh leader tape under that little metal pressure plate thingy.
- Threaded it through the gate, pulling gently.
- Took my other hand and kind of hooked it around the top sprocket wheel.
- Pulled the film just enough to get it into the take-up reel slot.
Closed everything up, crossed my fingers, and hit the switch. Motor whirred… light came on… but NO PICTURE. Just white screen. Panic time.
Turns out I loaded it too loose. Shut it down, opened it back up – nearly burnt my damn finger on the hot bulb, stupid – and pulled slightly more film through the gate to tighten it up. Third time’s the charm? Almost. The image flickered a bit until the film warmed up and moved smoothly. Then – boom! There they were. Grainy, wobbly shots of people I barely recognize wearing ridiculous shorts. Pure time capsule magic.
Final takeaway? Go slow, be ready to mess up, and treat that old film like it’s made of spider webs. Also, maybe wear gloves next time. Still finding splices stuck to my fingers days later. Worth it though. Seeing that forgotten moment flicker to life? No Netflix algorithm can match that thrill. Even if my hands are sticky.
