Getting Hands-On with the GFL2 Logo
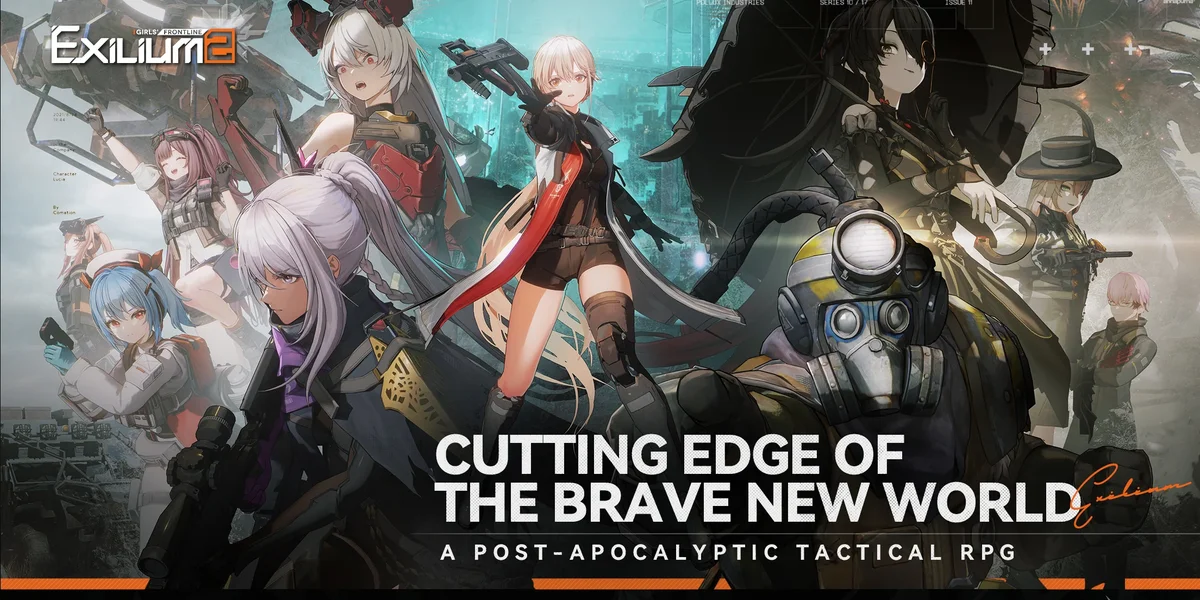
Alright, so I got curious about that Girls’ Frontline 2 logo recently. Seen it pop up here and there, and thought, ‘Hey, let’s see if I can piece that together myself.’ Just a little project, you know, keep the hands busy.

First thing I did was hunt down some good reference images. Just searched around online, grabbed a few different versions – high-res if possible, different backgrounds, whatever I could find. You need good material to look at, otherwise you’re just guessing.
Got those saved, then I fired up my usual graphics program. Nothing fancy, just the one I use for most things. Pulled in the best reference image I found onto the canvas.
Breaking it Down
I started looking at the main parts. There’s the text, “GIRLS’ FRONTLINE”, and that big stylized “2”. And then the background elements, those shapes and lines.
- The Text: Tried figuring out the font first. Spent a good while scrolling through fonts I already had, trying to find a match. No dice. It’s probably custom or heavily modified. So, I decided to just trace it. Used the pen tool, carefully outlining each letter from the reference. Took some patience, especially getting the curves smooth.
- The “2”: That big number ‘2’ needed attention. It’s got that sharp, sort of techy look. Again, tracing was the way to go. Focused on getting the angles right and the thickness consistent. Had to adjust the points quite a bit to make it look sharp enough.
- Background Stuff: There are those sort of wing-like shapes and lines behind the main text and number. Broke those down into simpler shapes and built them up layer by layer. Lots of adjusting transparency and positioning to get them sitting right behind the text.
Color and Effects
Once the basic shapes were down, I started adding color. Used the eyedropper tool to pick colors directly from the reference image. Got the main blues, the whites, the grays. Had to make sure the gradients on the “2” looked okay, blending from that lighter blue to a darker shade.
There are also some subtle effects, like glows or outlines. Tried adding a slight outer glow to the text and the “2” to make them pop a bit, similar to how it looks in the official versions. Played around with the settings until it felt close enough.
Wrapping Up
Didn’t aim for a perfect pixel-for-pixel copy, more like getting the feel for it. It’s good practice, breaking down something complex into smaller steps. Took a few hours, mainly fiddling with the text tracing and getting the placement of all the elements right.
In the end, got something that looks pretty recognizable. It’s always interesting to see how these logos are constructed when you actually try and replicate them yourself. Good exercise.