Alright guys, so today I’m gonna walk you through how I tackled drawing a surprised face. It’s not as easy as it looks, trust me! I spent a good chunk of the afternoon on this, and I figured I’d share my process.
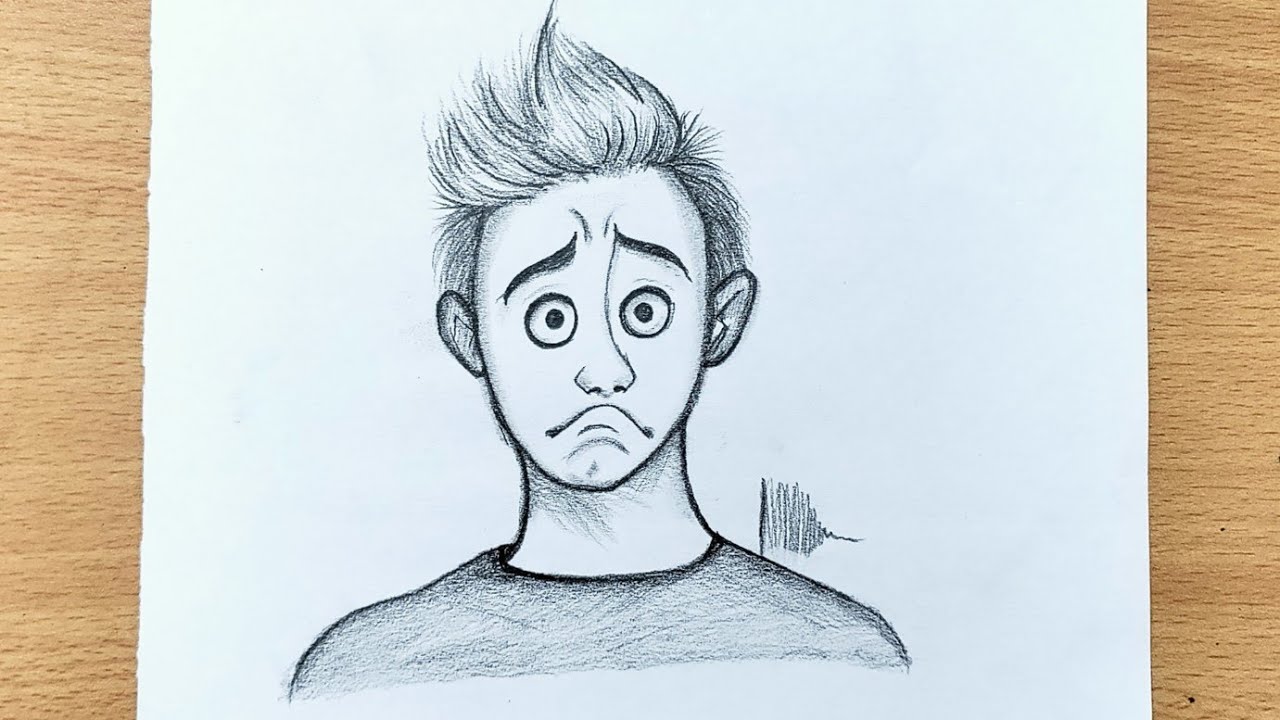
First off, I started with the basic shapes. You know, the circle for the head, guidelines for the face. Nothing fancy, just getting the proportions right. I kinda rushed this part at first, and let me tell you, it messed me up later. So, take your time with the initial sketch!
Next, I focused on the eyes. For a surprised expression, the eyes are EVERYTHING. I made them bigger than usual, like, almost comically big. And the pupils? Tiny little dots. This really helps to sell the “deer in headlights” look. I also raised the eyebrows quite a bit, giving them that classic arched shape. This part I think I nailed it on the first try.
Then came the mouth. This is where I struggled for a bit. Initially, I drew a simple “O” shape, but it looked kinda…bored. So, I experimented with different sizes and positions. I ended up making it wider and slightly lower than I originally planned. I also added a little bit of shading around the mouth to give it more depth. This helped a lot!
After that, I started working on the details. Little things like wrinkles around the eyes and mouth, the way the hair might be slightly disheveled. These small details add a lot of personality and make the expression more believable. I used a softer pencil for this part, to create subtle shadows and highlights.
One thing I kept messing up was the overall symmetry. The face looked a little wonky, so I kept flipping the canvas horizontally to check for any imbalances. This is a trick I learned from another artist, and it’s a lifesaver!
Finally, I went over the whole drawing with a darker pencil, to define the lines and make the expression pop. I also added some extra shading in the areas that needed it. And that was it! I ended up with a surprised face that I was actually pretty happy with.
Here’s a quick recap:
- Start with basic shapes and proportions (don’t rush this!)
- Exaggerate the eyes and eyebrows
- Experiment with the mouth shape until you get it right
- Add subtle details to enhance the expression
- Check for symmetry by flipping the canvas
- Define the lines and add final shading
It took me a few tries, but I eventually got there. Drawing expressions is all about practice and experimentation. Don’t be afraid to mess up and try again!