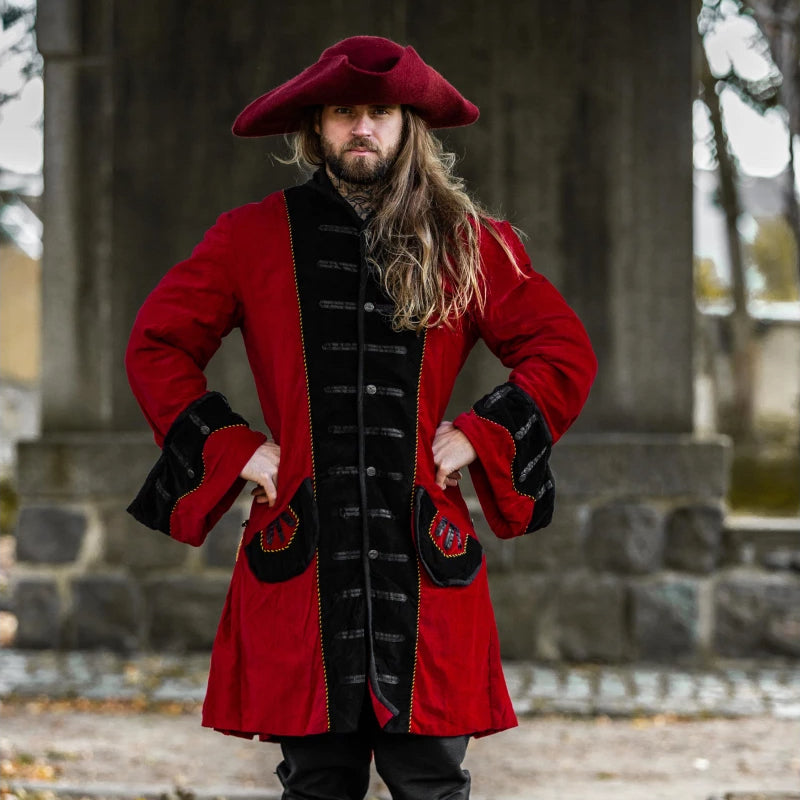
Okay, so folks kept asking about that pirate getup I threw together. Wasn’t anything fancy, really, just needed something quick for a themed party a while back. Here’s how I pulled it off.

Getting Started – The Idea
Right, the invite said “pirate theme”. Didn’t want to spend a fortune on a store-bought costume that looks plasticky anyway. Figured I could cobble something together myself. Always liked tinkering and making things work with what I’ve got.
Scavenging for Bits and Pieces
First thing, I raided my own closet. And my partner’s. Looking for anything that screamed “old-timey sailor” or just generally rough-looking.
- Found an old, slightly too big white shirt. Perfect.
- Dug out some dark, comfy trousers. Didn’t matter if they were perfect, gonna rough ’em up anyway.
- Spotted a dark waistcoat (you might call it a vest) I never wear. Bonus.
- Needed something red. Found an old scarf or maybe it was a strip of fabric? Can’t quite recall, but it was long and red. That’d do for a sash.
Then hit up a charity shop, a thrift store, whatever you call it. Just browsed around for cheap extras. Didn’t find much this time, but sometimes you strike gold there for belts or boots.
Putting the Pieces Through the Wringer
Okay, got the raw materials. Time to make them look less… normal.
The Shirt: Took that white shirt. Decided the collar was too neat. Snip snip. Cut it off for a more open, V-neck look. Then, I wanted it to look less bright white. Made a strong cup of tea – cheapest kind I could find – let it cool a bit, and just sort of dabbed and soaked the shirt in it unevenly. Let it dry. Gave it that stained, lived-in look. Didn’t wash it after, obviously.

The Trousers: These were easy. Just rolled them up messily to about calf-length. Could have cut them jaggedly, but rolling worked fine and meant I could still use the trousers later if needed.
The Waistcoat/Vest: Didn’t do much here. It was already dark. Just made sure it looked a bit worn. Maybe pulled a thread or two. Nothing major.
The Sash: That red fabric. Just needed to be tied around the waist, over the shirt but under the vest. Tied it off to the side, letting the ends hang down. Easy peasy.
Adding the Piratey Extras
No pirate is complete without the accessories, right?
- Headwear: Found a simple black bandana. Tied that around my head. Took a few tries to get it looking right, not too neat.
- Belt: Used a wide, old leather belt I had. Slung it over the sash. Looked better with something to hang things off, even if I didn’t hang anything.
- Eyepatch: Okay, I cheated. Bought a cheap one from a party store. Cost next to nothing. Couldn’t be bothered making one.
- Boots: Just wore my old pair of brown work boots. Scuffed up already, so they fit the look perfectly. Tucked the rolled-up trousers into them.
The Final Assembly
Putting it all on was straightforward. Shirt first (the tea-stained one). Then the trousers, rolled up. Tied the red sash around my waist. Pulled the dark vest over the shirt. Strapped the wide belt over the sash. Pulled on the boots, tucking the trousers in. Tied the bandana on my head. Popped the eyepatch on. Done.

How It Turned Out
Honestly? It looked pretty decent for a last-minute, low-budget job. Rough, ready, definitely screamed “pirate”. Didn’t win any costume prizes, but folks knew who I was supposed to be. And it was comfy! Much better than some sweaty polyester thing. Felt good making it myself too, using bits and bobs I already had or found cheap. That’s the best way, I reckon. Give it a go if you ever need one.
